 listicle
Common Mistakes to Avoid Before Real Estate Photography
Table of Contents
- Real Estate Photography Preparation Checklist
- How to Stage a Home for Professional Photos
- How Long Does a Real Estate Photo Shoot Take?
- Lighting Mistakes That Ruin Listing Photos
- Camera and Equipment Mistakes to Avoid
- Composition and Framing Errors in Real Estate Photography
- Virtual Staging and Legal Disclosure Mistakes
- Conclusion
- Frequently Asked Questions
Last Updated: September 20, 2026
Real Estate Photography Preparation Checklist
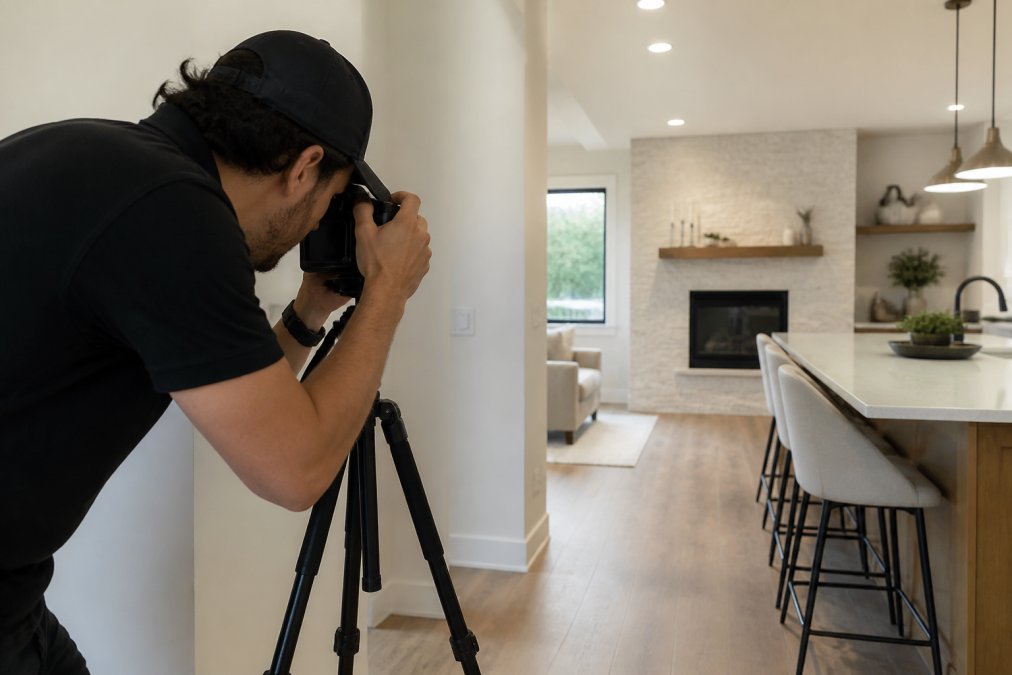
Most sellers lose their best buyers in the first three seconds, that is how fast someone scrolling a listing decides whether to keep looking. That is why prep before the camera arrives matters more than the camera itself. This guide from Desert Home Photography covers the common mistakes to avoid before real estate photography, from cluttered counters to blown-out windows.
How to Stage a Home for Professional Photos
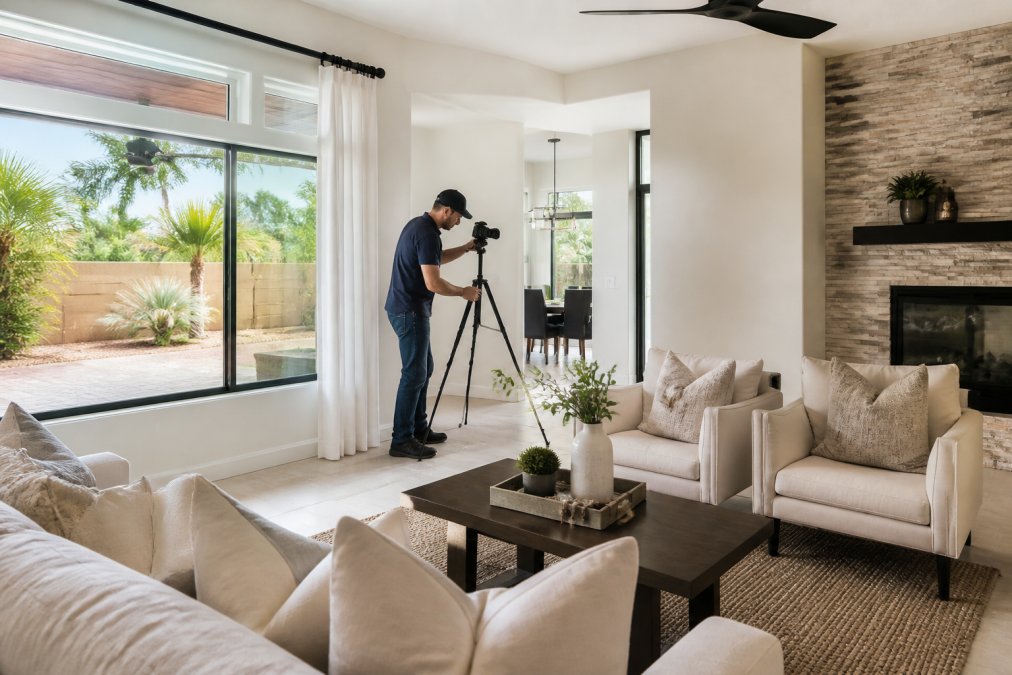
Staging is not decorating; it is editing. A staged home shows buyers how a space functions, not how the owner lives in it. In photos, a staged room reads as larger, brighter, and more move-in ready, while an unstaged room forces buyers to mentally renovate. Start by removing personal items: family photos, fridge magnets, medication, pet bowls, and anything with a name on it.
A Room-by-Room Staging Checklist
This is the same sequence professional stagers use before a shoot:
- Kitchen: Clear counters to one or two intentional items (a bowl of fruit, a small appliance). Remove dish soap, sponges, knife blocks, and paper towel holders. Wipe stainless appliance fronts so fingerprints do not show.
- Living room: Remove throw blankets, remotes, and magazines. Fluff and angle pillows. Keep one low-profile object on the coffee table, two books or a small tray, and nothing else.
- Bedrooms: Make beds with crisp, neutral bedding. Clear nightstands to a lamp and one small item. Organize closets; buyers open them.
- Bathrooms: Remove toiletries from the counter and shower. Hang fresh, matching towels. Close toilet lids. One small plant or candle is enough.
- Entryways and hallways: Clear shoes, coats, and bags. These spaces are narrow, and clutter makes them photograph as tunnels.
Furniture Placement and Traffic Flow
Furniture should guide the eye through a room, not block it. Pull seating slightly off the walls so rooms feel larger, and remove one piece from any crowded room. Clear pathways between doorways and seating areas; a photographer shooting from a corner needs an unobstructed sightline, and a sofa in that line flattens the shot.
Virtual Staging: The Modern Alternative for Vacant Homes
Physical staging is expensive and slow. Virtual staging, digitally placing furniture into photos of an empty room, is now the default for vacant listings because it costs a fraction of renting furniture and turns around in a day or two. The mistakes to avoid are different from physical staging mistakes:
- Do not virtually stage a furnished room. Mixing real and digital furniture creates scale and shadow mismatches that look wrong even to buyers who cannot name why.
- Match the home's actual style. A modern farmhouse kitchen with a mid-century digital sofa reads as a mismatch. Use the architecture and finishes as the style guide.
- Keep the scale believable. Digital furniture that is too small makes rooms look vast; too large makes them cramped. Compare it to the room's doorways and windows.
- Disclose it. Label every virtually staged image in the listing. Buyers who arrive expecting furniture that does not exist feel misled, eroding trust in the entire listing.
- Do not remove structural features. Virtual staging adds furniture; it should never delete walls, windows, or built-ins. Removing a permanent feature crosses into misrepresentation.
Curb Appeal and Outdoor Prep
The exterior shot is usually the lead image, so treat it like a magazine cover. Park cars down the street, not the driveway, and store trash bins, garden hoses, and kids' toys out of frame.
How Long Does a Real Estate Photo Shoot Take?
A standard real estate photo shoot takes 1 to 2 hours for an average home; larger or luxury properties can run 3 hours or more once drone work and virtual tours are added.
A realistic timeline looks like this:
| Phase | Typical Time | Who Handles It |
|---|---|---|
| Decluttering and cleaning | 3-6 hours | Homeowner |
| Staging adjustments | 1-2 hours | Homeowner or stager |
| On-site photography | 1-3 hours | Photographer |
| Editing and delivery | 1-3 business days | Photographer |
Lighting Mistakes That Ruin Listing Photos
Bad lighting is the fastest way to make a bright home look like a dungeon, and the mistake homeowners are least equipped to spot.
White Balance and Color Temperature Errors
Mixing bulb types in one room creates a color cast no amount of editing fully fixes. Warm yellow bulbs next to cool white bulbs split a room into two competing tones.
Bracketing and Exposure Balancing
Windows are the hardest part of any interior shot. Expose for the room and the windows turn into white rectangles. Expose for the windows and the room goes black.
Camera and Equipment Mistakes to Avoid
Gear errors are quiet: you do not notice until every wall leans or every room looks warped. The fix is almost always technique, not a new camera.
Wide-Angle Lens Usage and Distortion
A wide-angle lens is essential for interiors, but tilting it up or down introduces distortion: vertical lines bow and walls appear to lean. Keep the camera level and use a tripod, shooting handheld almost guarantees tilted verticals, and straight verticals signal quality. Going too wide is also a common mistake. Lenses in the 16-24mm range (full-frame equivalent) are standard, but pushing below that stretches the frame edges and makes rooms look artificially cavernous.
Camera Settings That Cause Problems
Most real estate shoots use a small set of settings; mistakes come from deviating from them:
- Aperture: f/8 to f/11 is the sweet spot. Wider (f/2.8, f/4) blurs the back of the room; narrower (f/16 and beyond) introduces diffraction that softens the image.
- ISO: Keep it as low as light allows, typically ISO 100-400. High ISO adds noise in shadows and flat walls.
- Shutter speed: On a tripod, shutter speed can be slow, several seconds if needed. Handheld, keep it at least 1/60s to avoid blur.
- Focus: Focus roughly one-third into the room, not on the nearest wall, to keep more of the frame sharp.
- File format: Shoot RAW, not JPEG. RAW holds far more highlight and shadow detail for blending bracketed exposures.
Bracketing and Exposure Balancing
A typical bracket is three to five frames, one to two stops apart. Three frames suits most rooms; five is safer for very bright windows and dark corners. The camera must be on a tripod for frames to align, and bracketing should be done in-camera or with an intervalometer, not by manually changing settings between shots.
Mobile vs. DSLR/Mirrorless Workflow
Phone cameras have improved dramatically and are fine for quick snapshots. The gap shows up in dynamic range, lens control, and editing latitude: dedicated cameras capture more shadow and highlight detail, a real wide-angle lens avoids the software stretching phones apply, and RAW files from a mirrorless or DSLR body hold up far better in post-production.
- Do not use digital zoom. It crops and softens the image. Move closer instead.
- Do not rely on auto HDR for windows. It helps but does not match a bracketed blend; with bright windows, expect to lose either the view or the interior detail.
- Do not shoot portrait orientation for wide rooms. It crops the sides and makes rooms feel narrow.
- Do not skip the tripod. Inexpensive phone tripods solve the tilted-vertical problem like a full-size tripod.
- Do not edit on the phone with heavy filters. Presets that flatter landscapes make interior walls look orange or green.
Composition and Framing Errors in Real Estate Photography
Composition decides what a buyer notices first. Bad framing draws the eye to a trash can or slanted ceiling instead of the fireplace.
The most common framing mistakes:
- Shooting from eye level. Lower the camera to roughly chest height for a more natural room proportion.
- Centering every shot. Off-center compositions feel more dynamic and show more of the space.
- Cutting off key features. Frame so that windows, fireplaces, and built-ins sit fully inside the shot.
- Ignoring reflections. Check mirrors and glass for the photographer's reflection before shooting.
- Forgetting the ceiling line. Leaving too much ceiling makes rooms feel shorter than they are.
Virtual Staging and Legal Disclosure Mistakes
Virtual staging places furniture into an empty room using editing software. It is powerful for vacant properties, and it comes with rules.
Conclusion
The gap between a listing that sits and one that sells often comes down to preparation, not luck. Decluttering, matching bulbs, leveling the camera, and disclosing virtual staging are all things you control before the shoot begins.
Frequently Asked Questions
What are the most common mistakes homeowners make before a photography shoot?
Homeowners often leave personal items like family photos and toiletries visible, forget to turn on all light bulbs, and skip decluttering closets and countertops. Other frequent errors include not cleaning windows, ignoring curb appeal, and scheduling the shoot at the wrong time of day. Avoiding these mistakes helps your real estate photography look professional and attracts more buyers.
How long does a real estate photo shoot take for a typical home?
Most standard homes take 1 to 2 hours for interior and exterior photos. Larger properties with drone shots or virtual tours can take 2 to 3 hours. Preparation like decluttering and staging beforehand keeps the shoot on schedule.
How does property staging impact real estate photography quality?
Staging directly affects how spacious and inviting a home appears in photos. Proper furniture placement creates clear traffic flow, while decluttering removes distractions. Staged homes often photograph brighter and show better proportions. Even simple changes like adding fresh flowers or removing bulky furniture can make your listing photos more appealing to potential buyers.
What should be removed from a home before professional photography?
Remove personal items such as family photos, medications, and toiletries. Clear kitchen counters of small appliances, dishes, and spices. Take out trash cans, pet bowls, and toys. In bathrooms, hide towels, bath mats, and cleaning supplies. Also remove excess furniture that makes rooms feel cramped. A clean, neutral space helps buyers envision themselves in the home.