 how-to
Fix Dark Interior Listing Photos: Step-by-Step Guide
Table of Contents
- Why Interior Photos Turn Out Dark
- Step 1: Assess the Damage Before Editing
- How to Prepare Home for Real Estate Photography
- Step 2: How to Brighten Dark Photos in Lightroom
- Step 3: HDR Photography for Real Estate
- Batch Processing and Mobile-First Workflows
- Troubleshooting Specific Lighting Scenarios
- Common Mistakes to Avoid
Last Updated: August 24, 2026
Why Interior Photos Turn Out Dark
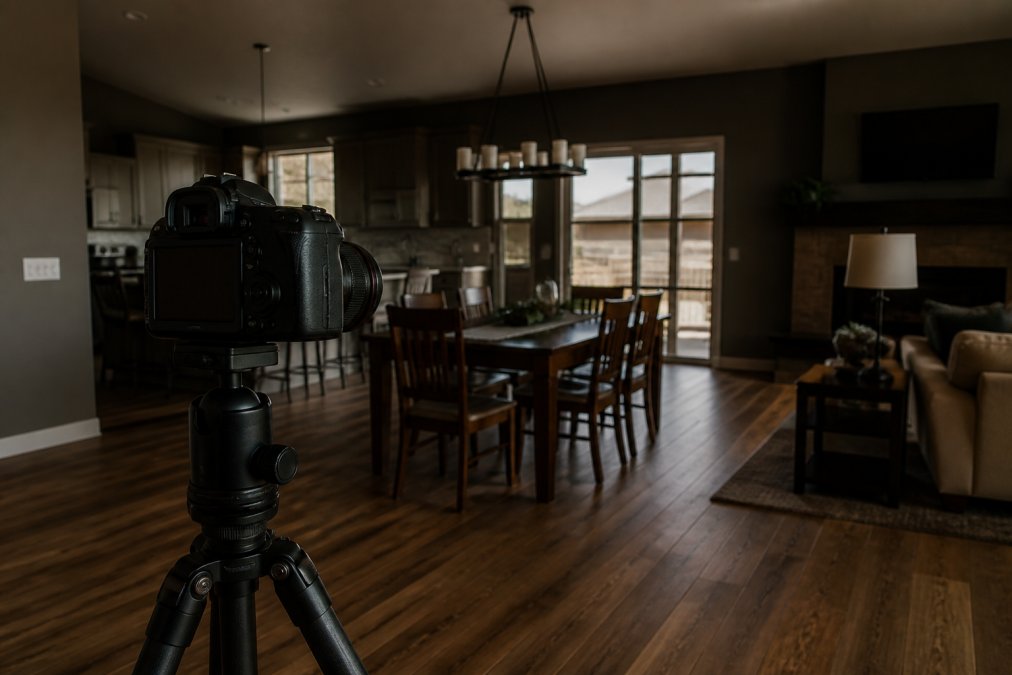
Dark interior listing photos are one of the biggest obstacles real estate agents face when marketing properties. The problem isn't usually the camera or photographer's skill, it's physics. Interior spaces have dramatically lower light levels than outdoors, and most camera sensors struggle to capture detail in shadows while preserving highlights. Your camera can only capture 5-7 stops of exposure in most consumer and prosumer equipment, but a room lit by windows and interior fixtures often spans 10-12 stops from brightest to darkest (peer-reviewed research). Something has to give: either windows blow out to pure white, or the interior falls into shadow.
Professional real estate photographers solve this through pre-shoot preparation, in-camera technique, and post-processing strategies that recover detail in both shadows and highlights. The good news: dark interior listing photos can be fixed. Whether you're working with images shot weeks ago or preparing for your next listing shoot, the techniques in this guide will show you exactly how to brighten dark photos and create the visual appeal that drives buyer interest.
Step 1: Assess the Damage Before Editing
Before opening Lightroom, spend two minutes analyzing what you're working with. Open the image and check the histogram. A histogram bunched against the left side (shadows) with no information in the midtones or highlights tells you the exposure was set too conservatively, good news, there's usually recoverable data in those shadow areas. If the histogram shows clipped highlights (data bunched against the right edge), you've lost information in the brightest areas and recovery is limited.
Zoom in to 100% and inspect shadow areas for detail. Can you see texture in dark corners, or is it pure black? If there's texture, post-processing will reveal it. If it's pure black with no variation, the camera captured no data there.
Check for color cast. Many dark interior photos have an orange or yellow cast from tungsten lighting, or a cool blue cast from mixed natural and artificial light. Correcting color temperature is often the fastest way to make a dark photo feel brighter, a warm, orange-tinted dark room feels smaller and more depressing than a neutrally balanced one.
How to Prepare Home for Real Estate Photography
The best dark interior listing photos are prevented before the camera comes out. Start the morning of the shoot by opening every curtain and blind. Natural light is the most flattering source for interior spaces and costs nothing. Even on overcast days, diffused natural light reads better than relying entirely on artificial sources.
Turn on all interior lights at least 30 minutes before the shoot (ies.org). This allows tungsten bulbs to reach full brightness and color temperature. Clear clutter and depersonalize, dark spaces feel smaller, so visual clutter compounds the problem. Remove excess furniture, family photos, and personal items.
Check for mixed color temperatures. If a room has both natural light from windows and tungsten fixtures, the camera will struggle to white balance correctly. Ideally, turn off tungsten lights if natural light is strong enough, or close curtains partially if tungsten is the primary source.
For rooms with minimal natural light, position supplemental lighting strategically. A simple LED panel or reflector bouncing light into shadows can make the difference between a dark, uninviting space and one that feels open. Arrange furniture to frame sightlines and reflect light.
Step 2: How to Brighten Dark Photos in Lightroom
Lightroom is the standard tool for fixing dark interior listing photos. The key is working in the right order: exposure first, then shadows and highlights, then color, then final adjustments.
Adjust Exposure and Shadows
Open your dark interior listing photo in Lightroom's Develop module. Start with the Exposure slider. Increase exposure in 0.3-0.5 stop increments until the overall image feels 60-70% of the way to where you want it. Don't go all the way in this first pass, you'll refine with the Shadows slider next.
Now move to the Shadows slider in the Tone Curve section. This is where the real magic happens. Increasing the Shadows slider recovers detail in dark areas without blowing out highlights. For most dark interior photos, move the Shadows slider to 50-80, depending on how much detail needs recovery. You should see texture emerging in corners and under furniture.
The Blacks slider controls the deepest dark tones and should usually stay near zero or slightly negative. Pushing Blacks too high flattens contrast and makes the image feel washed out. After adjusting Shadows, reassess Exposure. You may need to pull it back slightly now that shadows are lifted.
Recover Highlight Clipping and Correct Color Cast
Check the Highlights slider. If windows or bright areas are blown out, increase the Highlights slider to 30-50. Recovery is limited if highlights were severely clipped during capture, which is why proper exposure bracketing during the shoot matters.
Now address color cast. If the image has an orange or yellow cast from tungsten lighting, increase the Temperature slider toward blue. If it has a cool blue cast, move Temperature toward warm. Most dark interiors need a slight warm adjustment (300-500K increase) to feel inviting.
The Tint slider handles green-magenta cast. Many interior spaces lit by fluorescent or LED fixtures develop a slight green cast. A small negative Tint adjustment (-5 to -15) often neutralizes this. After color correction, shadows should show texture, highlights should retain detail, and color should feel natural.
Step 3: HDR Photography for Real Estate
HDR photography is the most effective technique for capturing rooms with extreme dynamic range. Rather than fighting the limitations of a single exposure, you capture multiple exposures and blend them in post-processing.
During the shoot, use your camera's bracketing feature to capture three exposures: one metered for shadows, one for midtones, and one for highlights. A typical bracket is -1, 0, +1 exposure compensation. For rooms with extreme contrast, use 2-stop increments: -2, 0, +2.
In Lightroom, import all three exposures as a stack. Use the shadow-exposed image as your base, as it contains the most detail in bright areas like windows. Then layer the highlight-exposed image on top to recover shadow detail. Lightroom's Auto Tone function can blend these exposures, though manual blending often produces better results.
The result is an image where windows retain detail, interior shadows show texture, and the overall brightness feels natural rather than artificially lifted. For real estate, this is the gold standard.
Batch Processing and Mobile-First Workflows
When processing 20-40 photos from a single property, editing each image individually is inefficient. In Lightroom, create a custom preset for your typical dark interior photo. Edit one representative image until it looks right, then go to Develop → New Preset and save this as "Dark Interior - Standard." Include your typical adjustments: Exposure +1.2, Shadows +65, Highlights +30, Temperature +400, Tint -8.
Apply this preset to all similar photos in your shoot with a single click, then refine individual images as needed. This workflow reduces editing time per photo from 10-15 minutes to 2-3 minutes.
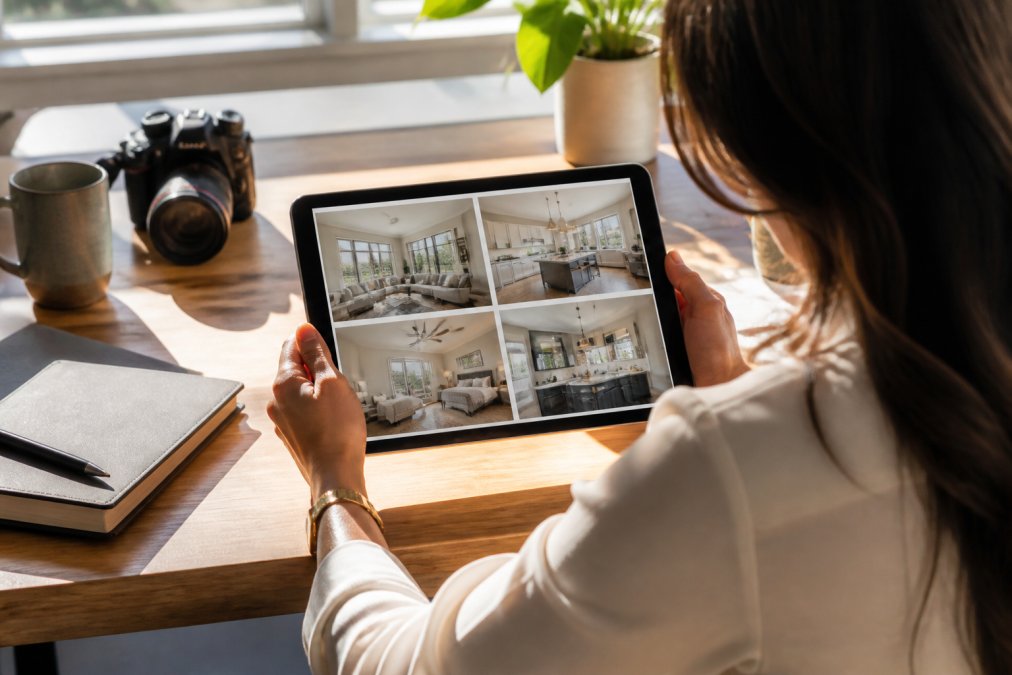
For agents on the go, Lightroom Mobile syncs presets across devices, so you can apply your "Dark Interior" preset on an iPad while reviewing photos at the property. Consider creating separate presets for different room types: "Dark Bedroom," "Dark Kitchen," "Dark Bathroom." Each has slightly different color temperature and shadow recovery needs.
Troubleshooting Specific Lighting Scenarios
Rooms with strong window light but dark interiors: This is the classic dynamic range problem. The fix: increase Exposure by 0.7-1.0 stop, then lift Shadows to 70-80. Use the Highlights slider to recover window detail. In future shoots, use exposure bracketing.
Rooms lit only by tungsten fixtures: These read as orange or yellow in photos. Increase Temperature slider by 400-600K to shift toward cool tones. This counterintuitive move makes tungsten-lit rooms feel brighter and more inviting. Then lift Shadows and Exposure as needed.
Bathrooms and small spaces with minimal natural light: If the room was underlit during the shoot, increase Exposure by 1.0-1.5 stops and Shadows by 80+. Accept that the image will look slightly processed, this is unavoidable when source material is severely underexposed.
Mixed color temperature (natural + tungsten): Pick the dominant light source and white balance for that. If 60% of light is natural and 40% is tungsten, white balance for natural light (5500K). Then use Lightroom's adjustment brush to warm up tungsten-lit corners specifically.
Rooms with strong directional light creating harsh shadows: Increase Shadows significantly (75-90) to lift dark zones. Use the Clarity slider at +10 to +20 to maintain definition without crushing contrast.
Common Mistakes to Avoid
The most common error is over-brightening. Pushing Exposure and Shadows too far creates an image that looks artificially lit and unrealistic. The goal is to show the space as it actually appears when your eyes adjust to the lighting. If an image feels processed, pull back the sliders by 20-30%.
Another mistake is ignoring color cast. A dark room with an orange or yellow cast feels smaller and less inviting than the same room with neutral color balance. Spend 30 seconds correcting white balance, it's often the single biggest improvement you can make.
Many agents skip exposure bracketing during the shoot, then struggle to recover highlight detail in post. If your camera supports bracketing, use it. Three exposures take three seconds to capture and eliminate hours of editing frustration.
Inconsistent editing across a listing creates a disjointed presentation. Create presets and apply them consistently, then refine individual images only when necessary.
Relying entirely on auto-enhance features is tempting but often produces suboptimal results. Lightroom's Auto Tone is a starting point, not a finished product. Always review and refine manually.
Finally, don't try to fix a fundamentally poorly-exposed photo through editing alone. If the original capture is severely underexposed with no shadow detail, editing will produce a flat, processed-looking image. At a certain point, reshooting is faster and produces better results.
Dark interior listing photos don't have to stay dark. Whether you're working with images already in your archive or preparing for your next property shoot, the techniques in this guide, from proper preparation to methodical Lightroom editing to HDR capture, give you concrete tools to brighten and enhance interior spaces. The difference between a listing that sits on the market and one that generates immediate buyer interest often comes down to photo quality. Professional real estate photography services like Desert Home Photography's hand-blended imaging techniques demonstrate how specialized editing workflows recover detail and create visual appeal that standard phone photos simply can't match. Investing in proper technique, or partnering with professionals who specialize in real estate, pays dividends in faster sales and higher perceived value.
Frequently Asked Questions
Why do interior photos turn out dark even when the room looks bright in person?
Interior spaces have mixed light sources, windows, lamps, and ambient light, that create uneven exposure. Camera sensors struggle to capture detail in both bright windows and shadowed corners simultaneously. This dynamic range limitation causes the camera to either blow out windows or underexpose the room. Post-processing with shadow recovery and exposure bracketing techniques corrects this mismatch between what your eye sees and what the camera captures.
Can you fix underexposed real estate photos in Lightroom?
Yes. Lightroom's shadow recovery and exposure adjustments can brighten significantly underexposed images without excessive noise. Start by raising Exposure by 0.5 to 1.5 stops, then increase Shadows to recover detail in dark areas. Use the Highlights slider to prevent blown-out windows. For severe underexposure, exposure bracketing or HDR photography during the shoot produces better results than editing alone, preserving natural light and color accuracy.
What is exposure blending in real estate photography?
Exposure blending combines multiple exposures of the same scene, one exposed for shadows, one for highlights, and one for midtones, to capture the full dynamic range. In post-processing, you merge these images to recover shadow detail while keeping windows bright and natural-looking. This technique produces the visual appeal and pixel quality that single-shot editing cannot achieve, especially in rooms with large windows or mixed lighting conditions common in real estate listings.
How long does editing take if I have 15-20 properties a month?
Batch processing workflows cut editing time significantly. Once you establish Lightroom presets tailored to your lighting conditions, applying them to all interior photos takes minutes per property. Mobile-first editing apps allow you to process images on-site or during downtime. Professional hand-blended editing, which combines multiple techniques for premium results, takes longer but ensures every listing has maximum visual appeal and conversion potential for your buyers.
This article was written using GrandRanker