 how-to
Prepare Your Property for Aerial Photos: A Step-by-Step Guide
Table of Contents
- Why Property Preparation Matters for Aerial Photography
- Creating a Drone Photography Checklist for Homeowners
- How to Prepare a Home for Real Estate Photography
- Best Time for Real Estate Drone Photography
- Pool Preparation for Real Estate Photos
- Flight Planning and Shot Composition
- Privacy, Permissions, and Flight Restrictions
- Frequently Asked Questions
Last Updated: October 8, 2026
Why Property Preparation Matters for Aerial Photography
Preparing your property for aerial photos transforms how buyers perceive your home.
At Desert Home Photography, we help homeowners prepare properties for drone photography.
The key insight most homeowners miss: preparation happens BEFORE the photographer arrives. You can't stage a roof or landscape during a shoot.
This guide covers every step to prepare property aerial photos, from landscaping cleanup to flight restrictions to shot composition.
Creating a Drone Photography Checklist for Homeowners
Most aerial photography guides say "clean up and declutter" without explaining what that means on a calendar. This checklist is built around a real shoot timeline and desert conditions.
Three Weeks Out: Plan and Verify
- Confirm the shoot date and a backup date. Afternoon monsoon storms from roughly mid-June through September can scrub a shoot with little warning, so a rain date is essential.
- Ask your photographer for proof of FAA Part 107 remote pilot certification. Commercial drone work requires it.
- Request a written shot list covering the house sides, pool, lot lines, and neighborhood context.
- Check HOA covenants for drone or photography language, and whether your subdivision sits inside controlled airspace.
Two Weeks Out: Repairs and Deep Cleaning
- Schedule roof cleaning or repair. Loose shingles, cracked tiles, and algae streaking are far more obvious from 200 feet than the driveway.
- Have the pool professionally serviced and the chemicals balanced.
- Pressure wash the driveway, walkways, patios, and pool deck. Two weeks out lets surfaces dry and lose the freshly-washed glare.
- Repair fencing, gates, and any visible exterior damage.
Three to Four Days Out: Landscaping and Staging
- Mow, edge, and rake. In summer, mow early and water lightly afterward so the lawn isn't scorched by shoot day.
- Spread fresh mulch in beds. Three to four days lets the color settle instead of looking artificially bright.
- Remove dead plants, branches, and any yard debris.
- Stage patio and pool furniture in intentional groupings, not scattered pieces.
The Day Before: Final Sweep
- Move all vehicles off the driveway and street. Park them in the garage or off-property.
- Pull trash and recycling bins out of sight, not just off the curb.
- Clear the roof and gutters of any remaining leaves or debris.
- Wipe down windows and glass doors so interiors read cleanly from above.
Shoot Day: Last 60 Minutes
- Walk the perimeter and pick up anything that appeared overnight.
- Close pool gates and secure any pet areas.
- Turn off sprinklers well before the flight so pavement and hardscape are dry.
- Stay reachable by phone in case the photographer adjusts the shot list for wind or clouds.
A realistic prep window is two to three weeks for an average single-family home, longer if the roof or landscaping needs real work. Roof condition, lawn health, and pool clarity need the most lead time.
How to Prepare a Home for Real Estate Photography
To prepare property aerial photos goes beyond basic cleanup. Aerial photography reveals everything, so preparation must be thorough.
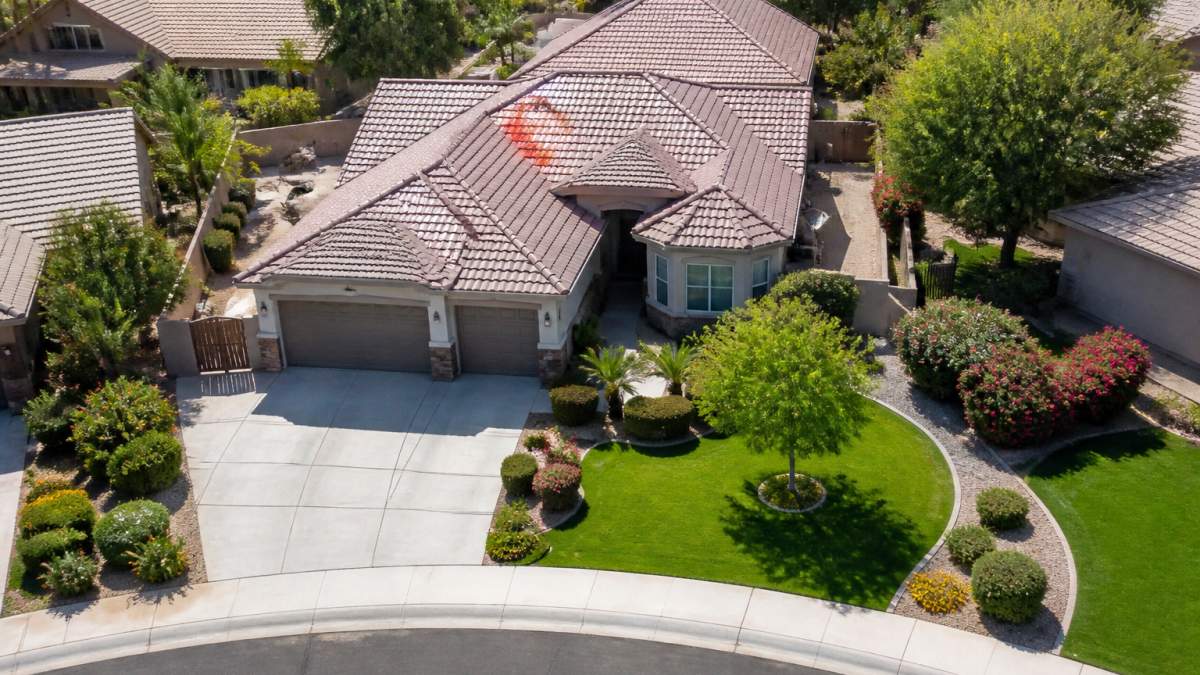
Landscaping and Outdoor Spaces
Landscaping is the first thing visible in aerial shots.
Focus on these landscaping priorities:
- Mow the lawn 1-2 days before the shoot
- Edge all walkways and garden beds
- Trim hedges and bushes to clean lines
- Remove dead plants and branches
- Rake leaves and clear debris
Outdoor furniture should enhance the space, not clutter it. Remove excess patio furniture, yard toys, and seasonal decorations, keeping only pieces that show how the space functions.
Consider seasonal timing: spring and early summer show green landscaping at its best, fall highlights mature trees, and winter properties need extra attention to look inviting.
Vehicles, Equipment, and Clutter Removal
Vehicles parked in driveways or streets are major distractions in aerial photos, breaking up the visual flow and making properties look smaller.
Equipment and storage items should be completely hidden:
- Park vehicles in garage or off-property
- Remove trash cans from curbside
- Store garden equipment and tools
- Hide air conditioning units behind landscaping if possible
- Remove ladders, hoses, and yard tools
Pools and hot tubs should be clean and filled. Draining or partially filled water features look neglected from above, so keep water crystal clear and the deck spotless.
Check for items on roofs or in gutters. Branches, leaves, or debris on the roof become visible from above.
Roof and Exterior Condition
Your roof is prominently featured in aerial photos. A clean, well-maintained roof signals overall property care, while a dirty or damaged roof raises red flags.
Roof preparation includes:
- Have the roof professionally cleaned if heavily soiled
- Repair visible damage or missing shingles before the shoot
- Clear gutters and downspouts of debris
- Ensure no moss or algae growth is visible
- Check for visible wear or discoloration
Exterior walls and siding should also be clean. Pressure wash siding if needed, but let surfaces dry completely before the shoot.
Inspect the property perimeter: fencing should be in good repair, gates should open smoothly, and property lines should be clear.
Best Time for Real Estate Drone Photography
Timing an aerial shoot here is not just about golden hour. Extreme heat, monsoon storms, dust, and seasonal landscaping swings all shape when a drone can fly and when a property looks its best.
Lighting Windows That Work
The two reliable windows are the first 60 to 90 minutes after sunrise and the last 60 to 90 minutes before sunset. Low, directional light reveals texture in roofing, hardscape, and landscaping, and minimizes the flat, washed-out look of midday sun.
Midday flights are possible but rarely flattering. If you must shoot between 10 a.m. and 4 p.m., aim for a thin, high cloud layer to soften shadows and prevent pool glare.
Seasonal Timing
- Late winter through early spring (roughly February-April): The strongest overall window. Daytime highs are moderate, skies are often clear, and landscaping is greenest after winter rains. Wildflower years add color to desert context shots.
- Late spring (May-early June): Still workable, but temperatures climb fast and lawns begin to stress. Shoot at sunrise whenever possible.
- Monsoon season (mid-June-September): The hardest window. Afternoon storms build quickly, wind gusts can ground a drone, and dust reduces visibility. Book morning flights and keep a backup date. Avoid late-afternoon shoots unless you have flexibility.
- Fall (October-November): Excellent. Temperatures drop, skies clear, and the light is clean. A strong second-best window after spring.
- Winter (December-January): Cool and clear, with good sightlines through bare trees. Early sunsets mean the golden-hour window closes by about 5 p.m., so plan accordingly.
Heat and Drone Performance
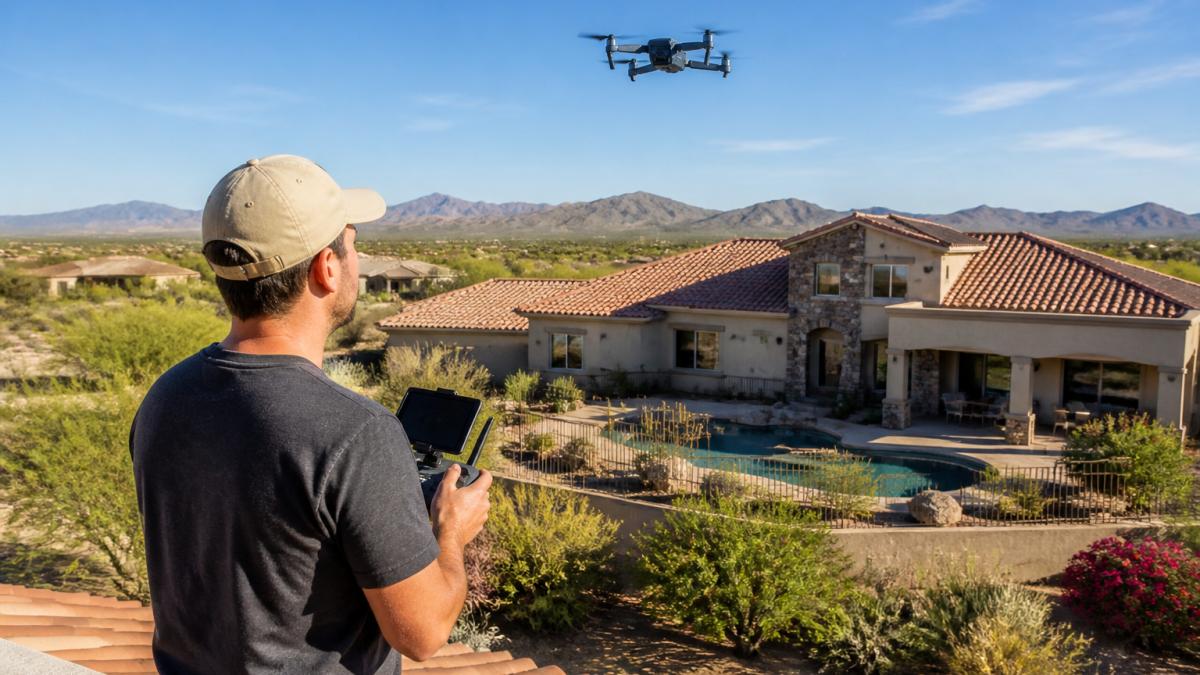
Most drones have operating temperature limits around 104°F, and battery performance degrades well before that. In peak summer, the practical flight window is early morning, often before 9 a.m. Ask your photographer how they handle heat, cool spare batteries, shorter flights, and shaded launch points are standard.
Wind, Dust, and Air Quality
Sustained winds above roughly 10 mph make smooth video difficult and can ground smaller aircraft. Dust storms and wildfire smoke reduce contrast, so if air quality is poor on shoot day, reschedule, editing cannot fully recover a hazy aerial image.
Coordinating With Ground Photography
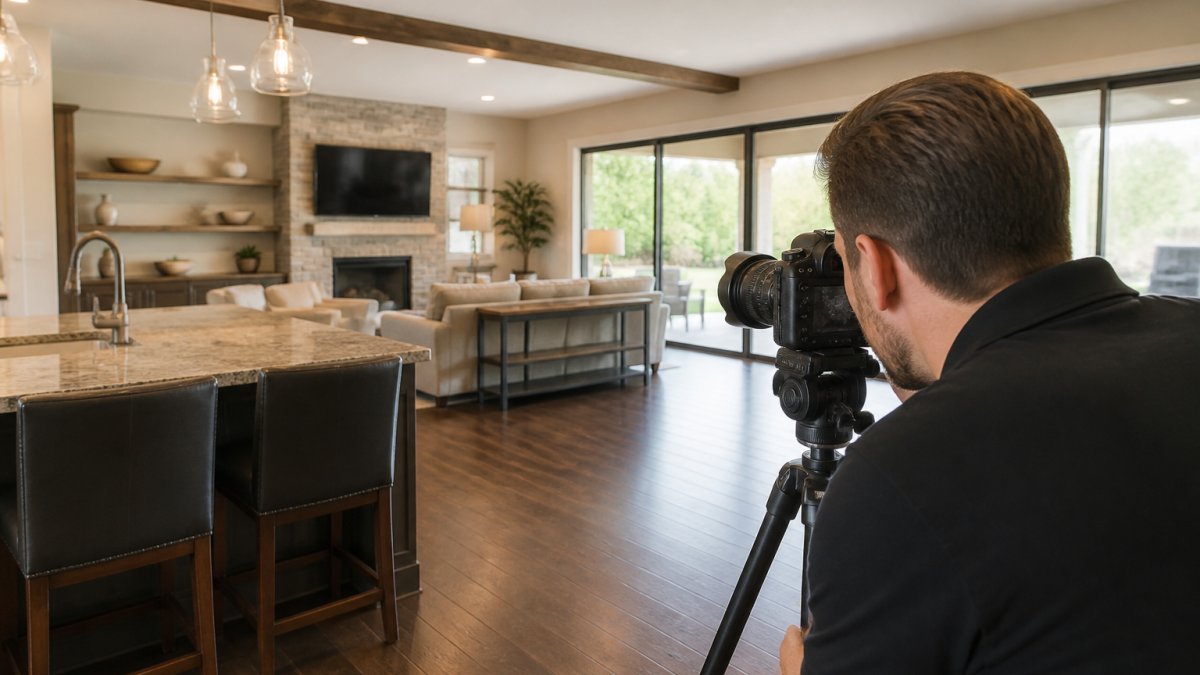
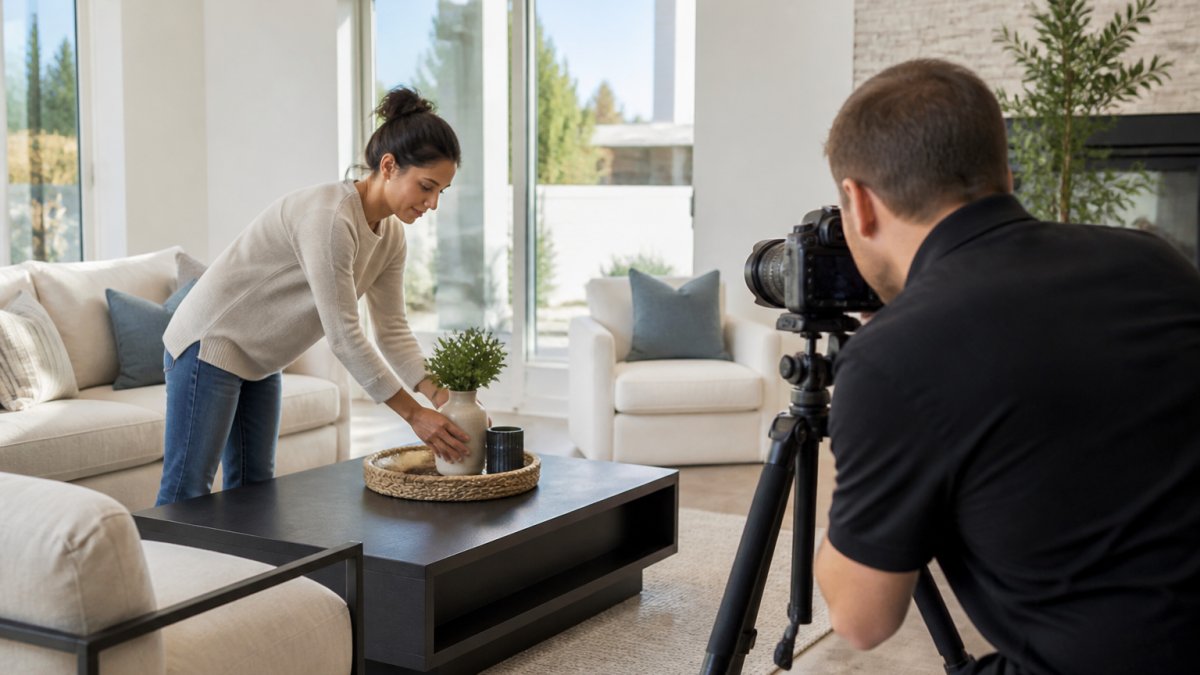
Aerial and ground photos should be shot as close together as possible, ideally the same day, so landscaping, pool clarity, and vehicle placement match. If your interior photographer shoots in the morning and the drone flies at sunset, make sure nothing changes in between, cars, trash bins, or furniture moved for interior shots can undo your aerial preparation.
A Note on Scheduling Around the Market
If your timeline is flexible, spring and fall offer the best light, landscaping, and flight conditions. For summer listings, plan an early morning shoot with a rain date. Winter shoots work well but require earlier start times to catch the golden-hour window.
Pool Preparation for Real Estate Photos
Pools are major selling features that require specific preparation. A well-maintained pool dramatically increases property appeal in aerial shots.
Pool water clarity is essential.
Pool deck preparation is equally important:
- Pressure wash the deck to remove algae or stains
- Clean pool furniture and arrange it intentionally
- Remove toys, floats, and excess equipment
- Ensure pool gates are closed and secure
- Trim landscaping around the pool area
Filled pools look inviting and valuable, while empty or partially filled pools signal abandonment.
Lighting on water creates stunning reflections in aerial photos.
If you have a spa or hot tub, ensure it's clean and filled, with covers removed or arranged neatly.
Flight Planning and Shot Composition
Successful aerial photography requires careful flight planning and shot composition.
Key shots for most properties include:
- Wide establishing shot showing the entire property and surroundings
- Angled shots showing the home's front and side elevation
- Overhead shots showing roof, pool, and outdoor spaces
- Closer shots of specific features like patios or gardens
- Flyover footage showing the property and neighborhood context
Composition principles apply to aerial photography just as to ground-level shots.
Altitude matters: lower altitudes show fine details and architectural features, while higher altitudes reveal the property's relationship to surrounding areas.
Camera movement should be smooth and intentional. Slow pans that reveal the property gradually beat rapid movements, and altitude holds show specific features clearly.
Privacy, Permissions, and Flight Restrictions
Understanding flight restrictions and permissions is essential before scheduling your shoot.
The FAA requires Part 107 certification for commercial drone operations, so your photographer must be FAA-licensed.
Check local restrictions before your shoot:
- Some neighborhoods have HOA restrictions on drone flights
- Certain areas near airports have no-fly zones
- State and local parks may prohibit commercial drone operations
- Private property rights mean neighboring properties cannot be deliberately featured
Contact your local city or county planning department to verify restrictions.
Privacy considerations extend beyond legal compliance. Avoid capturing neighboring properties in ways that feel invasive.
Weather and airspace safety require real-time decision-making.
Preparing your property for aerial photos requires planning and coordination with your photographer.
Frequently Asked Questions
How do I prepare my property for aerial photos?
Start by cleaning and decluttering your yard, driveway, and visible outdoor areas. Trim landscaping, remove vehicles and equipment, and ensure your roof and gutters are clean. Coordinate with your photographer on timing and any specific shots you want to highlight. Check local flight restrictions and ensure you have permission for drone operations on your property. A professional photographer can guide you through property-specific preparation steps during an initial consultation.
What should I remove from my yard before drone photography?
Remove parked cars, trash bins, garden tools, construction materials, and any personal items visible from above. Move vehicles to the garage or park them off-site if possible. Store pool floats, lounge chairs, and outdoor furniture unless they're part of your property's key amenities you want to showcase. Clear the driveway and walkways completely. These removals eliminate distractions and let the property's features and landscaping be the focus of your aerial imagery.
What is the best time of day for real estate drone photos?
Golden hour, shortly after sunrise or before sunset, provides the most flattering natural light for aerial photography. Avoid harsh midday sun, which creates strong shadows and washes out colors. Early morning also reduces glare on pool water and windows. Overcast days work well for consistent, even lighting without shadows. Your photographer will recommend specific timing based on your property's orientation and the season.
How should I prepare a pool for aerial photos?
Clean the pool thoroughly and ensure the water is crystal clear and properly balanced. Drain and refill if necessary to remove algae or discoloration. Remove pool floats, toys, and cleaning equipment. If possible, schedule the shoot when the water is calm and reflects the sky, creating visual depth. Ensure pool furniture and loungers are neatly arranged or removed. A sparkling, well-maintained pool is a major selling point in aerial imagery and significantly enhances the property's appeal to buyers.