 how-to
Hand Blended Real Estate Photography: A How-To Guide
Table of Contents
- What Is Hand Blended Real Estate Photography
- Hand Blending vs. HDR and Other Techniques
- How to Prepare Your Home for Real Estate Photography
- The Hand Blending Process: Step-by-Step Workflow
- Flash and Ambient Blending in Real Estate Work
- Why Hand Blending Outperforms Automated Methods
- Common Mistakes to Avoid
- Conclusion
Last Updated: August 20, 2026
What Is Hand Blended Real Estate Photography
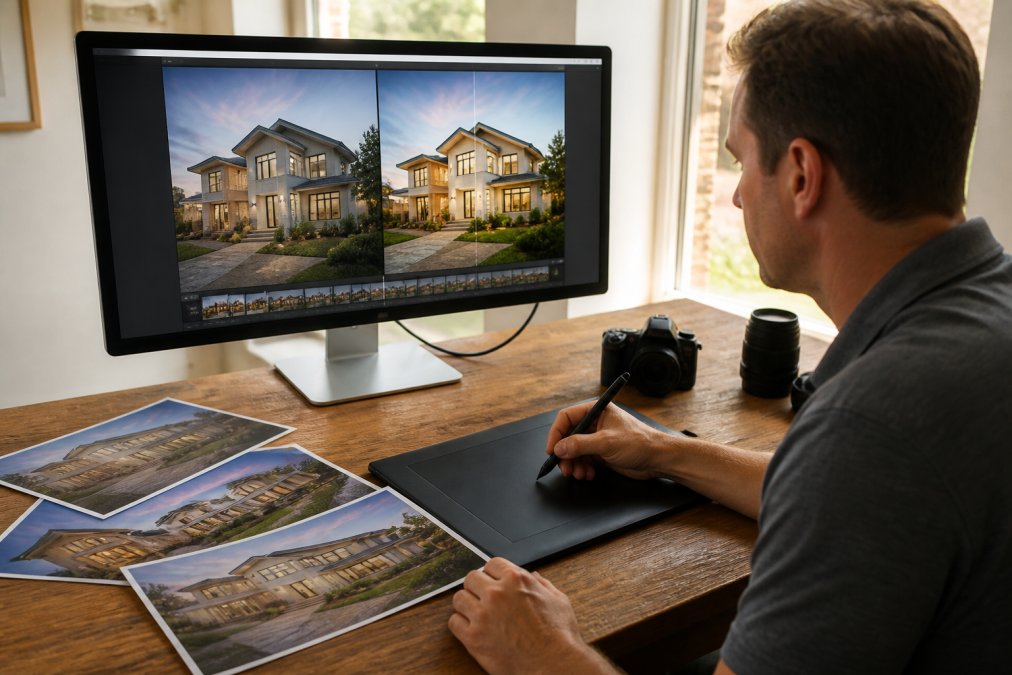
Hand blended real estate photography is a post-processing technique where a photographer manually combines multiple exposures of the same scene to create a single, perfectly balanced image. Rather than relying on automated HDR software, the photographer selectively blends bracketed exposures using layer masking, opacity adjustments, and blending modes to recover highlight detail in bright windows while preserving shadow detail in interior spaces.
The process starts during the shoot: capture multiple frames at different exposures, one optimized for the bright outdoor view through a window, another for interior walls and furnishings. Back in post-processing, layer these exposures in Photoshop or Lightroom, then use masks and brushes to blend them seamlessly. The result is an image with natural color balance, no blown-out windows, and no crushed shadows.
This technique separates professional real estate work from amateur snapshots. Hand blended real estate photography solves the dynamic range problem, the difference between the brightest and darkest parts of a scene, by giving the photographer complete control over which exposure dominates in each area of the final image.
According to the National Association of Realtors, high-quality property photos are the single most important factor in attracting qualified buyers. Hand blending delivers that quality consistently.
Hand Blending vs. HDR and Other Techniques
Hand blended real estate photography differs fundamentally from automated HDR (High Dynamic Range) merging and single-exposure editing.
Automated HDR software analyzes bracketed exposures and blends them algorithmically. The result is often over-processed: colors are oversaturated, halos appear around objects, and the image looks artificial. For real estate, where the goal is to make a space look inviting and natural, automated HDR frequently fails.
Hand blended real estate photography gives you pixel-level control. You decide which exposure contributes to each part of the final image. You adjust opacity gradually so transitions are invisible. The result looks like a single, naturally exposed photograph.
Single-exposure editing takes one well-exposed frame and pushes the shadows and highlights in Lightroom or Photoshop. This works for some spaces, but RAW files have finite latitude. Push shadows too far and you introduce noise and color shifts. Hand blending captures multiple exposures so you have detail to work with in every tonal range.
The trade-off is time. A single-exposure edit takes 5-10 minutes per image. Hand blending takes 15-30 minutes, depending on complexity. For agents handling 15-20 properties a month, the extra time adds up. Capturing the right bracketed exposures in-camera reduces post-processing time significantly.
How to Prepare Your Home for Real Estate Photography
Before the photographer arrives, property preparation determines how much work hand blending will need to do.
Lighting preparation is the first priority. Open all curtains and blinds to maximize ambient light through windows. This reduces the dynamic range problem that hand blending exists to solve. Turn on interior lights, overhead lights, table lamps, and accent lighting all contribute. Consistency matters: if some rooms are lit and others aren't, the final images look disjointed.
Declutter and stage every space. Remove personal items, family photos, and excessive furniture. A sparse, clean room photographs better and requires less editing. Hand blending can fix exposure and color, but it can't remove clutter or rearrange furniture.
Color consistency across rooms affects post-processing. Aim for consistent white balance throughout the home. If the master bedroom has a different light temperature than the kitchen, note it so the photographer can adjust their approach.
Window treatment matters more than most homeowners realize. Sheer curtains diffuse harsh sunlight and reduce glare. Clean windows are non-negotiable; dirty windows block light and create reflections that complicate blending. Outside, trim trees and bushes away from windows so the outdoor view is clear.
Exterior preparation includes power-washing the driveway and walkways, trimming landscaping, and ensuring the front entrance is inviting. Hand blending handles exposure and color, but it can't fix a neglected exterior.
The Hand Blending Process: Step-by-Step Workflow
Step 1: Capture Bracketed Exposures
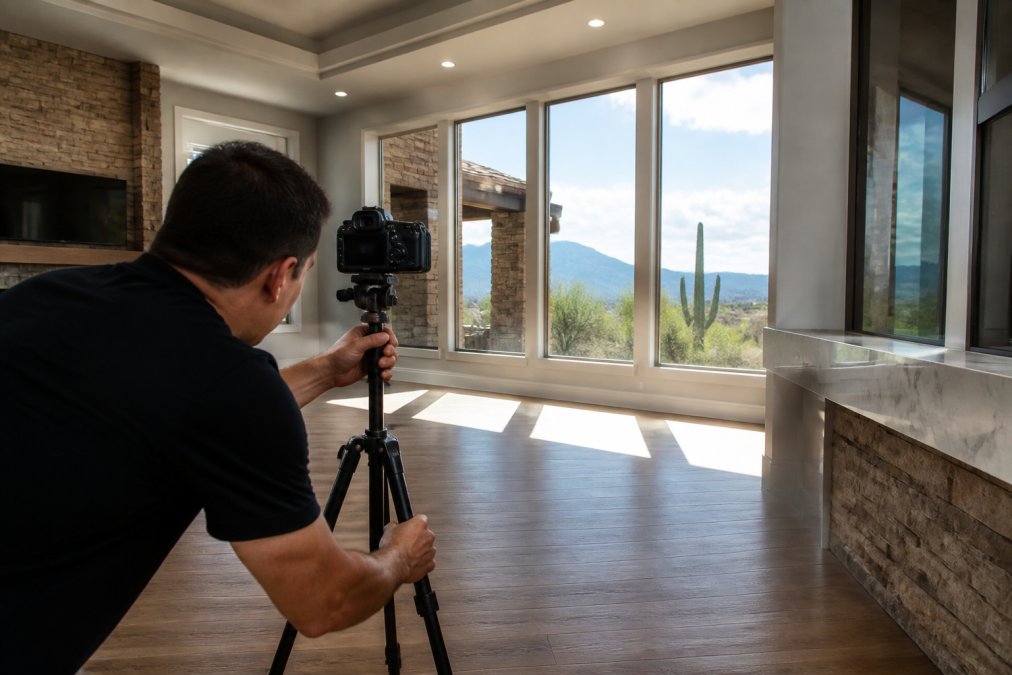
Hand blended real estate photography begins in-camera. You must capture multiple exposures of the same scene, each optimized for a different tonal range.
Set your camera to aperture priority mode (typically f/5.6 to f/8 for real estate). Use a sturdy tripod to lock the composition. Enable automatic exposure bracketing, which captures 3, 5, or 7 frames at different exposures with a single shutter press.
The typical bracket sequence is three frames: one underexposed (to preserve window highlights), one at metered exposure (middle tones), and one overexposed (to lift shadows). Bracket in 1-stop increments. For windows with bright outdoor views, you may need a fourth exposure specifically underexposed to recover the sky and landscape.
Shoot in RAW format. RAW files preserve more tonal information than JPEGs, giving you more latitude in post-processing.
Step 2: Import and Organize RAW Files
Import your bracketed exposures into Lightroom or Capture One, organized by room and shot. Apply basic RAW adjustments to all frames: white balance correction, lens profile correction, and vignette removal. These adjustments apply consistently to the entire sequence. Don't adjust exposure, highlights, or shadows yet, that's where hand blending comes in.
Color temperature is critical. If you shot under mixed lighting, you may need to adjust white balance per frame. Hand blending will blend these frames together, so color consistency matters.
Step 3: Layer and Mask for Exposure Control
Open your best-exposed frame in Photoshop as the base layer. Import your other bracketed exposures as layers above it. The typical stack is: underexposed frame on top, metered frame in the middle, overexposed frame on the bottom.
Add a layer mask to the top (underexposed) layer. Paint black on the mask where you want the lighter exposures below to show through. Use a soft brush at reduced opacity to create gradual transitions. For a window, you're painting away the underexposed layer to reveal the metered or overexposed layers underneath, which have more detail in the dark interior.
For the middle (metered) layer, add a mask and paint away areas where you want either more shadow detail or more highlight recovery. The goal is seamless transitions. If you can see brush strokes or distinct lines between exposures, your blending is too aggressive.
Step 4: Refine Color Balance and White Balance
Once your exposures are blended, color balance often needs adjustment. Use Curves or Levels adjustments on a new layer to fine-tune color balance. Subtle adjustments are better than dramatic ones.
White balance should be neutral unless the room has intentional warm or cool lighting. Consistency across rooms is more important than absolute perfection in any single room.
Reduce saturation slightly if the blended image looks too vivid. Increase vibrance if colors look dull. Subtlety is the hallmark of professional hand blending.
Flash and Ambient Blending in Real Estate Work
Flash and ambient blending combines a frame lit with flash with an ambient-light frame to achieve the best of both. Ambient light alone can be insufficient in interior spaces. A room with windows and overhead lights still may have dark corners or uneven illumination.
The solution is to shoot two frames: one with ambient light only, one with flash added. The ambient frame captures the natural color temperature and soft quality of the room's existing light. The flash frame adds fill light to shadows and brightens dark areas. Hand blending combines them: the ambient frame dominates, with the flash frame blended in selectively to lift shadows without creating obvious flash artifacts.
This technique is particularly valuable in kitchens, bathrooms, and bedrooms where uneven ambient lighting is common. A kitchen with overhead lights and window light might have bright countertops but dark cabinet interiors. A flash-assisted frame can brighten those interiors, then be blended so the overall image looks naturally lit.
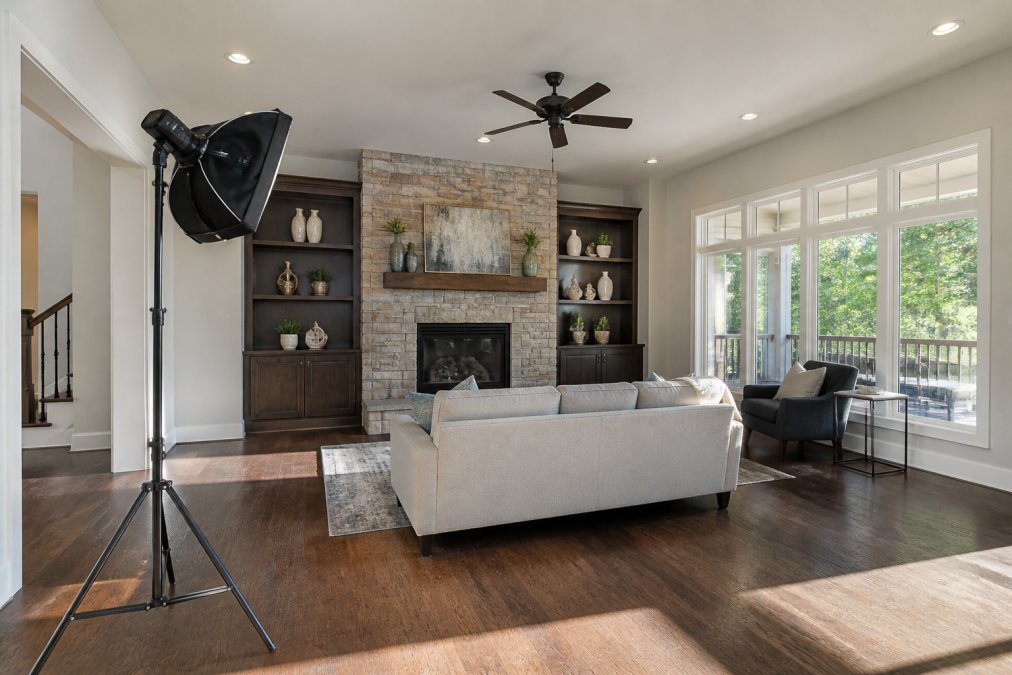
Shoot both frames at the same ISO, aperture, and shutter speed. The only difference is whether flash fires. This ensures that when you blend them, the tonal relationships remain consistent.
Why Hand Blending Outperforms Automated Methods
Automated HDR software applies the same blending logic to every image with no understanding of your creative intent or the specific challenges of the scene. Hand blending gives you control: you decide which exposure contributes to which part of the image, adjust opacity based on the specific characteristics of that room, and protect areas from over-processing.
The result is consistency and quality. Every property looks professionally edited, not algorithmically processed. A hand-blended image looks like a single, naturally exposed photograph. An automated HDR image often looks processed, with visible halos, oversaturation, and unnatural color shifts.
While hand blending takes longer per image than automated methods, the final images require less cleanup and revision. Hand blending is slower upfront but faster overall because the result is closer to final on the first pass.
For agents handling multiple properties, consistency matters. Hand blending, when done by the same photographer, maintains a consistent visual style across all properties. That consistency builds trust with buyers and strengthens the agent's reputation.
Research on buyer behavior from the National Association of Realtors consistently shows that properties with professional photography sell faster and at higher prices.
Common Mistakes to Avoid
Over-blending is the most frequent error. Photographers sometimes blend too aggressively, creating images that look artificial or overly processed. The goal is invisible blending; the viewer should never know multiple exposures were combined.
Inconsistent color balance across frames before blending creates visible seams. Shoot all bracketed exposures with the same white balance setting in-camera, then adjust globally in post-processing.
Poor mask work with visible brush strokes or hard edges is another common problem. Use a soft brush with reduced opacity and feather your selections. A transition zone of 10-20 pixels is better than a sharp line.
Neglecting the underexposed frame for highlight recovery is a tactical mistake. Windows are often the most compelling part of a real estate image. Preserve that detail by using the darkest exposure to recover sky and landscape.
Blending without a plan leads to inefficient workflows. Before you start blending, identify the problem areas: bright windows, dark corners, uneven lighting. Plan which exposure will solve each problem, then blend systematically.
Forgetting to flatten and optimize for delivery is an easy oversight. After blending, flatten your layers, convert to sRGB color space for web display, and optimize file size. Export as optimized JPEGs or high-quality PNGs depending on the client's needs.
Conclusion
Hand blended real estate photography is the gold standard for property marketing because it combines technical precision with creative control. You capture multiple exposures to preserve detail across the entire dynamic range, then selectively blend them to create images that look natural, inviting, and professional. The technique takes longer than automated methods, but the results justify the time investment: properties photograph better, agents close deals faster, and buyers see spaces they want to move into.
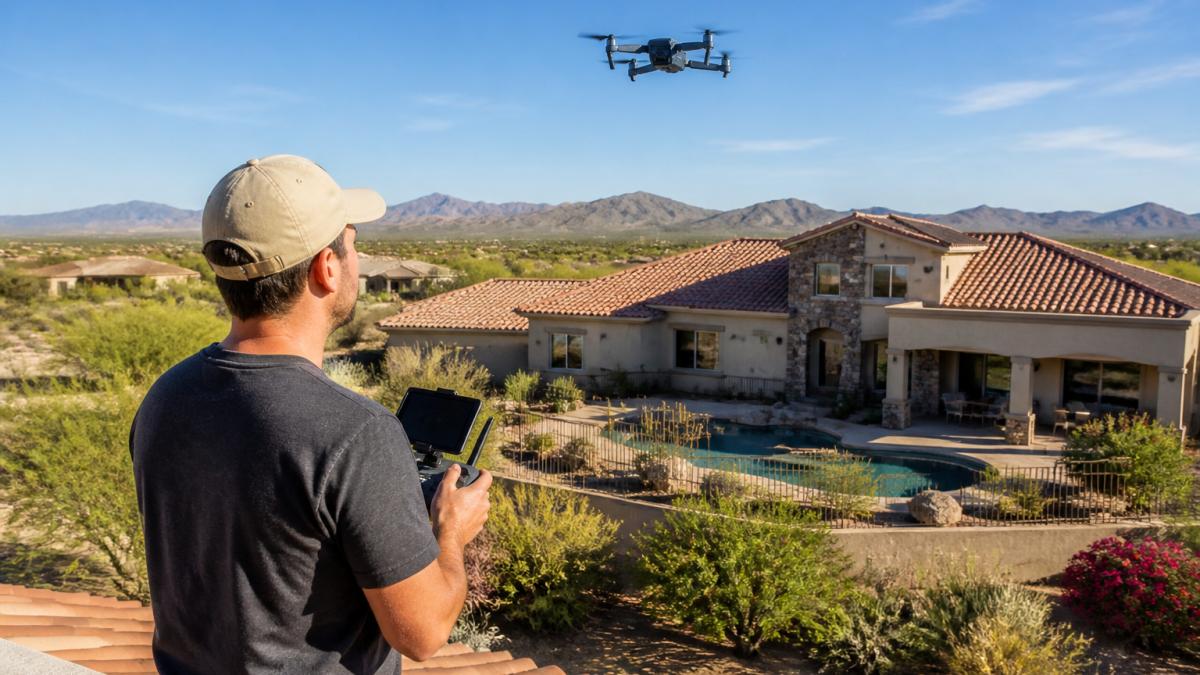
If you're an agent or homeowner looking to elevate your property listings, hand blending is the technique that separates professional real estate photography from amateur snapshots. Desert Home Photography specializes in hand blended real estate photography throughout the Phoenix Valley, using proven workflows and meticulous attention to detail to showcase every property's unique features. With FAA-licensed drone operators and immersive virtual tour capabilities, we provide comprehensive visual marketing solutions that maximize buyer interest and accelerate sales. Contact Desert Home Photography for a consultation to discuss how hand blending can transform your listings.
Frequently Asked Questions
What is the difference between hand blending and HDR merging?
Hand blended real estate photography uses manual layer masking and selective exposure control to combine the best parts of multiple exposures. HDR software merges exposures automatically, often producing an artificial, over-processed look. Hand blending gives you precise control over which areas get which exposure, preserving natural color balance and avoiding ghosting artifacts. For real estate, hand blending typically delivers more realistic, marketable results because you control exactly how highlights and shadows are recovered.
How much does professional hand blended photography cost per listing?
Pricing depends on the property size, number of photos needed, delivery timeline, and whether drone or virtual tour services are included. Rather than guess at costs, contact Desert Home Photography directly for a quote tailored to your monthly volume and specific needs. Many agents find that professional hand-blended images increase buyer interest and reduce time on market, often justifying the investment through faster sales.
Why do real estate agents prefer hand blending over automated editing?
Hand blending preserves the natural look of a property while recovering detail in both shadows and highlights, critical for selling homes. Automated methods can create unnatural color casts, blown-out windows, or overly darkened interiors that make spaces look less appealing. Hand blending also allows photographers to address specific lighting challenges common in real estate, like controlling glare on windows while keeping the exterior view visible. The result is images that feel authentic to potential buyers rather than heavily processed.
How long does the hand blending process take from shoot to delivery?
Hand blending is more time-intensive than automated editing because each image receives individual attention for layer masking, color correction, and shadow recovery. Turnaround time varies based on the number of photos and the photographer's workflow. Contact Desert Home Photography to discuss your timeline needs, they prioritize fast delivery for agents who need to list quickly while maintaining the quality that hand blending provides.
This article was written using GrandRanker