 how-to
How to Prepare Home for Real Estate Photography
Table of Contents
- Your Real Estate Photography Checklist: Room by Room
- Declutter and Depersonalize Every Space
- Home Staging Tips for Listing Photos That Sell
- Lighting: Natural Light, Window Treatments, and Bulbs
- Curb Appeal and Exterior Preparation
- Pets, Personal Items, and Safety During the Shoot
- How Long Does Real Estate Photography Take to Prepare and Shoot
- Conclusion
Last Updated: August 16, 2026
Your Real Estate Photography Checklist: Room by Room
Knowing how to prepare your home for real estate photography is the single biggest factor separating listings that generate immediate showings from those that sit on the market. At Desert Home Photography, we've worked through hundreds of shoots across the Phoenix Valley and know exactly what separates a crisp, high-resolution listing from one that buyers scroll past in three seconds.
The checklist below covers every room, every detail. Work through it the day before your shoot, and your photographer can focus entirely on capturing your home rather than waiting for prep work to finish.
| Room / Area | Key Prep Tasks | Common Oversight |
|---|---|---|
| Living Room | Declutter surfaces, fluff cushions, open blinds | Remote controls left on tables |
| Bedrooms | Make beds with fresh linens, clear nightstands | Phone chargers and cables visible |
| Kitchen | Clear countertops, hide dish racks, polish fixtures | Refrigerator magnets and notes |
| Bathrooms | Remove personal care items, close toilet lids | Trash cans left in frame |
| Exterior | Mow, sweep driveway, move vehicles | Trash bins and garden hoses |
Living Areas and Bedrooms
Living areas set the emotional tone of a listing. Buyers form their first impression from the lead photo, and that photo is almost always the main living space. Pull furniture slightly away from walls to create a sense of depth. Remove throw blankets piled on sofas, straighten every cushion, and take down anything hanging on walls that reads as too personal.
Bedrooms should feel like a hotel, not a lived-in space. Make every bed with your best linens, add matching pillowcases, and clear nightstands down to one or two intentional items at most. Closet doors should be closed. Any laundry, visible storage bins, or personal items need to leave the frame entirely.
Kitchen and Bathrooms
The kitchen is where buyers make or break their decision, and clutter on countertops is the fastest way to make even a generous kitchen look cramped. Clear everything off the counters: coffee makers, knife blocks, dish racks, mail, and especially refrigerator magnets. Leave only one or two items that signal lifestyle, such as a bowl of fresh fruit or a clean cutting board.
Bathrooms require the same discipline. Remove all personal care products from counters and the shower. Close the toilet lid. Hang fresh, matching towels folded neatly. Pull the trash can out of frame entirely. Clean mirrors and chrome fixtures so they catch the light correctly.
Declutter and Depersonalize Every Space
The most common mistake sellers make before a real estate photography shoot is underestimating how much decluttering is actually required. What looks normal to someone who lives in a space reads as visual noise on camera, especially through a wide-angle lens.
Depersonalizing is the practice of removing anything that ties the home specifically to its current occupants. Family photos, children's artwork on the refrigerator, personalized decor, trophies, and collections all need to come down. The goal is to create a clutter-free, neutral environment that lets buyers project themselves into the space.
A practical rule: if you can see it, question whether it needs to be there. Then cut that remaining group in half again. Professional photographers working with wide-angle lenses capture far more of a room than the human eye naturally focuses on, so items that seem inconspicuous in person become prominent in the final image.
Work room by room, starting with the spaces that will be photographed first. Bring boxes or bins into each room and remove items in categories: personal photos, excess furniture, countertop appliances, floor items, and anything stored in corners. According to National Association of Realtors staging research, staged and decluttered homes tend to sell faster and for stronger prices than comparable unstaged properties, which reflects what professional photographers see consistently in listing performance.
Home Staging Tips for Listing Photos That Sell
Home staging for listing photos is not interior design. It's visual storytelling optimized for a camera, not a walkthrough. The distinction matters because what looks beautiful in person doesn't always translate to a high-resolution image, and vice versa.
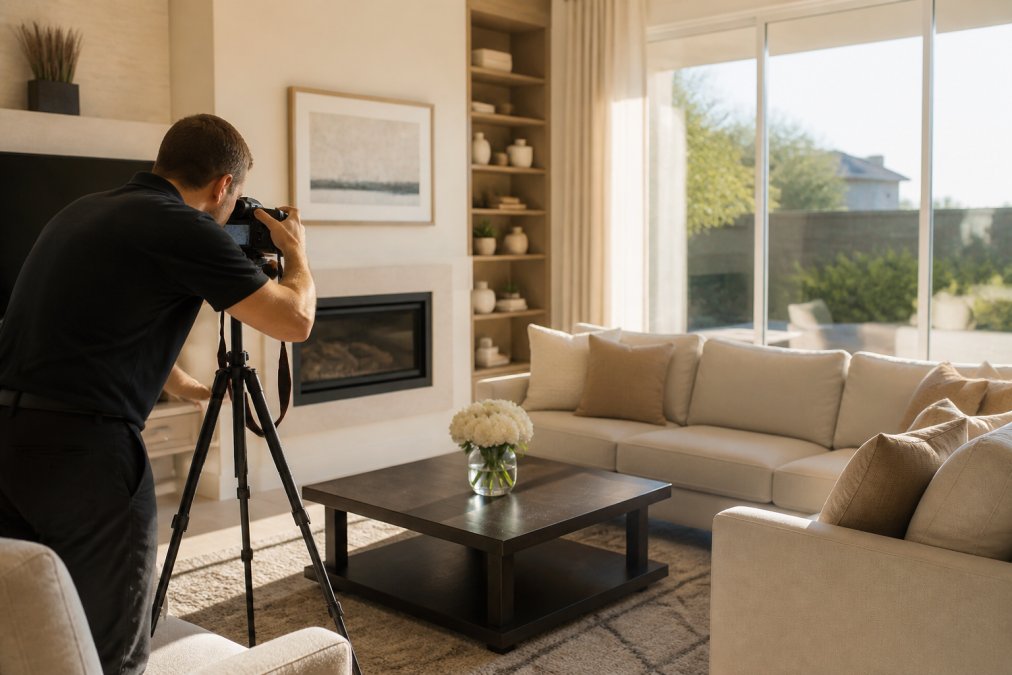
The most effective staging approach for listing photos focuses on three things: neutral color palettes, deliberate negative space, and a few well-placed accent pieces that photograph well. Avoid staging with items that are too small, too colorful, or too personal. Oversized artwork, clean-lined furniture, and fresh greenery or flowers all perform well on camera.
Furniture Arrangement and Open Floor Plan Presentation
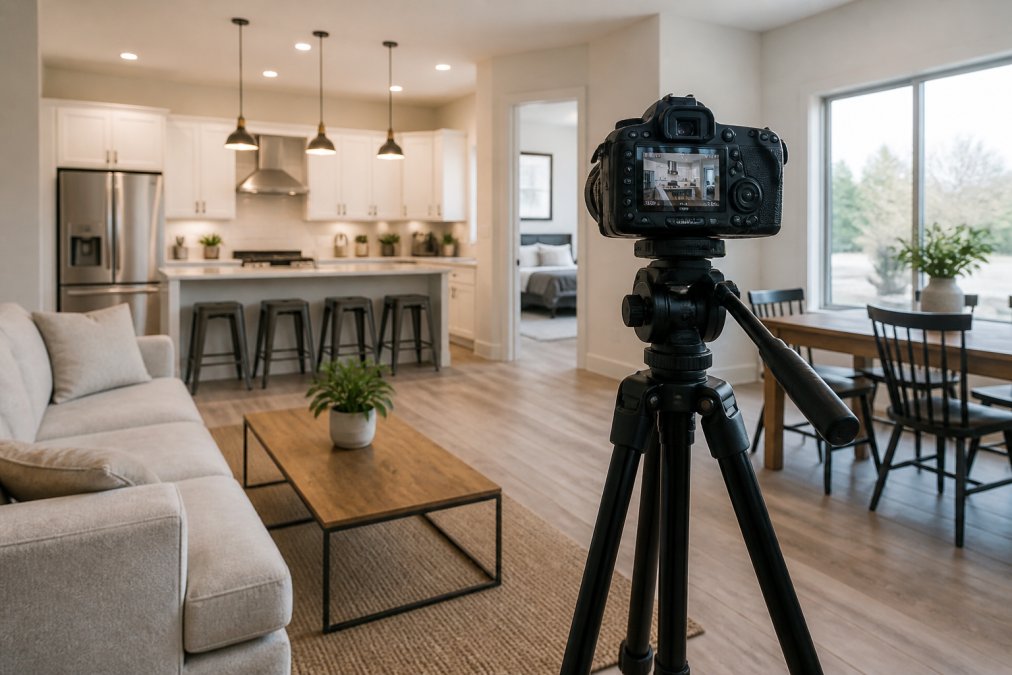
Furniture arrangement directly affects how large a space appears in listing photos. The goal is to create clear sightlines from the camera position to the far wall, which makes rooms read as more spacious. Pull seating away from walls slightly, angle pieces when it creates better flow, and remove any furniture that blocks natural pathways through the room.
Open floor plan homes benefit from staging that defines zones without closing them off. Use a rug to anchor a seating area, position dining furniture to suggest the room's purpose clearly, and avoid staging that makes one zone feel cut off from another. The camera needs to tell the story of the space in a single frame.
Virtual Staging vs. Physical Staging
Virtual staging is the practice of digitally adding furniture and decor to photos of an empty room in post-production. Physical staging involves placing real furniture and decor in the home before the shoot.
Both have legitimate use cases, and the right choice depends on the property and the timeline. Physical staging produces the most authentic result and works for both photography and video walkthroughs. Virtual staging costs significantly less and is practical for vacant properties where bringing in furniture is logistically difficult. The limitation of virtual staging is that buyers who visit in person see an empty home, which can create a disconnect. For most occupied listings, physical staging, even minimal rearrangement of existing furniture, produces stronger results.
Lighting: Natural Light, Window Treatments, and Bulbs
Lighting is the single most technically demanding element of real estate photography, and it's the area where preparation makes the biggest difference. Poor lighting is also the most common complaint agents have about listing photos from less experienced photographers.
Start with natural light. Open every window treatment fully: raise blinds completely, pull curtains back to the wall, and remove any sheer panels that diffuse light unevenly. The goal is maximum natural light entering each room. Schedule your shoot for morning or early afternoon when natural light is brightest and most flattering, particularly for homes with south or west-facing windows.
Overhead lighting matters more than most sellers realize. Walk through every room and check every bulb. Burned-out bulbs create dark patches that no amount of post-production can fully correct. Replace any burned-out bulbs and, critically, make sure all bulbs in a single fixture or room match in color temperature. Mixing warm and cool bulbs creates an uneven color cast that reads as unprofessional in listing photos.
Turn on every light in the home before the photographer arrives. Lamps, overhead fixtures, under-cabinet lighting, and accent lights all contribute to the overall aesthetic appeal of each room. According to real estate photography preparation guidance, homes photographed with consistent, layered lighting consistently outperform those shot in flat or uneven light in online engagement metrics.
Curb Appeal and Exterior Preparation
The exterior shot is the first image most buyers see on a property listing, and it functions as the cover of the entire marketing package. Curb appeal in photography is not just about how the home looks in person; it's about how it photographs from the street-level angle your photographer will use.
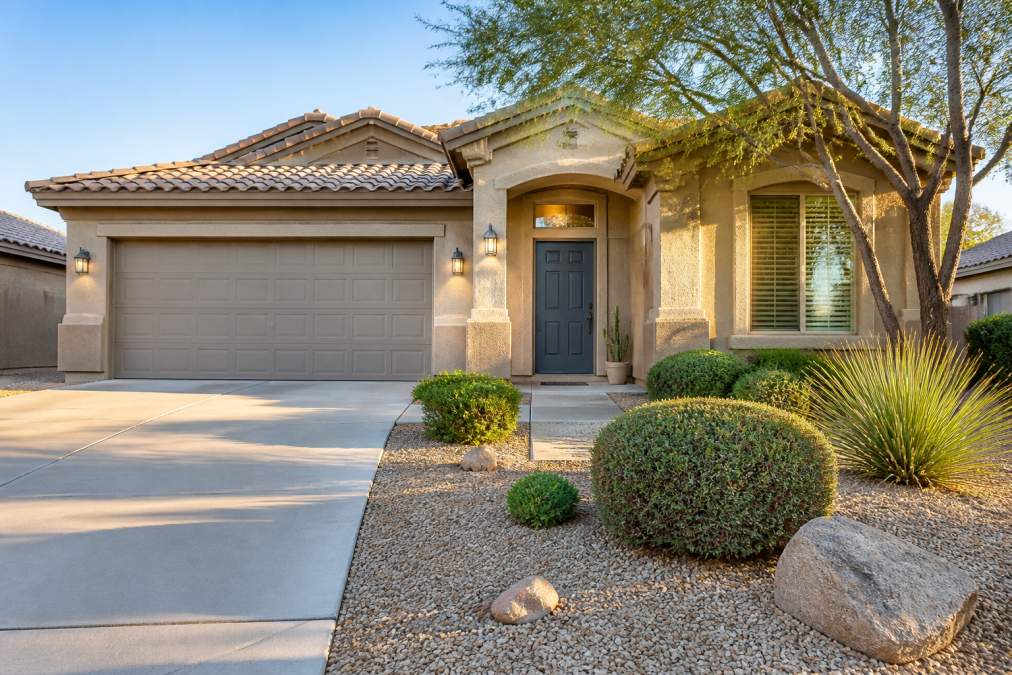
Mow the lawn or tidy desert landscaping the day before the shoot. Sweep the driveway, front walkway, and porch. Remove all vehicles from the driveway and, if possible, from the street directly in front of the home. Move trash bins, garden hoses, outdoor toys, and any equipment out of the camera's field of view.
Check the front door. A fresh coat of paint on a faded front door costs very little and creates a significant visual impact in listing photos. Clean windows from the outside so they don't create glare or reflections that distract from the facade. If the property has a pool, ensure the water is clean and the surrounding area is tidy.
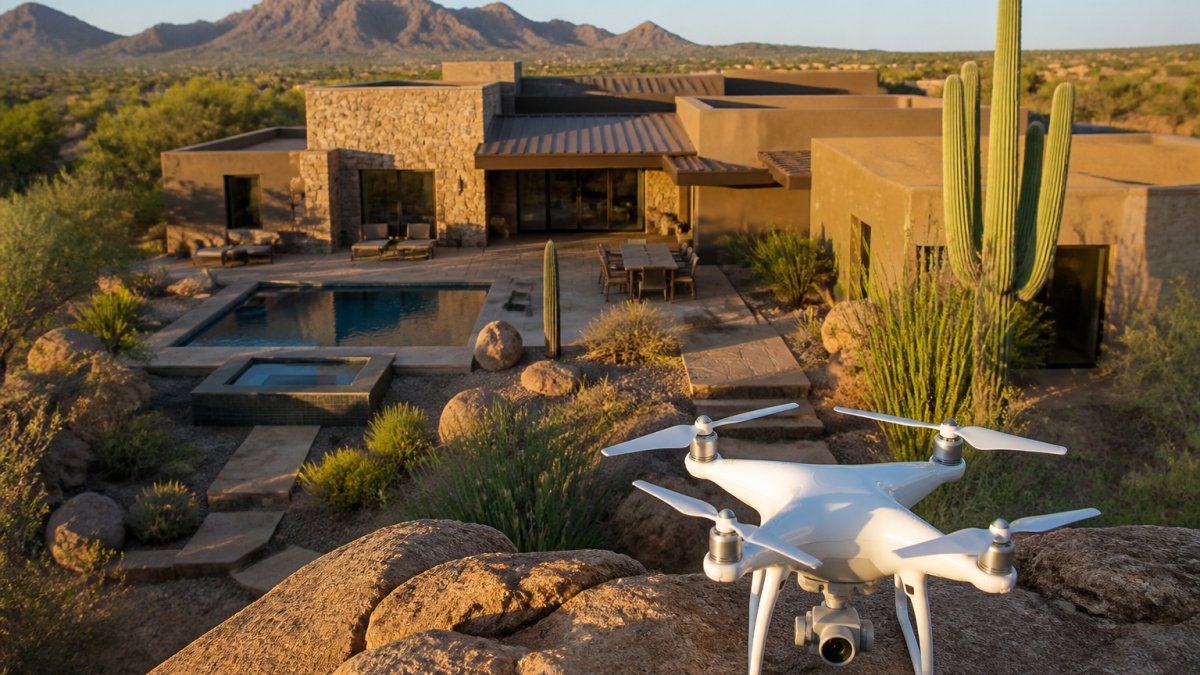
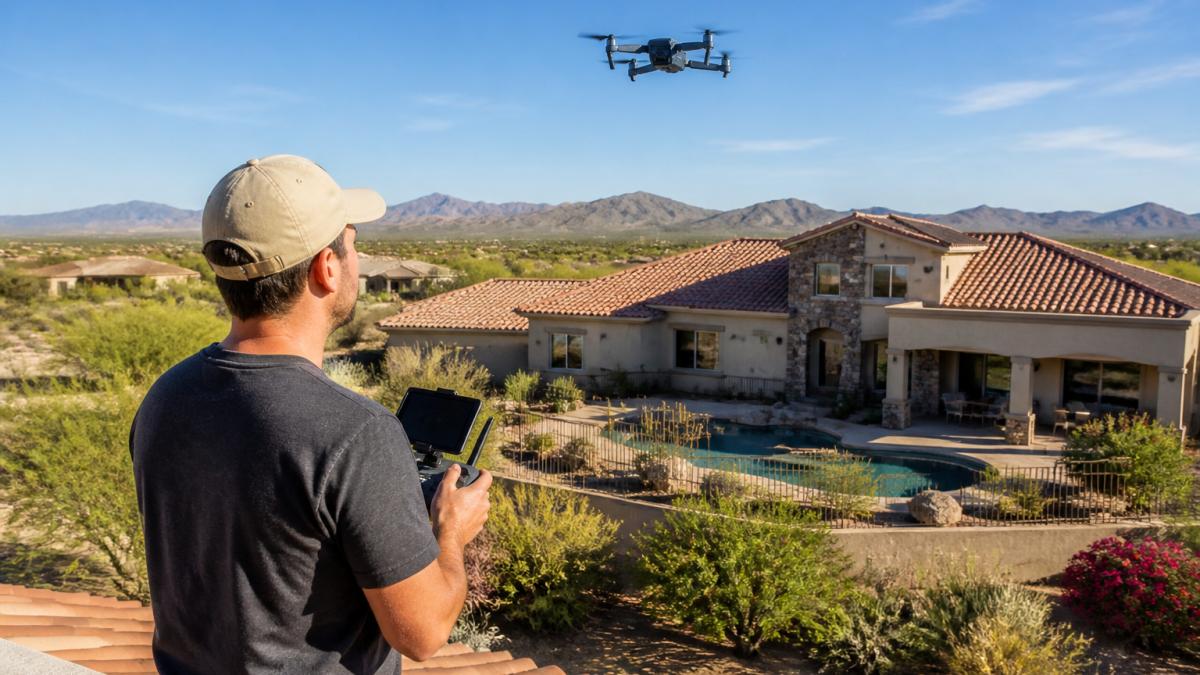
For properties where aerial imagery adds value, Desert Home Photography's FAA-licensed drone operators can capture exterior and property context shots that ground-level photography simply cannot achieve. Drone photography is particularly effective for larger lots, properties with distinctive roof lines, or homes where the surrounding neighborhood context is a selling point.
Pets, Personal Items, and Safety During the Shoot
Pets need to leave the property for the duration of the shoot. This is not optional. Even well-behaved animals create problems: they appear in frames, they distract the photographer, and pet-related items like food bowls, beds, and toys read as clutter in listing photos. Arrange for pets to be with a neighbor, at a boarding facility, or in a vehicle during the session.
Personal items extend beyond family photos. Prescription medications should be secured or removed from all surfaces and medicine cabinets, as photographers often capture these areas. Financial documents, personal mail, and any valuables should be stored out of sight. This is both a staging consideration and a security one.
Safety during a shoot also means thinking about who has access to your home. Professional photographers work quickly and move through every room. Confirm your photographer's identity before the appointment, secure any items you're not comfortable having photographed, and be present or have a trusted representative on-site throughout the session. According to home security guidance for open houses and showings, taking basic security precautions during any property access event is standard practice for sellers.
How Long Does Real Estate Photography Take to Prepare and Shoot
Preparation for a real estate photography shoot typically takes one to two full days of work for most homes, spread across decluttering, cleaning, staging, and exterior prep. Underestimating preparation time is the most common reason shoots run long or produce suboptimal results.
The shoot itself varies by property size and the scope of services. A standard interior and exterior session for a typical single-family home generally runs between one and two hours. Larger properties, homes with extensive outdoor areas, or sessions that include drone photography and virtual walkthrough tours will take longer. Desert Home Photography's team works efficiently to minimize disruption while capturing every space thoroughly.
Weather-Specific Preparation and Post-Production Expectations
Weather affects exterior photography significantly. Overcast days can actually produce excellent results for interiors because diffused light eliminates harsh shadows. For exteriors, bright sunny days with clear skies photograph best, particularly for drone work where blue sky creates a strong visual backdrop.
If your shoot is scheduled during a period of unsettled weather, discuss contingency plans with your photographer in advance. Some exterior shots can be rescheduled without requiring a full reshoot. For interior-only sessions, weather has minimal impact.
Post-production is where professional real estate photography earns its value. Hand-blended imaging, the technique Desert Home Photography uses, combines multiple exposures to produce images that accurately represent how a room looks to the human eye, balancing bright windows against interior lighting without losing detail in either. Expect a turnaround time of one to two business days for standard shoots. Rushing post-production to same-day delivery often sacrifices the editing quality that makes listing photos stand out.
The real estate photography process, from preparation through final delivery, is an investment in your listing's visual storytelling. Buyers form their opinions online before they ever schedule a showing, and high-quality imagery is the most direct way to influence that first impression.
Frequently Asked Questions
How do I get my house ready for real estate photos?
Start at least two days before the shoot. Declutter every room, clean countertops and surfaces, replace any burned-out bulbs, and open all blinds and curtains to maximize natural light. Move personal items, pet gear, and trash cans out of sight. Outside, mow the lawn, sweep the driveway, and remove vehicles from the front. The goal is a clean, neutral space that lets buyers picture themselves living there.
Should I leave the lights on for real estate photography?
Yes. Turn on every interior light before the photographer arrives, including lamps, under-cabinet lighting, and overhead fixtures. Replace any burned-out bulbs beforehand and match bulb color temperatures as closely as possible to avoid mixed-tone issues. A professional photographer using hand-blended techniques can balance artificial and natural light, but starting with all lights on gives them the best material to work with and helps rooms look warm and inviting in listing photos.
Does staging a home really help with listing photos?
Staged homes consistently attract more buyer interest online, where listing photos are the first impression. A properly staged space looks larger, photographs with more visual impact, and helps buyers emotionally connect with the property. Even basic staging, removing clutter, adding fresh towels in bathrooms, placing a bowl of fruit on the kitchen island, makes a measurable difference in how professional and appealing the final images look in your property listing.
What should I hide before real estate photography?
Remove personal photos, prescription medications, financial documents, and valuables before the shoot. Tuck away pet beds, litter boxes, food bowls, and toys. Clear countertops of small appliances, mail stacks, and toiletries. In garages and utility rooms, hide bins, hoses, and tools. The objective is a clutter-free, depersonalized space, not a lived-in snapshot. Anything that distracts the eye or reveals personal details about the seller should be stored away before the photographer arrives.
Preparing a home for a professional shoot takes effort, but the gap between a well-prepared listing and an unprepared one is visible in every frame. Desert Home Photography specializes in capturing that preparation at its best, using hand-blended imaging techniques and FAA-licensed drone photography to produce listing photos that accurately reflect each property's best qualities. If you're ready to elevate your next listing, call or text Desert Home Photography to schedule your session.
This article was written using GrandRanker