 how-to
Interior Lighting Tips for Real Estate Photography
Table of Contents
- Understanding Natural Light vs. Flash for Real Estate Photography
- Best Camera Settings for Real Estate Interior Photography
- How to Fix Window Glare in Real Estate Photos
- Managing Color Temperature and White Balance
- Lighting Techniques for Small and Windowless Rooms
- Essential Gear and Setup for Interior Real Estate Lighting
- Common Mistakes to Avoid When Lighting Interiors
- Conclusion
Last Updated: August 28, 2026
Understanding Natural Light vs. Flash for Real Estate Photography
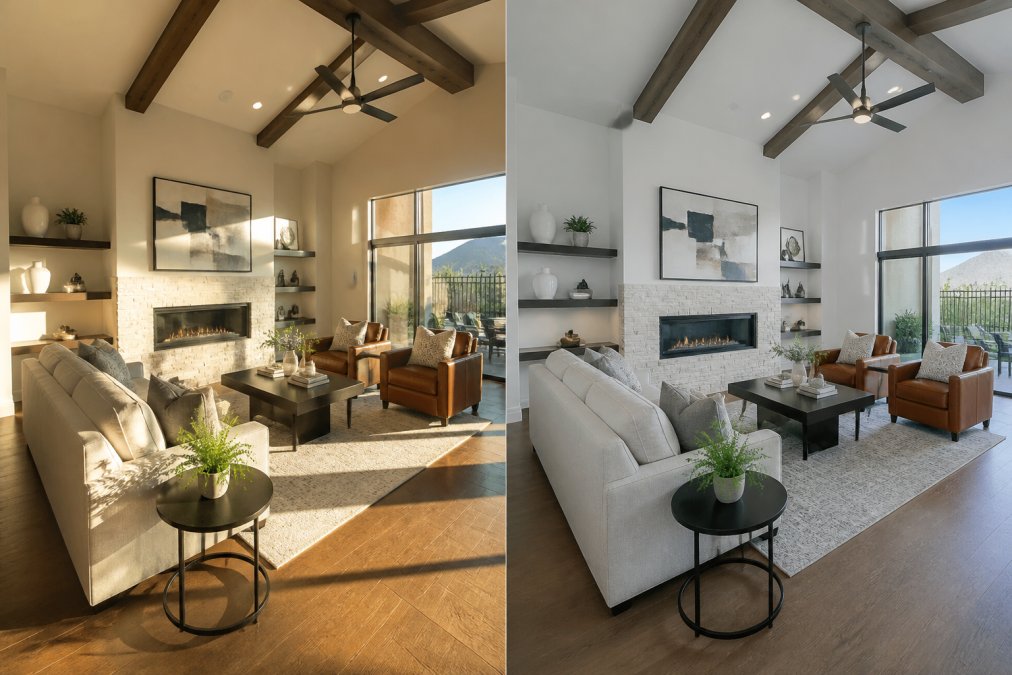
Natural light creates warmth and authenticity that buyers connect with emotionally. Flash provides consistency and control when natural light is insufficient. The key is knowing when to rely on each. A room flooded with soft, directional sunlight needs minimal intervention. A north-facing bedroom with minimal windows demands a different strategy entirely.
When to Rely on Natural Light
Natural light remains your first choice whenever conditions allow it. A room with large windows and consistent ambient light requires proper exposure blending and white balance correction to handle the dynamic range problem, bright windows blow out while interior shadows lose detail, but exposure blending solves this.
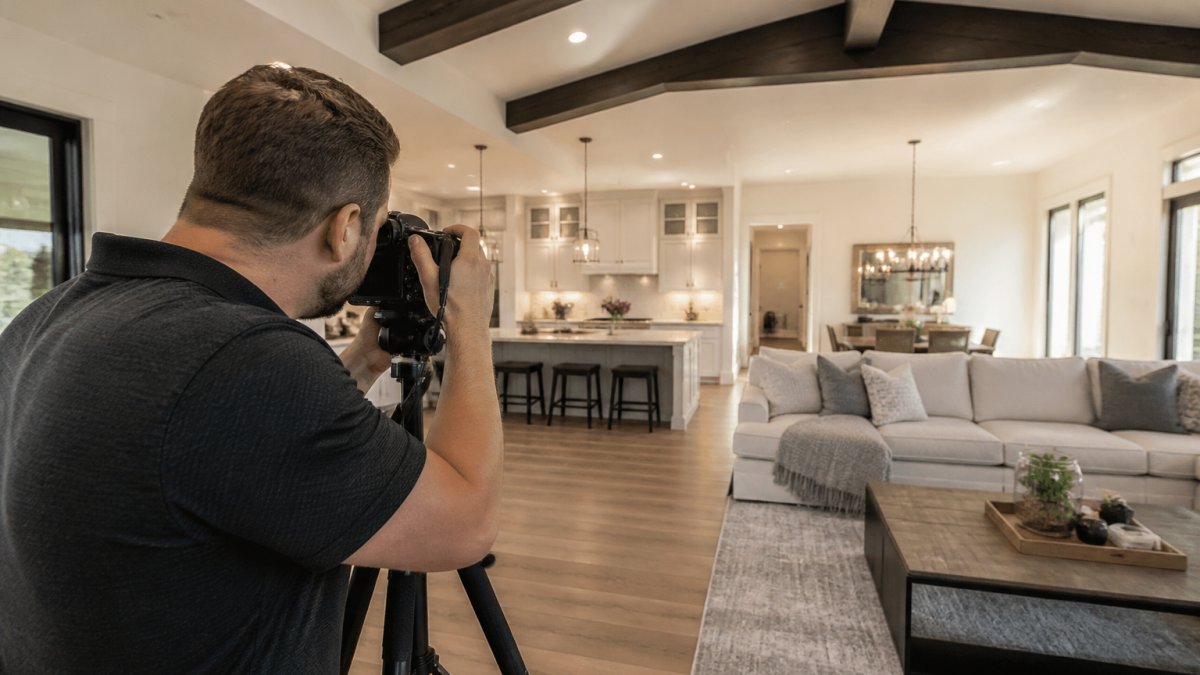
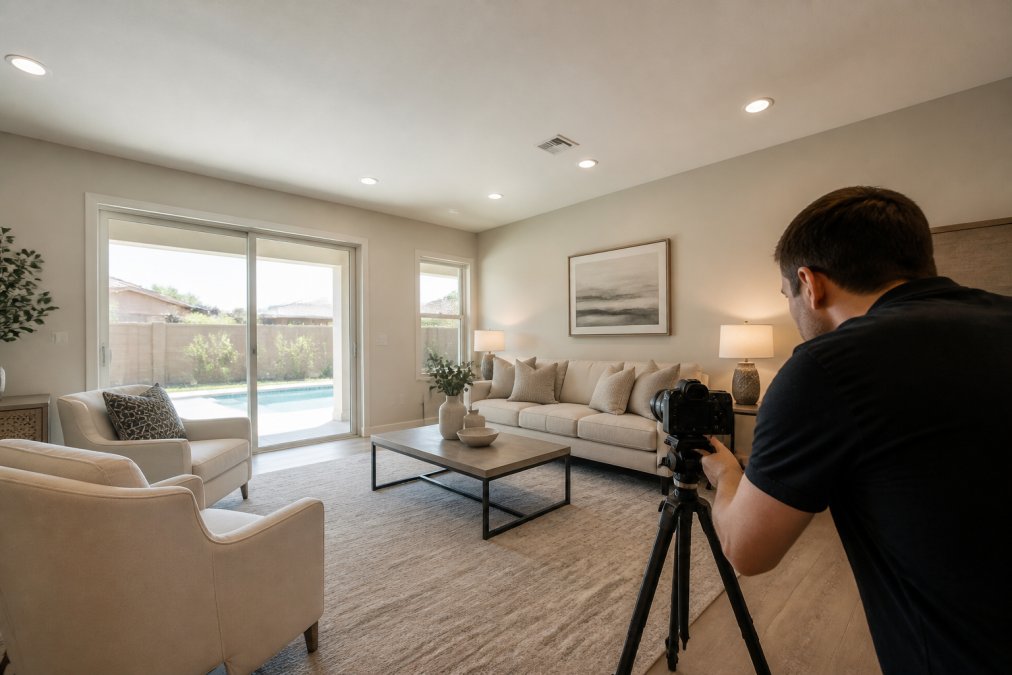
Position your tripod to capture the window as a compositional element. Angle your camera so natural light rakes across surfaces, revealing texture and depth. Hardwood floors, countertops, and architectural details all read better under directional natural light than under flat flash illumination.
The color temperature of natural light varies throughout the day. Morning light leans cool and blue. Afternoon light turns warmer and more golden. Late afternoon delivers premium quality light. Shoot at the same time of day when possible for consistency, or prepare for white balance adjustments in post-processing.
When Flash Becomes Essential
Windowless rooms, interior hallways, and bathrooms with minimal natural light demand flash. Without it, your shutter speed climbs dangerously high or your ISO balloons into the noise range. A speedlight with proper diffusion becomes essential equipment.
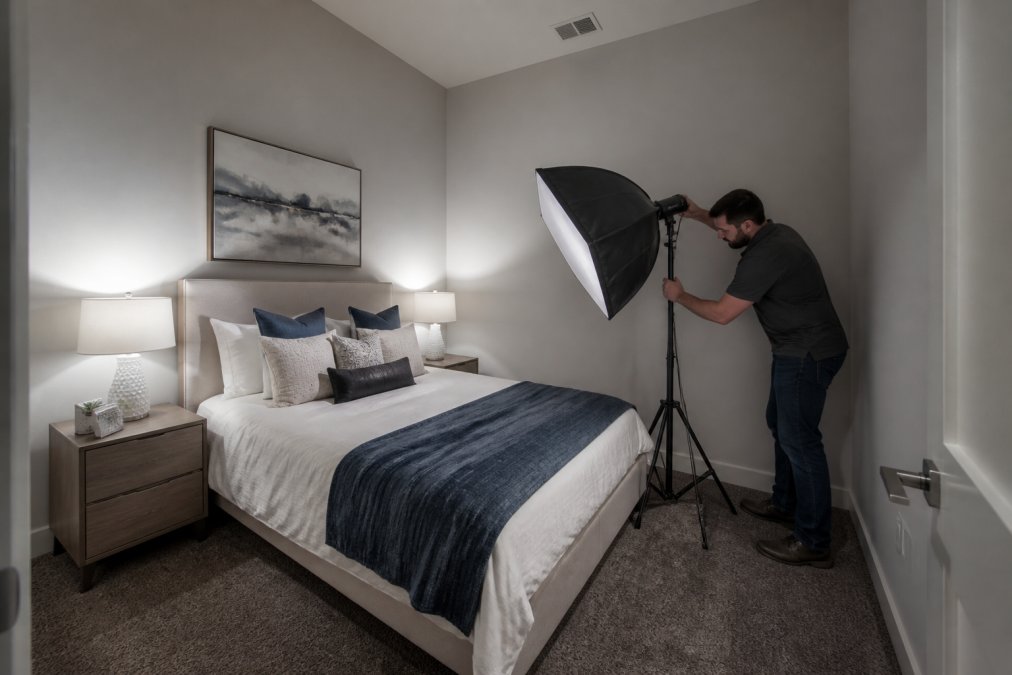
Small rooms benefit from bounce flash more than direct flash. Point your speedlight at a ceiling or wall to create soft, directional light rather than harsh shadows. A softbox modifier transforms a speedlight from harsh light into something that mimics natural light quality.
Mixed lighting situations, where natural light competes with artificial room lighting, require both flash and careful white balance management. The color temperature of the room's existing bulbs conflicts with daylight. Flash adds daylight-balanced light, but you'll spend time in post-processing correcting the resulting color cast.
Best Camera Settings for Real Estate Interior Photography
Interior real estate photography demands specific technical choices. Your aperture, shutter speed, and ISO work together to handle the challenging dynamic range of indoor spaces.
Aperture, Shutter Speed, and ISO Balance
Start with an f-stop between f/5.6 and f/8 (the American Academy of Dermatology). This range delivers adequate depth of field to keep walls, floors, and furnishings sharp from front to back. Wider apertures create shallow focus that reads wrong in real estate. Narrower apertures extend depth of field but require longer shutter speeds or higher ISO.
Your shutter speed should never drop below 1/60th of a second when hand-holding (the NIH). Use a tripod for every interior shot, which allows you to dial shutter speed down to 1/30th or 1/15th without camera shake. Slower shutter speeds let more ambient light into the frame, reducing your reliance on flash.
ISO is your flexibility tool. Start at 400 or 800 on a modern camera body. If your exposure is still too dark, increase ISO rather than widening your aperture. Modern cameras handle ISO 1600 or 3200 cleanly, with noise addressed in post-processing through selective noise reduction (peer-reviewed research).
Exposure Blending for Dynamic Range
Exposure blending solves the dynamic range problem that plagues interior photography. A single exposure either preserves detail in bright windows or recovers shadow detail in the room, not both. Bracketed exposures capture multiple versions at different exposure levels.
Take three shots: one exposed for the windows (underexposed overall), one for the room's interior (properly exposed), and one for the shadows (overexposed). Blend these in post-processing using layer masking to combine the best parts of each exposure. The window frame remains detailed, the interior shows proper color and detail, and shadows lift without looking artificial.
This technique is non-negotiable for professional real estate photography. It's the difference between competent and exceptional listings.
How to Fix Window Glare in Real Estate Photos
Window glare destroys real estate photos. Bright highlights blow out to pure white, losing all detail. Controlling bright windows during the shoot prevents hours of frustrating post-processing.
Controlling Bright Windows During the Shoot
Timing matters enormously. Shoot when the sun is not directly hitting the windows. Early morning or late afternoon light that grazes the window from an angle is far easier to manage than midday sun. If you must shoot during harsh midday light, reschedule if possible.
Use your tripod to position the camera so bright windows occupy a smaller portion of the frame. A polarizing filter reduces glare and deepens the blue sky visible through windows, recovering detail that would otherwise blow out.
Post-Processing Highlight Recovery
When window glare persists, layer masking in post-processing recovers detail. Create a mask around the blown-out window area and selectively reduce exposure, bring back color, and restore texture.
Exposure blending handles this more elegantly than manual masking. Your underexposed bracketed image preserves window detail. Layer it over your properly exposed interior shot and mask in the window area. The result looks natural because you're using actual captured data, not artificial recovery.
Managing Color Temperature and White Balance
Mixed lighting situations create color casts that confuse white balance algorithms. A room lit by warm incandescent bulbs combined with cool daylight produces conflicting color temperatures.
Identifying Mixed Lighting Situations
Look for telltale signs: warm-toned walls under artificial light, cool-toned areas near windows, and visible color shift across the space. A color temperature meter provides exact readings in Kelvin. Typical room lighting runs 2700K to 3000K (warm). Daylight is 5500K to 6500K (cool).
Correcting Color Casts in Post-Processing
Shoot in RAW format, which preserves maximum color information for post-processing flexibility. Create two versions of the same image: one corrected for artificial lighting (warmer white balance) and one for daylight (cooler white balance). Blend them using layer masking to create a balanced result where each light source looks natural in its area of the frame.
Lighting Techniques for Small and Windowless Rooms
Small rooms and windowless spaces present the most challenging lighting scenarios. No natural light means you're building the entire exposure with flash and ambient room lighting.
Using Strobes and Speedlights Effectively
A speedlight mounted on your camera or held off-camera provides directional light control. Bounce flash, pointing the speedlight at a ceiling or wall, diffuses the light and creates a softer, more natural appearance than direct flash.
Flash power matters. Start at 1/4 power or 1/2 power and increase as needed. Lower power settings recycle faster between shots, speeding up your workflow.
Off-camera flash positioning is critical. Place the speedlight to the side and slightly above the camera position. This creates directional modeling light that reveals surface texture and depth.
Diffusion and Bounce Flash Methods
A softbox attached to your speedlight transforms harsh direct light into soft, directional illumination. For small rooms, a 24-inch softbox is portable and effective.
Bounce flash off ceilings in rooms with white or light-colored ceilings. The ceiling acts as a giant diffuser, creating natural-looking illumination without unflattering shadows.
Reflectors placed strategically fill shadows without adding another light source. A white or silver reflector positioned opposite your main light bounces light back into shadow areas, particularly useful in small rooms where positioning multiple lights is impractical.
Essential Gear and Setup for Interior Real Estate Lighting
Professional results require the right equipment positioned correctly. A tripod is non-negotiable. Light modifiers transform harsh light into flattering illumination.
Tripod Placement and Composition Considerations
A sturdy tripod keeps your camera locked in position for consistent framing and allows slow shutter speeds without camera shake. Position your tripod roughly at eye level, approximately five to six feet high.
Frame your shot to show the room's full dimensions. Include corners and walls to give viewers a sense of space. Composition in real estate photography emphasizes leading lines and depth. Door frames, hallways, and architectural lines draw the viewer's eye through the space.
Light Modifiers: Softboxes, Umbrellas, and Reflectors
A softbox mounted on your speedlight is the single most valuable modifier for interior work. It softens harsh shadows and creates directional, flattering light. A 24-inch softbox balances light quality with portability.
Umbrellas are lighter and more compact but less directional. A white umbrella diffuses light; a silver umbrella reflects more intensity.
Reflectors are passive tools that redirect existing light. A 5-in-1 reflector kit provides multiple options. Use white for subtle fill, silver for more intensity, and gold for warm fill light.
Common Mistakes to Avoid When Lighting Interiors
Shooting without a tripod introduces camera shake, uneven framing, and inconsistent composition. A tripod costs less than a reshoot.
Using flash power that's too high creates blown highlights and harsh shadows. Start low and increase power gradually.
Ignoring white balance creates color casts requiring extensive post-processing. Take a white balance reading on location using a gray card.
Neglecting exposure blending in high dynamic range situations wastes image potential. Bracketed exposures take seconds to capture and minutes to blend.
Positioning flash directly on-camera creates flat, unflattering light. Move your speedlight off-camera or bounce it off a ceiling or wall.
Failing to scout locations before the shoot leads to surprises on location. Identify challenging lighting situations and compositional challenges beforehand.
Interior real estate photography demands mastery of light, both natural and artificial. The techniques outlined above transform challenging spaces into compelling images that sell properties. At Desert Home Photography, our hand-blended imaging technique combines exposure blending with precise post-processing to deliver images that showcase each property's best features.
The difference between competent interior photography and exceptional work comes down to understanding how light behaves in confined spaces and possessing the equipment and technique to control it. Whether you're an agent building a portfolio or a homeowner preparing to list, these interior real estate photography lighting tips provide the foundation for professional results. Contact Desert Home Photography to discuss how our specialized real estate photography services can elevate your listings and attract qualified buyers.
Frequently Asked Questions
Should I use flash or natural light for interior real estate photos?
Both have their place. Natural light works best when windows are large and evenly distributed throughout the room. Flash becomes essential in windowless spaces, darker corners, or when you need to balance bright exterior light with interior shadows. Many professional real estate photographers blend both techniques, using natural light as the primary source while adding flash to fill shadows and create depth. The key is matching your lighting approach to each room's characteristics rather than relying on one method exclusively.
What camera settings work best for real estate interior photography?
Start with an aperture between f/5.6 and f/8 to maintain sharp focus across the entire room. Use a shutter speed between 1/60 and 1/125 second to avoid camera shake while handholding or using a tripod. Keep ISO as low as possible while maintaining proper exposure, typically 100-400 depending on available light. Exposure blending, taking multiple bracketed exposures at different stops, lets you capture both bright windows and interior details without losing highlight or shadow information. This technique is crucial for interior real estate photography where dynamic range is challenging.
How do you avoid color casts in interior real estate photography?
Set a custom white balance before shooting by photographing a neutral gray card under the room's existing lighting. This prevents warm tungsten bulbs or cool LED fixtures from creating unwanted color tints. If you shoot in RAW format, you can adjust white balance during post-processing using layer masking to correct different areas that have mixed lighting sources. Identify the dominant color temperature in each room and adjust accordingly, warm incandescent bulbs need cooling correction, while cool LEDs may need warming. Consistency across all interior photos in a listing builds a cohesive visual story for buyers.
How do you light a room that has no windows or very limited natural light?
Windowless rooms require strategic flash placement and diffusion to avoid harsh shadows and flat lighting. Position a speedlight with a softbox or umbrella modifier at a 45-degree angle to the camera to create dimension. Use bounce flash off walls or ceilings to distribute light evenly. Consider adding a second flash as fill light to reduce shadows in corners. If the room has very low ceilings or awkward layouts, place the tripod strategically to maximize perceived space while ensuring light modifiers don't appear in the frame. Post-processing with shadow fill techniques can enhance the sense of depth and openness in these challenging spaces.
This article was written using GrandRanker