 how-to
Real Estate Lighting: Professional Post-Processing Tips
Table of Contents
- Why Real Estate Lighting Problems Start on Location
- What You'll Need Before You Start Editing
- A Real Estate Photography Post-Processing Workflow, Step by Step
- HDR Real Estate Photography Editing Without the Halo Look
- Window Pull Editing for Real Estate Photography
- Mixed Lighting Correction in Real Estate Photos
- Batch Editing and Quality Control for a Full Property Set
- When to Reshoot Instead of Fixing Real Estate Lighting in Post
- Frequently Asked Questions
Last Updated: October 12, 2026
Why Real Estate Lighting Problems Start on Location
Most bad listing photos are capture failures no slider can fully rescue.
We see the same pattern across the Phoenix Valley: a window 12 stops brighter than the far wall, and a master bedroom that looks like a cave.
That is why professional post-processing tips for real estate lighting start with a confession: editing fixes exposure range, color, and small distractions.
The workflow below assumes you bracketed on site. Here is how to turn those frames into clean, natural-looking images.
What You'll Need Before You Start Editing
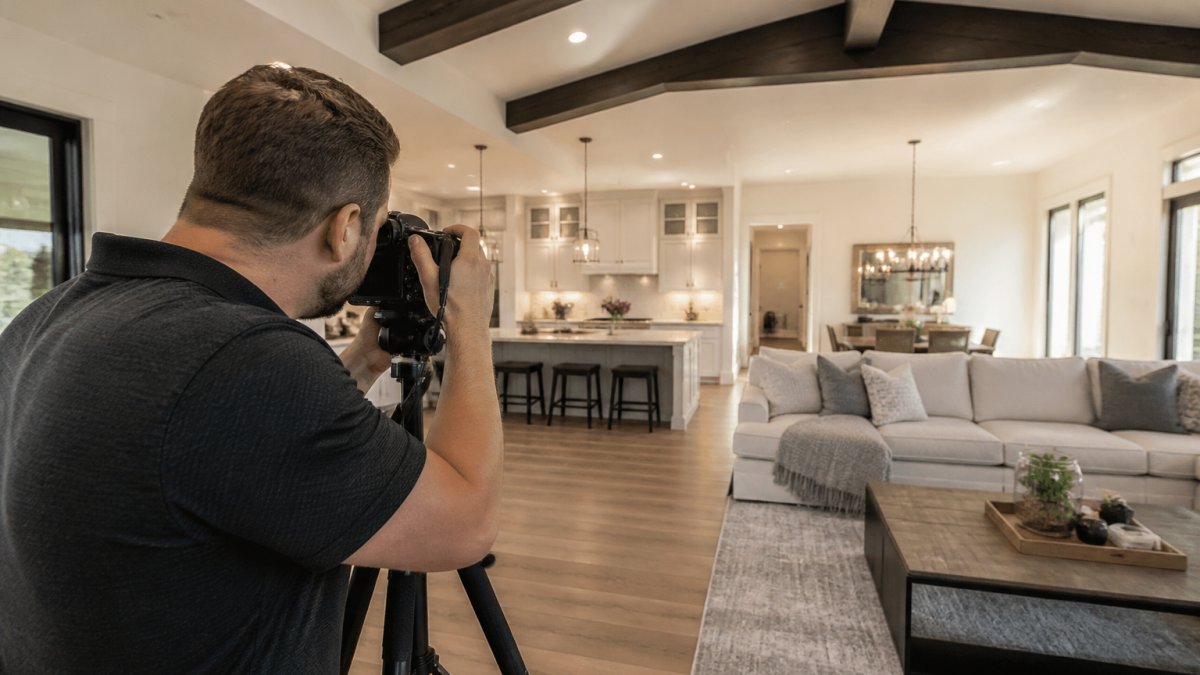
You need three things before you touch a slider: a bracket set of at least three frames, editing software with layers and masks, and a color reference from the shoot.
- A tripod-stable bracket set, ideally 3 to 5 frames
- Editing software that supports layers, masks, and blend modes
- A gray card or white balance reference shot
Skip the gray card and you will guess at color temperature later.
Adobe's own documentation on camera raw and HDR merging confirms that merged files preserve far more highlight and shadow data than a single frame, which is exactly what interior photography needs.
A Real Estate Photography Post-Processing Workflow, Step by Step
A real estate photography post-processing workflow is the fixed order you edit in so every property looks consistent. Here is a version to consider.
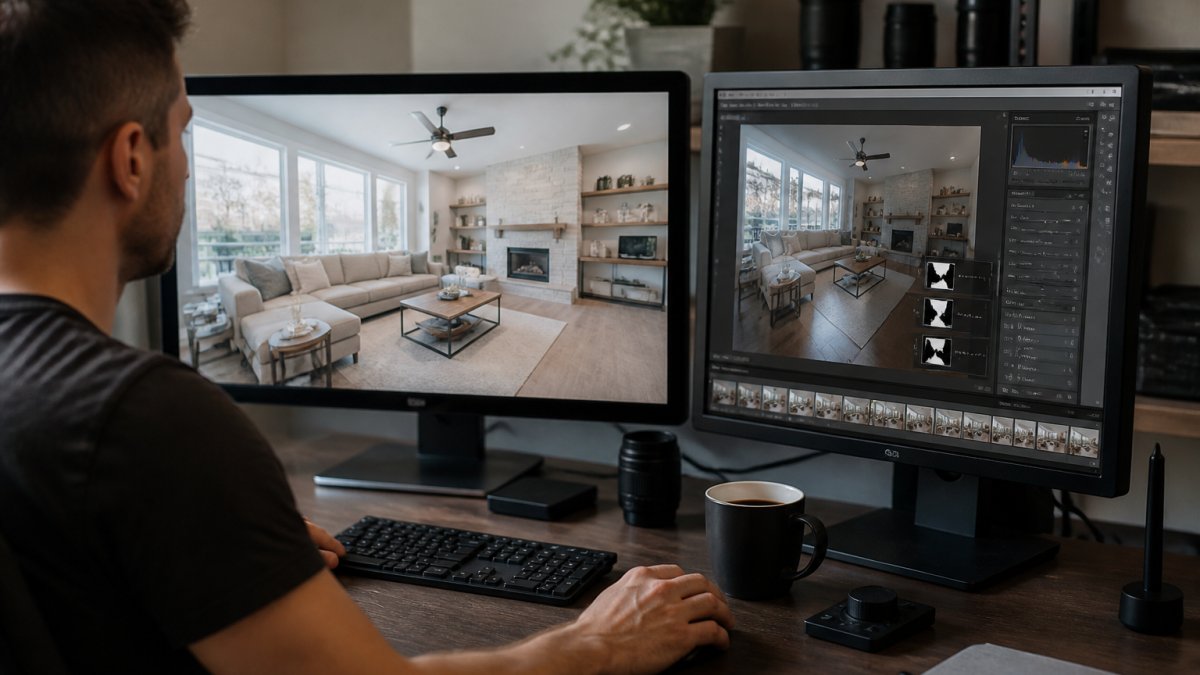
The stages:
- Cull and group bracketed exposures
- Correct lens and vertical distortion
- Set a baseline white balance
- Blend exposures for interior and window detail
- Batch and quality-check the full set
Step 1: Cull and Group Your Bracketed Exposures
Sort every bracket set into its own stack before you edit anything.
Label each stack by room, "Kitchen," "Primary Bath," "Living NE", then delete soft or duplicated frames.
If you shoot tethered, cull in the field and skip this step entirely. If you shoot card-only, budget roughly one minute per room for culling on a typical three-bedroom listing.
Step 2: Correct Lens and Vertical Distortion First
Apply your lens profile and straighten verticals before any tonal work. Leaning walls make every later adjustment harder to judge.
In Lightroom Classic, the sequence is: Develop module → Lens Corrections → Enable Profile Corrections → then Transform → Guided Upright, drawing two vertical guides on the nearest wall edges.
Fix geometry first, then light. Skip this and every exposure blend afterward is masked against a wall that is not where it should be.
Step 3: Set a Baseline White Balance Across the Whole Set
Pick one reference frame per property and set white balance from it, then copy that setting to every other image.
In Lightroom Classic, select the reference image, set white balance with the eyedropper on your gray card, then with all images selected press Ctrl+Shift+C (Cmd+Shift+C), uncheck everything except White Balance, and press Ctrl+Shift+V (Cmd+Shift+V).
This step keeps a full listing from looking like five different photographers shot it. Color consistency starts here, not in the final export.
Step 4: Blend Exposures for Interior and Window Detail
This is the stage most tutorials hand-wave. The concrete version:
- In Lightroom Classic, select the bracket set, right-click → Photo Merge → HDR, and check "Auto Align" and "Auto Tone" off. Auto Tone is the single biggest cause of the over-processed HDR look in real estate work.
- In Photoshop, load the frames as layers (File → Scripts → Load Files into Stack, with "Attempt to Automatically Align Source Images" checked), then mask the darkest frame into the window and the brightest frame into the deep shadows.
- In Capture One, use HDR Merge under the Image menu, then refine with a filled mask on the window.
Whichever tool you use, blend only the window and the deep shadows, not the whole frame. Keep the mask edge just inside the window frame, and check the result at 100% zoom.
Step 5: Batch and Quality-Check the Full Set
Sync your baseline adjustments across the set, then review every image at full size before export.
A Note on Tool Choice
Lightroom Classic, Capture One, Photoshop with Camera Raw, and Affinity Photo all handle this workflow. The sequence does not change, only where each command lives. Pick one tool, learn its shortcuts, and stop switching mid-listing; tool-switching is the most common reason a set drifts in color and contrast from room to room.
HDR Real Estate Photography Editing Without the Halo Look
HDR real estate photography editing fails when it tries to show every detail at full brightness. The halo look comes from pushing shadows and highlights until edges glow.
The fix is restraint. Let the window stay slightly bright. Let the shadow under the sofa stay slightly dark. Your eye expects that.
How Many Brackets You Actually Need
Three frames cover most interiors. Add a fourth or fifth only for rooms with extreme contrast, like a dark kitchen with a wall of glass. More brackets just mean more data to blend and more chances to overdo it.
Blend Settings That Keep Interiors Natural
Keep these principles in mind when blending:
- Blend only the window and the deep shadows, not the whole frame
- Use a soft mask edge so transitions stay invisible
- Keep highlight recovery under the point where colors shift
Window Pull Editing for Real Estate Photography
Window pull editing for real estate photography is the process of blending a darker exposure into the window area so exterior detail shows through.
The technique is straightforward. Stack your exposures as layers, put the darkest frame on top, add a mask, and paint the window back in with a soft brush.
Keep the mask edge just inside the window frame. Bleeding the pull onto the wall creates a visible glow that reads as fake.
Mixed Lighting Correction in Real Estate Photos
Mixed lighting correction in real estate photos means neutralizing the color clash between daylight, tungsten, and LED sources in the same room.
A room lit by a warm bulb on one side and a cool window on the other shows two color casts. Correct them separately with masks, not globally with one slider. A practical order:
- Set white balance for the daylight first
- Mask the warm bulb areas and cool them down
- Mask any green LED spill and pull it toward neutral
For a full property set, pick one target color temperature and match every room to it. Consistency matters more than a technically perfect single frame.
Batch Editing and Quality Control for a Full Property Set
Batch editing is where speed comes from; quality control is where trust comes from. Do both, in that order. The useful version is a preset architecture, a sync discipline, a review pass, and a delivery standard, in that sequence.
Build a Preset Architecture, Not a Single Preset
One preset cannot serve every room. Build three tiers:
- Base preset, lens profile, camera profile, sharpening, noise reduction, and a neutral tone curve. This is the preset you sync to every image in the set.
- Interior preset, the base plus a modest highlight recovery, a shadow lift of roughly +15 to +25, and a slight vibrance bump. Applied to most rooms.
- Window-heavy preset, the base plus a stronger highlight recovery and a cooler white balance offset of about 200-400 Kelvin, for rooms with a wall of glass.
Name them so you can find them under pressure: "RE-Base," "RE-Interior," "RE-Window." In Lightroom Classic these live in the Develop module Presets panel; in Capture One they live in Styles; in ACR they live as .xmp files in the Camera Raw Settings folder.
Sync Settings Without Overwriting Local Edits
The mistake is syncing everything. Sync only global adjustments, white balance, lens profile, tone curve, sharpening, noise reduction, and leave local masks, gradient filters, and window pulls alone.
Sync a window pull across a set and you paint a dark rectangle onto every wall in the property, the single most common batch-editing failure in real estate work.
Run a Three-Pass Quality Check
Review every image at full size before export, in three passes:
- Geometry pass, verticals straight on every exterior and every wide interior. Look at door frames and window mullions; they reveal lean faster than walls do.
- Color pass, white balance consistent room to room. Flip through the set at thumbnail size and look for the one room that reads warmer or cooler than the rest. That is the outlier to fix.
- Artifact pass, no visible mask edges, no halos around window frames, no gray muddy shadows, no oversaturated greens in landscaping visible through glass.
A three-bedroom listing with 25 to 35 delivered images typically takes 10 to 15 minutes for the full three-pass review. Skipping it costs far more when the agent calls about a halo on the hero shot.
Set a File-Naming and Delivery Standard
Agents and MLS platforms care about consistency. A workable standard:
Address_RoomNumber_View.jpg, for example,123Main_04_Kitchen.jpg- sRGB color space for MLS upload; Adobe RGB only if the client specifically requests print
- Long edge at 2048 pixels for MLS, 3000 pixels for print and marketing collateral
Export presets in Lightroom Classic, Capture One, and ACR all support this. Build it once, name it after the client or MLS, and reuse it.
Keep a Reshoot List, Not a Fix-It List
During the review pass, note any image that needs more than about two minutes of correction. Those go on a reshoot list rather than into a longer edit.
The U.S. Department of Housing and Urban Development fair housing guidance is worth keeping in mind here. Edited images should represent the property accurately, and that starts with honest lighting rather than dramatic enhancement.
When to Reshoot Instead of Fixing Real Estate Lighting in Post
Reshoot when the data is not there. If a room has no bracket coverage, or the window is pure white with no recoverable detail, editing only produces a flat, artificial result.
Reshoot signals:
- Blown windows with zero recoverable detail
- Motion blur or soft frames across the whole set
- A room shot at the wrong time of day for its light
A reshoot costs less than a listing that sits because the photos look wrong.
Real estate lighting problems rarely fix themselves in post, and that is the honest limit of editing.
Frequently Asked Questions
How do you fix mixed lighting in real estate photos?
Fix mixed lighting by setting a single baseline white balance for the room, then using local masks to correct each light source separately. Warm tungsten lamps and cool daylight from windows need different color temperature adjustments. In practice, mask the window area and cool it slightly, then mask lamp-lit corners and warm them. Keep both corrections subtle so the room reads as one space rather than two color zones.
How do professionals edit real estate photos to keep interiors bright but natural?
Professionals bracket exposures and blend them rather than pushing a single frame. They lift shadows in stages, hold highlights on window frames, and avoid global clarity or HDR sliders that flatten texture. A typical blend uses two to three brackets: one for the window, one for the midtones, and one for the darker corners. The goal is a room that looks like it did on site, not a brightened approximation.
What is the best white balance for real estate photography?
There is no single number that works for every room. Start from a daylight preset, then sample a neutral surface such as a white ceiling, trim, or cabinet door. For mixed lighting correction in real estate photos, set the baseline on the dominant light source and correct the rest with masks. Consistency across rooms matters more than any one setting, because buyers scroll a whole gallery at once.
Which software do real estate photographers use to edit photos?
Most editors work in Adobe Lightroom for culling, white balance, and batch adjustments, then move selected images into Photoshop for window pulls, HDR blending, and layer-based masking. Some use HDR-specific plugins for exposure blending. The software matters less than the sequence: correct geometry, set white balance, blend exposures, mask windows, then apply color consistency across the set before export.