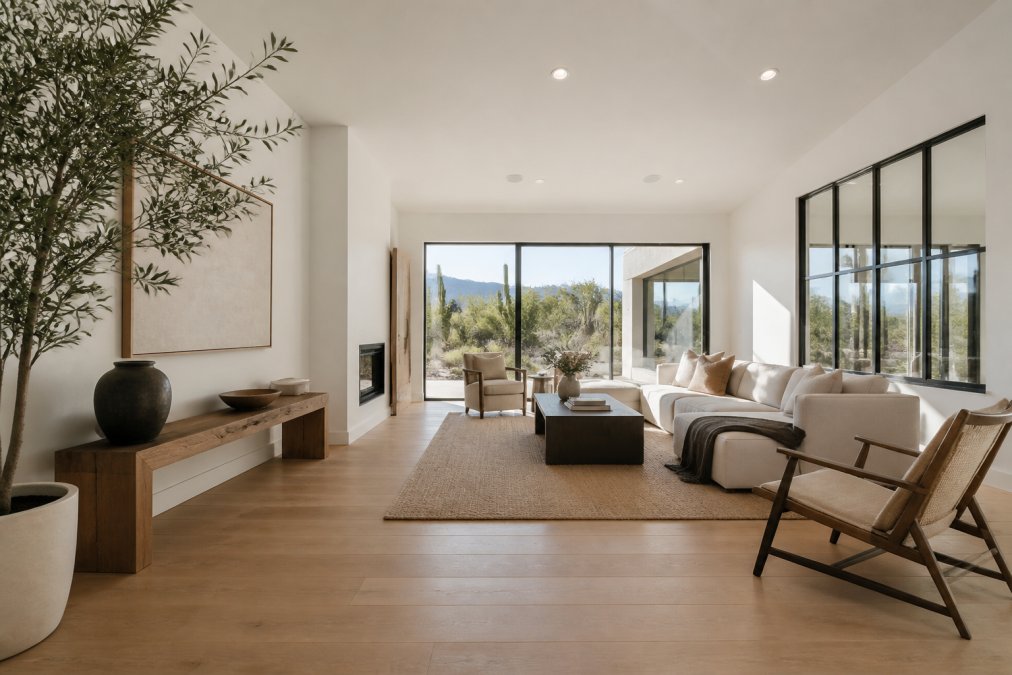
 how-to
How to Make Your Home Look Bigger in Photos: 7 Pro Tips
Table of Contents
- Why Some Rooms Photograph Small (And How to Fix It)
- Real Estate Photography Staging Tips That Open Up Any Room
- Best Camera Settings for Real Estate Photography
- How to Photograph Small Rooms Without Distortion
- Lighting and Mirrors: Simple Tricks to Make Your Home Look Bigger
- Smartphone Photography: Getting Pro Results With Your Phone
- Common Mistakes That Make Rooms Look Smaller
- Frequently Asked Questions
Last Updated: September 19, 2026
Why Some Rooms Photograph Small (And How to Fix It)
A room that feels spacious in person can look cramped in a photo, and the camera is usually the reason. Lenses flatten depth, bad angles hide floor space, and clutter steals the eye. The good news: you can fix almost all of it before you ever press the shutter.
This guide from Desert Home Photography breaks down how to make your home look bigger in photos, whether you shoot with a DSLR or a phone. Below, we'll show you exactly what to move, where to stand, and which settings to lock in.
Most guides treat this as a lighting problem. It's really a geometry problem. Get the angles and furniture right, and the room does the rest.
Real Estate Photography Staging Tips That Open Up Any Room
Staging is the fastest way to add visual square footage. You change what the camera sees, not the room itself. Most guides stop at "declutter and float the sofa." The real leverage is staging each room type differently, because a bathroom and a living room fail for opposite reasons.
The Universal Moves (Do These First)
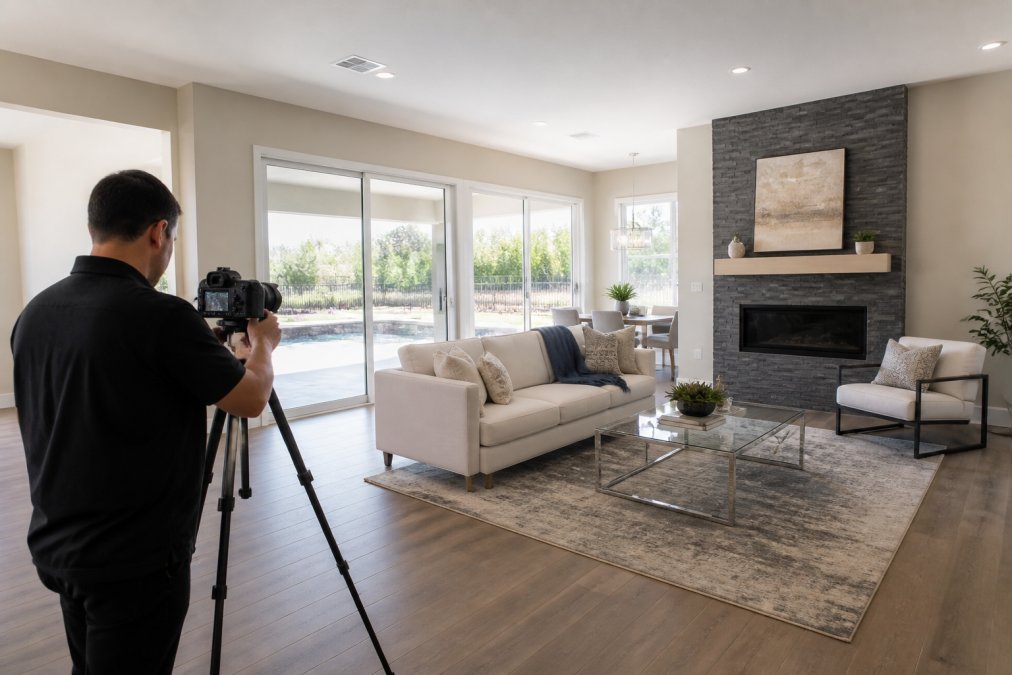
- Float furniture off the walls. Pull the sofa and chairs 6 to 12 inches away from the wall. The negative space behind them reveals floor depth, and your eye travels further, so the room reads wider.
- Lower the visual weight. Swap a bulky upholstered sofa for a lighter silhouette, and replace a solid coffee table with glass or an open-frame design. You can see through them, so the floor keeps reading.
- Declutter surfaces and floors. Clear countertops, nightstands, and floors before you shoot. Remove small appliances, tuck cords, and pull trash cans and pet bowls out of frame. Keep one or two decor pieces per surface, max.
- Match furniture scale to the room. Oversized pieces shrink a space; undersized pieces make it look like a dollhouse. A common pattern is a sofa that runs roughly two-thirds the length of the wall it faces.
Room-by-Room Staging (The Part Most Guides Skip)
Generic advice breaks down the moment you point a camera at a specific room. Here is how the priorities shift.
Living rooms. The sofa is your anchor. Angle it slightly toward the room's main feature rather than flat against a wall, and leave a clear walking path in the foreground. A rug that extends under the front legs of the seating group ties the arrangement together and signals a defined zone.
Bedrooms. Center the bed on the headboard wall and keep nightstands symmetrical. Symmetry reads as calm and spacious; asymmetry reads as cramped. Use bedding in a tone close to the wall color so the bed visually recedes instead of dominating the frame.
Kitchens. Clear every counter completely, then add back one item, a bowl of fruit or a single plant. Remove magnets, dish towels, and soap bottles. Open the window over the sink if there is one; the bright rectangle pulls the eye deep into the room.
Bathrooms. This is the hardest room to widen because it is usually the smallest. Remove bath mats, robes, and toiletries. Close the toilet lid. Shoot toward the vanity mirror if it reflects a window, that reflection doubles the apparent depth. A white or light shower curtain blends into the wall instead of cutting the room in half.
Dining rooms. Pull chairs slightly away from the table so the tabletop is visible. A fully tucked-in set looks like a solid block. If the table is small, remove one or two chairs entirely for the shot.
The Trade-Off to Know
Staging for photos is not the same as staging for living. Floating furniture and clearing every surface can feel impractical day to day. That is fine, you are optimizing for a single frame, not for how the room functions. Reset it after the shoot.
Best Camera Settings for Real Estate Photography
The best camera settings for real estate photography start with a wide-angle lens, a mid-range aperture, and a low ISO. This combo keeps rooms sharp, bright, and distortion-free.
Wide-Angle Lens, Aperture, and ISO
A wide-angle lens changes how much of the room fits in one frame. For most interiors, a focal length between 16mm and 24mm works well.
- Aperture: Set f/8 to f/11 for sharp corners and walls
- ISO: Keep it at 100 or 200 to avoid grain
- White balance: Match the light source, or shoot RAW and fix it later
Pair these with a tripod for stability. A steady shot lets you use a slower shutter speed without blur.
How to Photograph Small Rooms Without Distortion
To photograph small rooms without distortion, shoot from a corner at chest height and keep your camera level. This captures more of the space and keeps vertical lines straight.
Shoot From Corners at Chest Height
Stand in the corner farthest from the main feature. This gives you the longest sightline and the widest view.
Hold the camera at chest height, roughly 4 to 5 feet.
- Aim for the opposite corner
- Include two walls and the floor in frame
- Leave a little ceiling for context, not half the frame
Lighting and Mirrors: Simple Tricks to Make Your Home Look Bigger
Light and reflection are your two best tools for making a home look bigger in photos. Bright rooms read as open rooms, and mirrors double the apparent space. But "turn on the lights" is not a technique, the mechanics matter.
Balance Natural and Artificial Light
Open every blind and curtain before you shoot. Then turn on ambient lighting to fill the shadows the window light leaves behind. Aim for even light, not harsh pools of brightness.
- Match your bulbs. Swap in bulbs rated near 5,000K for the shoot so artificial light blends with daylight.
- Shoot RAW and correct white balance in editing. This is the more reliable path, because you can neutralize each light source separately.
Use Exposure Bracketing for Bright Windows
A single exposure usually cannot hold both a bright window and a dim interior. Bracket your shots, capture three to five frames at different shutter speeds, then blend them. This is how you keep windows bright without turning the room into a dark cave. It is a core part of the hand-blended editing approach we use at Desert Home Photography.
Smartphone Photography: Getting Pro Results With Your Phone
Your phone can produce listing-ready photos if you use the right settings. The trick is controlling the lens and the exposure instead of letting the phone guess.
- Tap to focus on the far wall, not the near furniture
- Use exposure compensation to brighten dark corners
- Lock focus and exposure before you shoot
Common Mistakes That Make Rooms Look Smaller
Most bad listing photos share the same handful of errors. Fix these and your rooms instantly look larger.
- Tilting the camera up or down. This causes wide-angle distortion and leaning walls.
- Shooting into a dark corner. The eye sees a cave, not a room.
- Leaving clutter in frame. Every object shrinks the space.
- Using a flash. It flattens depth and creates harsh shadows.
- Standing too close to a wall. You lose the wide view.
- Skipping the edit. Unedited photos look flat and dull.
Here's a quick reference for the fixes:
| Mistake | Fix | Impact |
|---|---|---|
| Tilted camera | Keep it level at chest height | Straight walls, true proportions |
| Dark corners | Open blinds, add lamps | Brighter, more open feel |
| Clutter in frame | Clear surfaces and floors | More visible floor space |
| Flash used | Use natural and ambient light | Softer, deeper shadows |
| Too close to wall | Shoot from a corner | Wider field of view |
Frequently Asked Questions
What camera angles make a room look bigger in photos?
Shooting from a corner at chest height gives the widest view and shows two walls at once, which makes the room feel larger. Keep the camera level so vertical lines stay straight. Tilting up or down creates distortion that shrinks the space. A wide-angle lens at 16-24mm on a full-frame camera captures more of the room without the fish-eye look that ultra-wide lenses produce.
Does staging actually help make a home look larger in listing photos?
Yes. Removing excess furniture and floating what remains away from walls opens up floor space, which reads as square footage in a photo. Even small changes like clearing countertops and using lighter paint colors make a measurable difference in how spacious a room appears.
How does lighting affect the perceived size of a room in photos?
Dark corners and heavy shadows make rooms feel cramped. Bright, even lighting across all surfaces makes the space feel open and airy. Open blinds and curtains to let in natural light, turn on every lamp and overhead fixture, and avoid shooting at night. Mixing warm and cool light sources causes color shifts, so keep light temperature consistent by using bulbs of the same type.
Should I declutter before taking real estate photos?
Absolutely. Visual clutter is the fastest way to make a room look small. Remove personal items, clear countertops, stash cords and cables, and take magnets and papers off the refrigerator. Every object the eye lands on adds perceived mass to the room. A clean, minimal space lets buyers focus on the architecture and floor plan instead of your belongings, which helps the home show larger in photos.