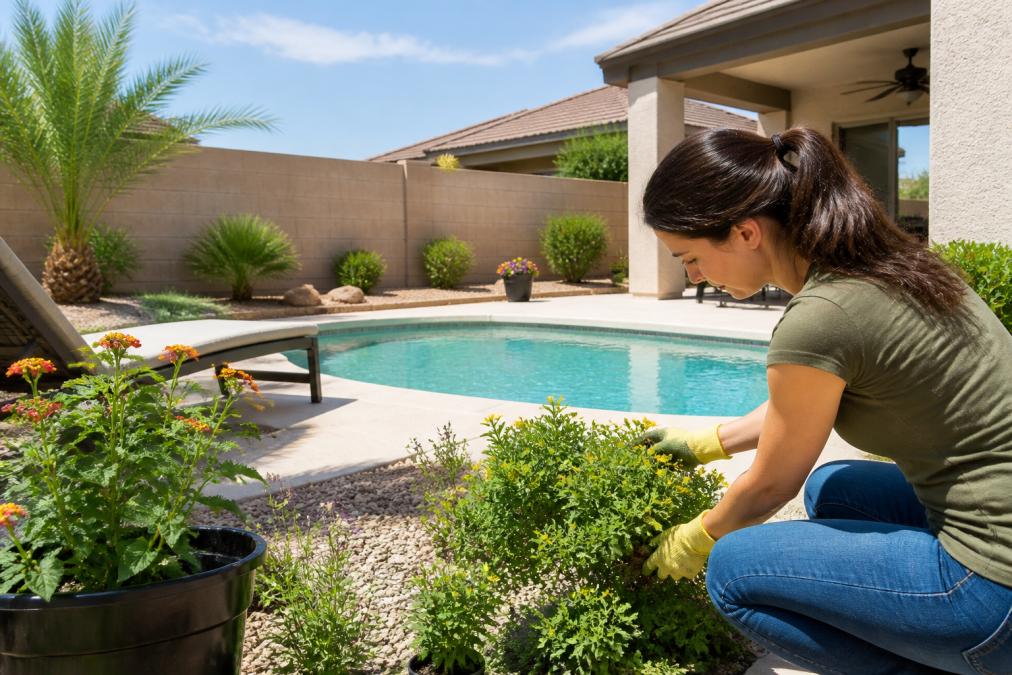
 how-to
How to Prepare Your Backyard for Listing Photos
Table of Contents
- Why Backyard Prep Matters for Your Listing Photos
- Outdoor Home Staging Tips That Make Buyers Stop Scrolling
- How to Stage a Patio for Photos: Lighting and Fixtures
- Real Estate Photography Preparation Checklist for Your Yard
- Cleaning and Maintenance: Pressure Washing, Lawn Care, and Repairs
- Budget-Friendly DIY Staging and Pet-Specific Cleanup
- Virtual Staging for Outdoor Spaces and Professional Photography
- Conclusion
- Frequently Asked Questions
Last Updated: September 17, 2026
Why Backyard Prep Matters for Your Listing Photos
Learning how to prepare your backyard for listing photos can be the difference between a listing that sits and one that sells. Buyers scroll fast, and your outdoor space is often the first thing they judge.
At Desert Home Photography, we shoot homes across the Phoenix Valley every week. The yards that photograph well are never the most expensive ones. They are the ones that got a few hours of honest prep first.
Here is the part most sellers miss: your backyard is not competing with other backyards. It is competing with every other photo in the feed. A cluttered patio kills a listing photo faster than bad weather ever could.
Below, we break down exactly how to get your yard camera-ready, step by step.
Outdoor Home Staging Tips That Make Buyers Stop Scrolling
Good outdoor home staging tips come down to one idea: show buyers how they would live in the space. Empty patios feel cold. Staged patios feel like home.
Start with the biggest visual anchor in the yard, which is almost always your furniture.
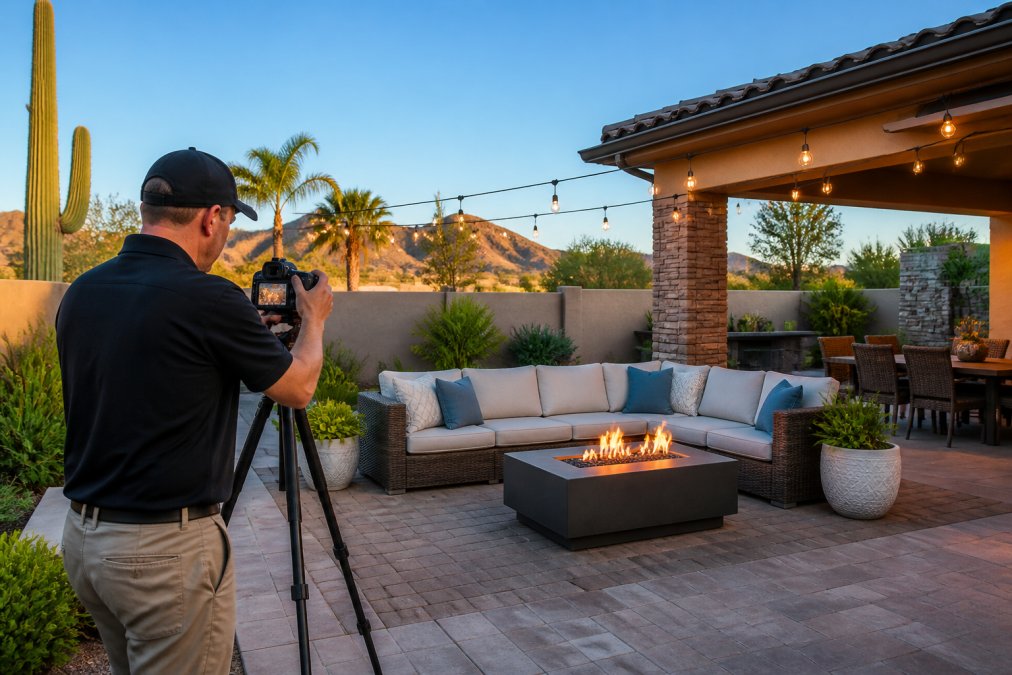
Arrange Patio Furniture and Cushions
Pull furniture away from walls and into conversation groups. A sofa facing two chairs around a small table reads better on camera than a row of seats against the house.
Wash or replace tired cushions. Faded fabric shows up badly in photos, and buyers notice it instantly. Fluff every cushion and angle them slightly so they look freshly placed.
Style with Planters and Greenery
Group planters in odd numbers, like three or five, at different heights. A tall pot beside two shorter ones adds depth to the shot.
Choose plants that match the desert climate. Agave, lantana, and ornamental grasses hold up well and look sharp in bright sun. Remove any dead leaves before the shoot.
- Sweep the patio surface clean
- Remove toys, hoses, and tools
- Wipe down tables and chair frames
- Add one small centerpiece per table
How to Stage a Patio for Photos: Lighting and Fixtures
Knowing how to stage a patio for photos means understanding light. Your camera sees harsh shadows and dark corners that your eyes skip right over.
Replace any burnt-out bulbs before the shoot. Mismatched or dead bulbs make a space look neglected, even when everything else is spotless.
Clean every fixture. Dusty glass and cobwebs show up clearly in close-up shots of sconces and string lights.
Time-of-Day Photography Planning
Time-of-day planning is one of the biggest gaps in most prep guides. The hour you choose changes everything about how your yard looks.
Early morning and late afternoon give soft, even light. Midday sun in the Valley creates hard shadows and blown-out highlights.
Tell your photographer your yard's best angle and sun direction. A quick note about which side faces west saves the whole shoot.
Real Estate Photography Preparation Checklist for Your Yard
A real estate photography preparation checklist keeps you from missing small details on shoot day. Work through it the day before, not the morning of.
Here is the checklist we hand to clients.
- Remove personal items from all outdoor surfaces
- Clear yard waste, branches, and clippings
- Sweep walkways, patios, and driveways
- Wipe down all outdoor furniture
- Check and replace burnt-out bulbs
- Trim hedges and edge the lawn
- Hide trash bins, hoses, and tools
- Wash windows facing the yard
Declutter and Remove Personal Items
Decluttering means removing anything that signals "someone else lives here." Buyers want to picture their own life in the space, not yours.
Pack away kids' toys, pet bowls, grills, coolers, and garden tools. Store them in the garage or a shed before the photographer arrives.
Remove Seasonal Debris and Yard Waste
Seasonal debris drags down curb appeal fast. Dead leaves, fallen branches, and piled yard waste make even a well-kept yard look tired.
Bag and remove everything.
Cleaning and Maintenance: Pressure Washing, Lawn Care, and Repairs
Cleaning and maintenance work is what separates a good listing photo from a great one. Pressure washing, lawn care, and small repairs all show up on camera.
- Pressure wash hard surfaces
- Mow and edge the lawn
- Trim hedges and shrubs
- Repair visible damage
- Repaint worn trim if needed
Budget-Friendly DIY Staging and Pet-Specific Cleanup
You do not need to spend much to stage a yard well. Budget-friendly DIY staging is about using what you already own, plus a few smart swaps.
Pet-Specific Cleanup
- Pick up all pet waste, including the corners of the yard where it collects. Walk the full perimeter, not just the main lawn.
- Hose down and deodorize pet areas. For turf and gravel, a diluted enzyme cleaner breaks down odor compounds that plain water leaves behind. Let it dry fully before the shoot.
- Patch bare spots where pets dig or run. A small bag of matching sod or a light topdressing of seed and soil blends the spot in for photos.
- Repair scratched door frames, screens, and gates. A quick sand and a color-matched touch-up pen hides most claw damage.
- Store pet beds, bowls, crates, leashes, and toys completely out of frame, not just pushed to the side of the patio. Anything visible in a wide shot counts.
- Check for hair on outdoor cushions and rugs. A lint roller handles most of it; a vacuum with a brush attachment handles the rest.
A note on cost. You can stage a typical backyard for well under what a single new patio set costs by borrowing, repurposing, and focusing spend on cleaning supplies and one anchor item. The return shows up in the photos, not the receipts.
Virtual Staging for Outdoor Spaces and Professional Photography
Virtual staging for outdoor spaces lets you show a fully furnished yard without buying a single item. It works well for empty patios, blank lawns, and new construction where there is nothing to photograph but dirt and a fence. It is also useful for a neglected yard that would take weeks of physical prep to bring up to listing standard.
When virtual staging works for a backyard:
- The hardscape, lawn, and structure are already clean and in good repair. Virtual staging adds furniture; it does not fix a stained patio or a dead lawn.
- The yard is genuinely empty or nearly so. Adding furniture to a yard that already has some is confusing to buyers.
- The listing is in a market where buyers expect to see the space furnished, such as a patio home or a small lot where an empty yard reads as unusable.
When virtual staging backfires:
- The yard is dirty, overgrown, or damaged. Digital furniture on top of a problem yard reads as a cover-up, and buyers who tour in person feel misled.
- The virtual furniture does not match the home's style or the yard's actual scale. A massive sectional on a tiny patio looks wrong in person and in the follow-up photos.
- The listing does not clearly label the image as virtually staged. Most multiple listing services require a disclosure, and buyers who feel tricked disengage fast.
Conclusion
Prepping a backyard for listing photos is not about perfection. It is about removing distractions so buyers see the space clearly.
Frequently Asked Questions
How to prep a home for listing photos?
Start by decluttering both inside and out, then deep clean all surfaces. For the backyard, remove personal items, mow the lawn, trim hedges, and pressure wash walkways. Stage outdoor furniture with fresh cushions and add potted plants. Schedule your shoot at the right time of day for the best light. A real estate photography preparation checklist can help you stay organized and ensure nothing is missed.
What should I remove from my backyard before real estate photography?
Remove personal items like toys, tools, hoses, and pet waste. Clear away seasonal debris, dead plants, and yard waste. Put away any distracting elements such as trash cans, recycling bins, and clotheslines. If you have pets, do a thorough pet-specific cleanup to eliminate odors and visible mess. The goal is to create a clean, neutral outdoor living space that helps buyers imagine themselves in the home.
Should I stage my patio furniture for listing photos?
Yes, staging patio furniture is highly recommended. Arrange furniture to create conversation areas and highlight the outdoor living space. Use fresh or clean cushions, add a small table with a tray, and include potted plants or lanterns. This simple step adds visual appeal and helps buyers see the backyard as an extension of the home. Outdoor home staging tips often emphasize furniture arrangement as a key factor.
What are the best times of day for backyard real estate photography?
The best times are early morning or late afternoon when the sun is lower and light is softer. This reduces harsh shadows and highlights the backyard's features. For west-facing yards, morning light is ideal; for east-facing, late afternoon works better. Discuss timing with your photographer to plan around your yard's orientation. Desert Home Photography can advise on optimal shoot times for your property.