how-to
How to Stage a Home for Photography: A Pro's Guide
Table of Contents
- Real Estate Photography Preparation Checklist
- How to Declutter for Listing Photos
- Best Lighting for Real Estate Photography
- Room-by-Room Staging Guide for Photography
- Smartphone vs. Professional Camera: What Actually Matters
- Virtual Staging Integration: When and How to Use It
- Staging for Specific Architectural Styles
- Post-Production Expectations: What Happens After the Shoot
- Frequently Asked Questions
Last Updated: September 10, 2026
Real Estate Photography Preparation Checklist
How to stage a home for photography comes down to one principle: to stage a home, remember the camera sees what buyers miss. At Desert Home Photography, we've shot enough Phoenix Valley listings to know a room that feels fine in person can look cluttered, dim, or flat through a lens. Stage for the camera, not the open house.
The gap is bigger than most sellers expect. According to the National Association of Realtors 2025 Profile of Home Staging, a large share of buyers' agents report that staging affects how buyers view a home, and listing photos are the first thing nearly every buyer sees. Get the prep right and the photos do the selling before anyone walks through the door.
Here's the working checklist we hand to clients before a shoot:
- Declutter every surface: counters, tables, nightstands, shelves
- Depersonalize: family photos, diplomas, religious items, collections
- Deep clean floors, grout, glass, and stainless steel
- Replace burned-out bulbs and match color temperature room to room
- Open blinds and pull back window treatments
- Remove pet bowls, beds, crates, and hair from furniture
- Tuck away trash cans, cords, and charging cables
- Stage each room with a clear focal point and visual flow
How to Declutter for Listing Photos
Decluttering for listing photos means removing roughly a third of what's in each room, then editing again through a viewfinder (nar.realtor). Buyers aren't evaluating your belongings; they're measuring square footage and imagining their own life there.
Start with the surfaces buyers scan first: kitchen counters, bathroom vanities, coffee tables, and dressers. Leaving "just a few" small items reads as visual noise in a wide-angle shot. Group what remains in odd numbers and vary heights.
Depersonalizing matters just as much. Family photos, kids' artwork, and collections create attachment for you and distraction for buyers; storage bins and a closet work fine for the shoot. Work room by room, one category at a time.
Best Lighting for Real Estate Photography
The best lighting for real estate photography is bright, even, and consistent in color temperature across every room. Harsh midday sun creates blown-out windows and dark corners; a dim room reads as smaller and less inviting than it is.
The fix is mostly timing and bulbs. We schedule most interior shoots when daylight is soft and directional, and ask sellers to:
- Open every blind and pull window treatments fully back
- Turn on all interior lights, including lamps and under-cabinet fixtures
- Replace any bulb that's out or mismatched in warmth
- Turn off ceiling fans so motion blur doesn't creep into long exposures
Valley homes bring their own challenge: strong exterior light against darker interiors. A professional balances that with off-camera flash and hand-blended editing, where DIY phone shots fall apart. If a bedroom photographs like a cave despite good natural light, the problem is exposure range, not the room.
Room-by-Room Staging Guide for Photography
Each room has one job in a listing photo: show its function and its size. Stage to that and skip the rest. Each room also has a camera problem to solve, and the fix differs from what makes it feel nice in person.

| Room | Main Goal | Quick Staging Move | Camera Problem to Solve |
|---|---|---|---|
| Living room | Show flow and seating | Pull furniture off walls, angle toward focal point | Wide-angle distortion stretches near corners; keep the sofa at least two feet off the frame edge |
| Kitchen | Look clean and spacious | Clear counters, one bowl or board only | Under-cabinet shadows go black; turn on every task light and open the window over the sink |
| Primary bedroom | Feel calm and large | Neutral bedding, two pillows per side, no laundry | Bed centered on the back wall reads flat; angle the bed or shoot from the doorway corner |
| Bathrooms | Read bright and clean | Close toilet lids, fold towels, hide bottles | Mirrors bounce the photographer and the flash; shoot from an angle, never straight on |
| Entry | Create a strong first impression | One console, one mirror, clear floor | Tight hallways clip the ceiling; use a vertical composition and a wider lens |
| Dining | Show seating capacity | Center the table, tuck chairs evenly | Chandeliers blow out at eye level; expose for the window and let the fixture fall slightly warm |
Living room. The camera exaggerates whatever is closest to the lens, so the sofa arm, coffee table edge, or floor lamp nearest the doorway looks oversized. Pull seating into a conversation grouping, angle the largest piece toward the focal point (fireplace, view, or media wall), and leave a clear walking path. A rug that extends under the front legs of every seat anchors the composition; one that stops short looks unfinished.
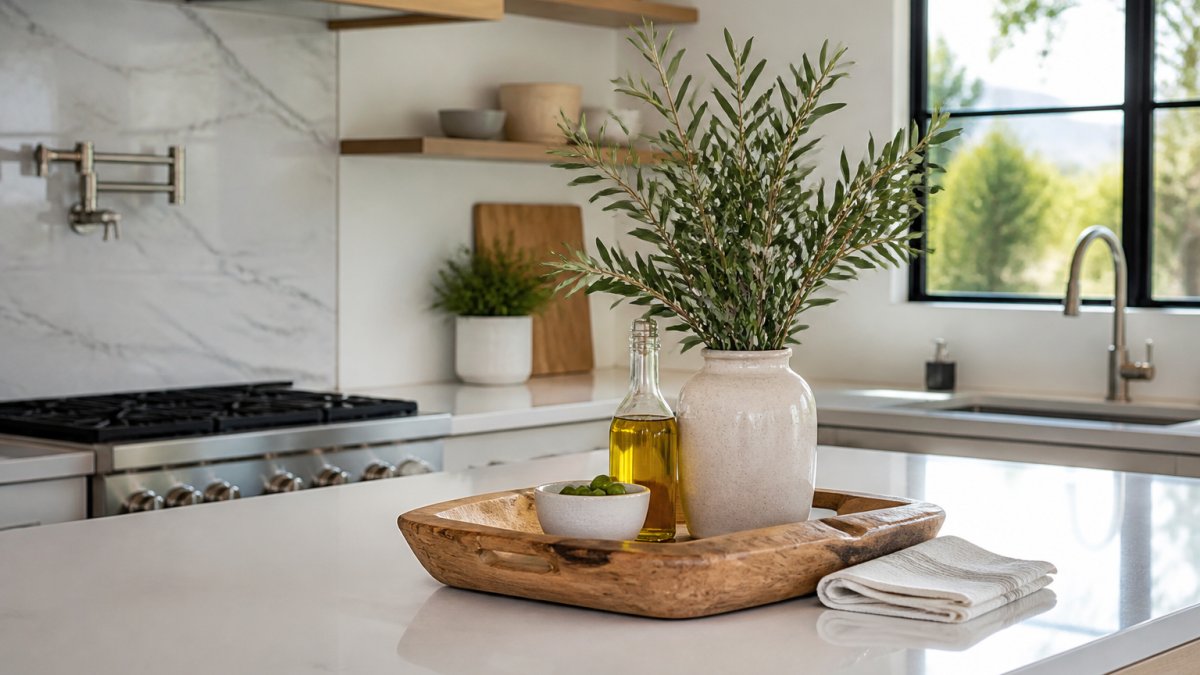
Kitchen. Counters photograph as a single flat plane, so every object competes for the same visual weight. One bowl of fruit or one cutting board is the ceiling, not the floor. Wipe stainless until it reflects light without streaks, because flash turns smudges into bright smears. Stash the trash can and non-daily appliances in a closet.
Primary bedroom. The bed is the focal point, so styling must be deliberate. Two pillows per side plus one accent pillow reads as a hotel, not a showroom. Skip heavy comforters with busy patterns; they moiré and distract in a wide shot. If the bed sits against the wall opposite the door, shoot from the doorway corner so the room gains depth.
Bathrooms. The smallest rooms are the easiest to make look cramped. Close every lid, fold towels in threes, and remove bottles, loofahs, and bath mats. A mirror facing the camera shows the photographer, tripod, and flash; shoot at an angle. With no window, turn on every light and expect a bounce card.
Entry and dining. The entry sets the tone in the first gallery photo, so keep the floor clear and the console styled with one object. In the dining room, center the table under the fixture and tuck chairs evenly; a chandelier shot at eye level blows out, so expose for the window and let the fixture read slightly warm.
Small rooms benefit from minimal accessories: a single plant, a stack of books, a tray. More than that and the room shrinks in the frame. The rule across every room: stage for the widest lens the photographer will use, not for how the room looks from the doorway.
Smartphone vs. Professional Camera: What Actually Matters
What matters isn't the device; it's control over light, lens, and perspective. A modern phone produces a usable listing photo in a bright, simple room, but struggles with mixed lighting, tight corners, or a view worth showing off. These settings and habits close most of the gap.
Set the phone up like a camera, not like a phone.
- Shoot in the native camera app, not a filter app. Filters compress, re-crop, and strip metadata agents and MLS systems sometimes need.
- Turn on the grid and level. Leaning verticals are the most obvious tell of an amateur listing photo; the grid keeps doorframes and cabinet lines straight.
- Lock exposure and focus. Tap and hold the brightest window, then drag the exposure slider down until window detail appears, the phone equivalent of exposing for highlights.
- Use the widest lens, then step back. The 0.5x ultrawide is roughly a 13-16mm full-frame lens, wider than most real estate photographers use. Step back and use the 1x lens when you can; ultrawide bends the room's edges.
- Shoot at chest height, not eye height. Eye-level phone shots tilt the room and exaggerate the ceiling; chest height with the phone level gives a natural perspective.
- Bracket when the room has a view. Take one shot exposed for the interior and one for the window, then blend them in an editing app, the DIY version of hand-blended editing.
- Turn off the flash. On-camera flash flattens the room and creates hard shadows behind furniture. Use existing light plus a lamp or two.
- Shoot landscape for wide rooms and portrait for tall ones. A vertical shot of a hallway or two-story entry shows height a horizontal shot clips.
Where the phone still loses.
The technical gap shows up in three places: dynamic range, white balance, and depth of field. Phones clip window highlights and crush shadows faster than a full-frame sensor, so strong exterior light either blows out the view or goes dark inside (imaging.org). Auto white balance drifts between rooms, so a warm bedroom next to a cool bathroom looks like two houses in one gallery. And the small sensor keeps everything in focus, which reads flat.
When to call a professional anyway.
- Phone works for: quick updates, small condos, backup shots on a deadline, and any room with one dominant light source and simple geometry.
- Professional camera works for: wide-angle interiors, architectural features, drone exteriors, luxury listings, twilight exteriors, and any room with tricky or mixed light.
A practical rule: if the room has a view worth showing, a vaulted ceiling, or more than one light source, the phone will fight you. If the room is a simple box with even light, the phone is fine.
Virtual Staging Integration: When and How to Use It
Virtual staging digitally furnishes an empty or dated room in a photo, and works best for vacant properties and awkward spaces that photograph as cold. It supplements real staging rather than replacing it, and should always be disclosed in the listing.
Use it when a room is empty, furniture is too worn to photograph well, or you need to show how an unusual layout could function. Skip it when the home is already staged or the digital furniture would misrepresent actual dimensions. Buyers notice when a virtually staged room doesn't match the walkthrough, and that erodes trust fast.
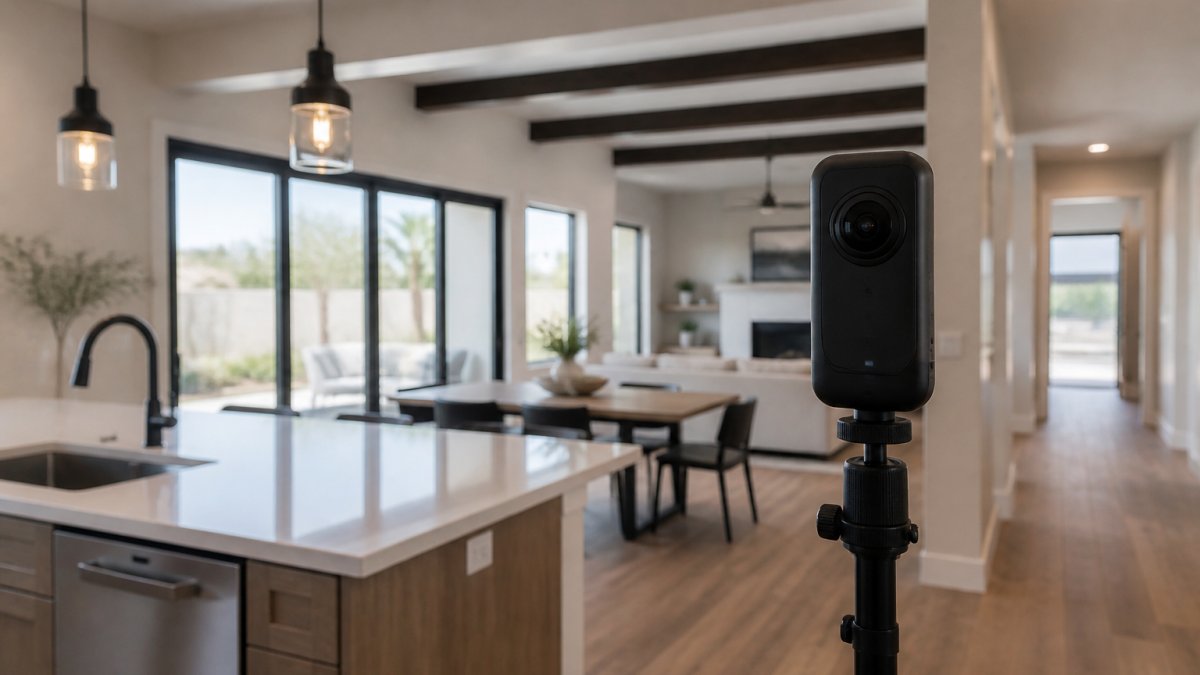
For occupied homes, real staging plus hand-blended editing usually beats virtual furniture. For vacant builds, a mix of virtual staging and immersive virtual walk-through tours gives buyers both the furnished vision and the true floor plan.
Staging for Specific Architectural Styles
Staging should match the architecture, not fight it. A midcentury ranch and a new-build contemporary need different furniture, palettes, and camera angles to look their best.
- Midcentury and ranch homes: low-profile furniture, warm wood tones, uncluttered lines, and angles that emphasize ceiling height and glass
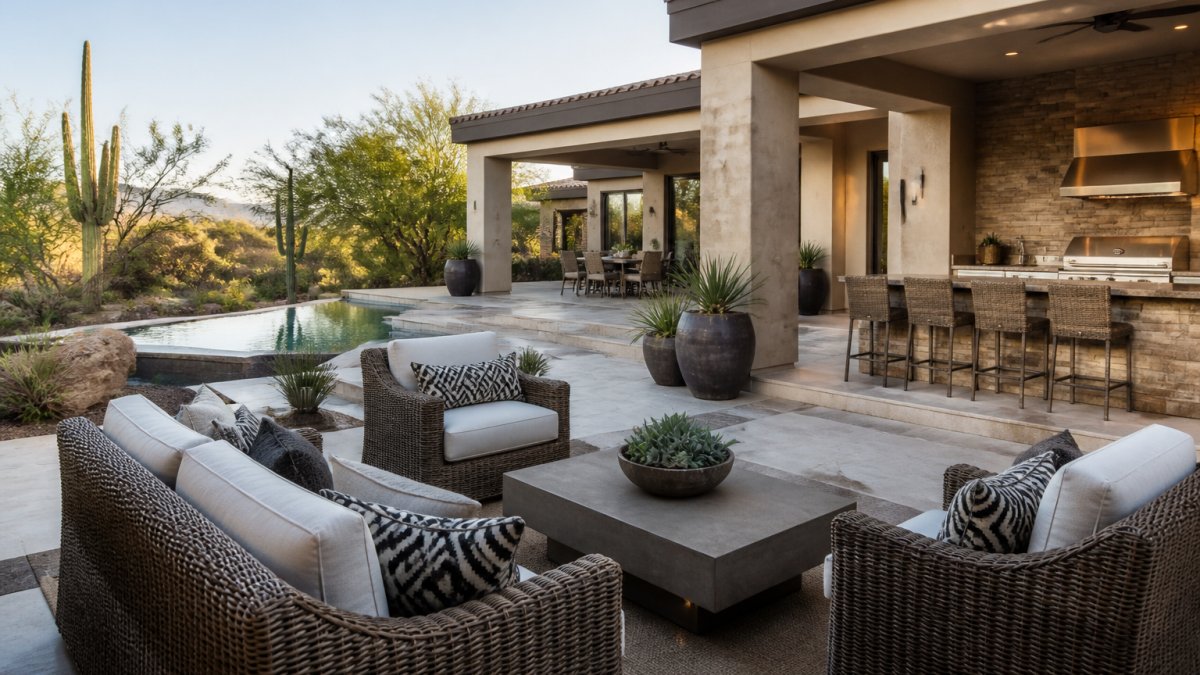
- Southwestern and territorial: earthy neutrals, natural textures, and shots that frame courtyards and exposed beams
- Contemporary and modern: minimal staging, high-contrast surfaces, and straight-on compositions that highlight clean geometry
- Luxury custom homes: fewer accessories, larger focal pieces, and drone or twilight exteriors that show the property's setting
The throughline is neutral decor and restraint. Staging that matches the style reads as intentional; staging that ignores it reads as a flip.
Post-Production Expectations: What Happens After the Shoot
Post-production turns a good photo into a listing-ready image, and it's the step most sellers never see. Expect corrections to exposure, white balance, vertical lines, and window pulls, plus removal of small distractions like cords or wall scuffs.
What you should not expect is a different house. Editing brightens, straightens, and cleans; it doesn't add square footage or hide structural problems. Reputable photographers keep edits honest and flag anything a buyer would need to know.
Turnaround matters when you're racing to list. Ask upfront how long delivery takes, whether drone and virtual tour assets come in the same package, and whether revisions are included. At Desert Home Photography, FAA-licensed drone operators and hand-blended editing are part of our service, so agents get a full media set. One client put it simply: "As a real estate agent, I rely on Desert Home Photography for all my property listings. Their work is exceptional and always impresses my buyers."
The hardest part of listing prep isn't the decluttering or lighting; it's trusting the camera to expose every shortcut. That's why the right photographer is a partner, not a vendor. Desert Home Photography brings hand-blended imaging, FAA-licensed drone photography, and immersive virtual walk-through tours to every Phoenix Valley listing, so your property looks as good on screen as in person. Call or text Desert Home Photography to schedule your shoot and get listing-ready media that stops the scroll.
Frequently Asked Questions
What is the 3-3-3 rule in real estate?
The 3-3-3 rule is a guideline for pricing and staging a home to sell. It suggests that a home should be priced within 3% of market value, staged to appeal to buyers within 3 seconds, and sold within 3 weeks. For photography, this means creating a strong first impression with decluttered, well-lit spaces that photograph beautifully and attract buyers quickly.
What not to do when staging a house for photos?
Avoid these common mistakes: leaving personal items like family photos and toiletries visible, using harsh overhead lighting that creates shadows, neglecting to clean windows and mirrors, and overcrowding rooms with furniture. Also, don't ignore curb appeal or forget to stage outdoor spaces. These oversights can make rooms feel smaller and less inviting in listing photos.
Should I remove personal items before a real estate photography shoot?
Yes, removing personal items is crucial. Depersonalizing helps buyers imagine themselves in the home. Remove family photos, religious items, and personal collections. Clear countertops, put away toiletries, and store pet toys and beds. This decluttering strategy makes spaces feel larger and more neutral, allowing the architectural features to shine in photos.
How do I stage a small room to look larger for photography?
To make a small room appear larger, use light colors, minimize furniture, and maximize natural light. Place a mirror to reflect light and create depth. Remove bulky pieces and choose furniture with exposed legs to show more floor space. Use a wide-angle lens and shoot from a corner to capture more of the room. These techniques enhance spatial awareness in photos.