 how-to
Tips for Photographing Small Phoenix Homes
Table of Contents
- Why Small Phoenix Homes Need a Different Photo Approach
- Real Estate Photography Prep Checklist for Small Spaces
- How to Stage a Small Home for Sale
- Best Lighting for Interior Photography in the Desert
- Composition and Camera Angles That Add Space
- Budget-Friendly DIY Staging vs. Hiring a Pro
- Common Mistakes to Avoid When Photographing Small Homes
- Mistake 1: Ignoring the "Bathtub Effect" of Wide Lenses
- Mistake 2: Overcorrecting Harsh Shadows into a Flat Image
- Mistake 3: Forgetting to Correct the "Arizona Yellow" Cast on Exterior Stucco
- Mistake 4: Shooting the Exterior at the Wrong Time of Day
- Mistake 5: Skipping the Post-Processing Perspective Fix
- Conclusion: Make Your Listing Stand Out
- Frequently Asked Questions
Last Updated: September 7, 2026
Small homes present a unique challenge for real estate photography, especially under the intense desert sun of the Valley. The goal is to make compact spaces feel open and inviting without misrepresenting the property. At Desert Home Photography, we specialize in capturing the unique beauty of every home through high-quality imagery and hand-blended techniques, and we have compiled the essential tips for photographing small phoenix homes to help you attract the right buyers.
The most effective real estate photography for small spaces relies on preparation, lighting control, and smart composition rather than expensive gear. Below, we break down a step-by-step approach to ensure your next shoot maximizes visual appeal and marketability.
Why Small Phoenix Homes Need a Different Photo Approach
Standard real estate photography techniques often fail in smaller footprints, particularly in a desert climate where light behaves differently. Wide shots can make a room look even smaller, while harsh midday sun creates deep shadows that obscure the space.
The architectural style common in Phoenix, featuring low profiles and an emphasis on indoor-outdoor living, requires a photographer to think about the flow between rooms. A common mistake is treating a 1,200-square-foot home the same as a 3,000-square-foot one. Prioritize spatial awareness and use angles that highlight how the space connects.
Real Estate Photography Prep Checklist for Small Spaces
Preparation is where you win the battle for small space photography. A thorough real estate photography prep checklist ensures you are not fighting against clutter or poor lighting conditions during the shoot.
Decluttering and Deep Cleaning
Before the camera comes out, the home must be in showroom condition. In a small home, every item visible in the frame adds visual noise. Clear countertops, remove personal photos, and store away bulky furniture that disrupts room flow. A deep clean of windows and floors is critical, as dust shows up clearly in sharp images.
Maximizing Natural Light
Natural light is your most powerful tool for making a small space feel larger. Open all window treatments fully to let in as much light as possible, creating a bright, airy feel that minimizes heavy shadows.
How to Stage a Small Home for Sale
Staging for the camera is different from staging for living. The objective is to create a sense of spaciousness through strategic furniture placement and minimalism. When learning how to stage a small home for sale, remember that less is always more.
Start by removing any furniture that blocks the main walkway or visual path through the room. Pull sofas and chairs away from the walls by a few inches to create depth. In a small dining area, remove the leaves from the table to make the room appear larger.
Best Lighting for Interior Photography in the Desert
Phoenix's high-altitude desert location creates a lighting environment unlike most of the country. At roughly 1,100 feet above sea level with low humidity, the atmosphere scatters less light, meaning the sun's rays hit surfaces with more intensity and create harder shadows than in coastal or humid climates (weather.gov). This is especially problematic for small homes, where a single unshaded window can blow out an entire room's exposure while leaving the opposite corner in near-blackness.
The Problem with Midday Light in the Valley
Between roughly 10:00 AM and 3:00 PM from April through October, the sun's angle in Phoenix is high and direct. In a small room, this creates a contrast ratio that can exceed 10:1, meaning the brightest area (the window frame) is ten times brighter than the darkest corner. Most camera sensors can only capture about 7 stops of dynamic range in a single exposure, resulting in either a blown-out window or a muddy, underexposed interior (cambridgeincolour.com).
A Practical Approach for Midday Shoots
If you cannot schedule the shoot for early morning or late afternoon, you need a layered light-control strategy:
- Diffuse the direct sun first. Use sheer white curtains or diffusion fabric (available at any hardware store for about $15 per panel) taped over the window frame. This transforms harsh point-source light into a soft, even glow that wraps around the room.
- Supplement with bounced light, not direct flash. Point a speedlight or continuous LED at a white ceiling or a foam-core board to fill shadow areas. Direct flash creates specular highlights on glossy tile and stucco walls, which are common in Phoenix homes.
- Shoot in RAW and expose for the highlights. In a small space, a slightly darker interior that retains window detail is far more usable in post-processing than a bright room with clipped, unrecoverable windows.
The "Phoenix Shade" Technique
A unique pattern that works well in desert ranch homes is to shoot from the shaded side of the property. Many Phoenix homes have deep eaves or covered patios that cast a consistent shadow band across the exterior wall. Positioning your camera inside that shaded band while pointing toward the brighter interior creates a natural gradient of light that adds depth without requiring artificial fill.
Color Temperature Management
Arizona's clear skies produce a strong blue-dominant daylight (around 6000K-6500K), while typical interior LED bulbs sit near 2700K-3000K (energy.gov). This mismatch creates a split-tone cast that is especially visible on white stucco walls. To manage this:
- Set your camera's white balance manually to 5000K as a starting point.
- Turn on all interior lights and use a gray card to set a custom white balance in each room.
- In post-processing, use the white-balance eyedropper tool on a neutral surface (white trim or a gray tile) to correct any remaining cast before making exposure adjustments.
By understanding how Phoenix's specific atmospheric conditions affect light, you can make deliberate choices that keep small interiors bright, even, and inviting.
Composition and Camera Angles That Add Space
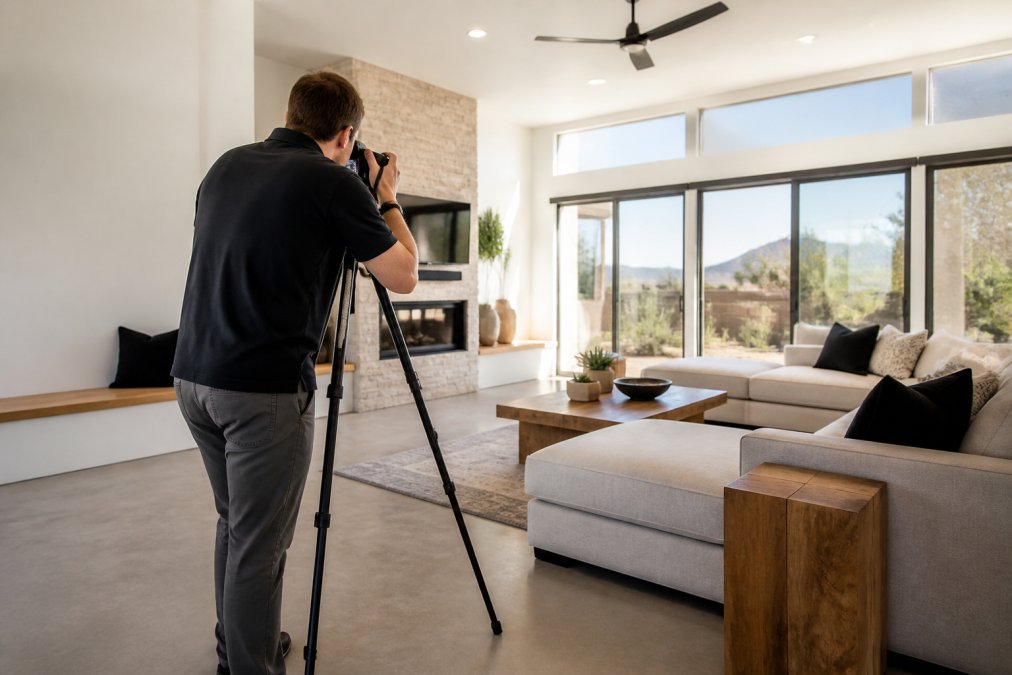
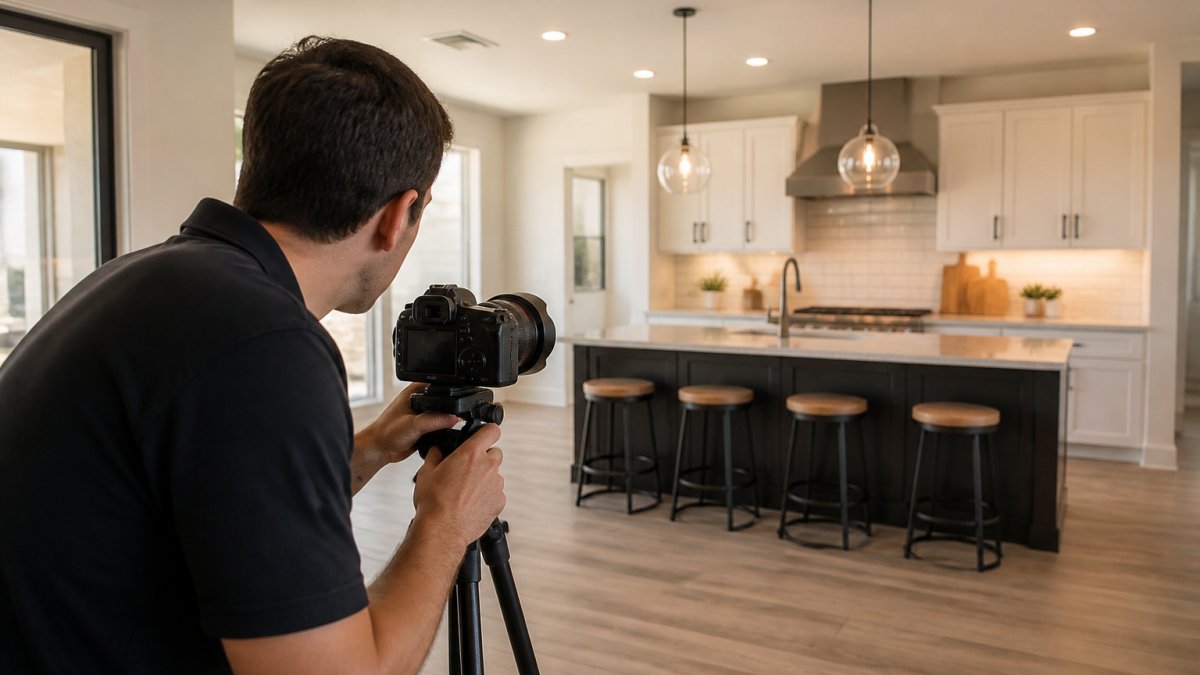
Strategic composition is about guiding the viewer's eye through the property. The most effective way to add space is to shoot from the corner of a room, capturing two adjacent walls. This provides a sense of depth and dimension that a straight-on shot cannot achieve.
Elevate your camera to a height of about four to five feet, roughly chest level. This minimizes perspective distortion and keeps vertical lines straight. Always ensure the camera is perfectly level on a tripod; tilted angles can make a room look like it is leaning.
Using Wide-Angle Lenses Without Distortion
A wide-angle lens is a staple in real estate photography, but it requires discipline. The goal is to show the full scope of the room without making furniture look unnatural or stretched. Avoid placing objects too close to the edges of the frame, where distortion is most severe.
When using a wide-angle lens, focus on maintaining a level horizon and keeping the camera sensor parallel to the walls. This minimizes the "barrel effect" that can make a small room feel like a funhouse mirror. The lens is a tool to enhance spatial awareness, not to deceive the buyer.
Budget-Friendly DIY Staging vs. Hiring a Pro
Many sellers wonder if they can handle the photography themselves. While smartphone cameras have improved, they still struggle with the dynamic range required for desert interiors. If you are working with a tight budget, focus on the prep checklist and shooting during the golden hour.
However, for a listing that needs to stand out in a competitive market, hiring a professional is often the better investment. Professional photographers use specialized gear and lighting equipment to handle the specific challenges of the Valley. They also bring post-processing expertise to correct color and exposure issues that DIY efforts cannot fix.
Common Mistakes to Avoid When Photographing Small Homes
Even experienced photographers make avoidable errors when shooting compact desert properties. Beyond the obvious issues like forgetting a tripod or using on-camera flash, several Phoenix-specific mistakes consistently undermine listing quality.
Mistake 1: Ignoring the "Bathtub Effect" of Wide Lenses
In a small bathroom or galley kitchen, a wide-angle lens can make the floor appear to curve upward at the edges, a distortion that buyers immediately notice as "off." This happens because the lens projects a rectilinear image that stretches peripheral areas. The fix is to keep the sensor plane perfectly perpendicular to the back wall. If shooting from a corner, angle the camera down slightly and correct the verticals in post-processing using Lightroom's Transform panel or Photoshop's Perspective Warp. A 1-2 degree downward tilt combined with a 100% vertical correction yields a natural-looking image.
Mistake 2: Overcorrecting Harsh Shadows into a Flat Image
When photographers encounter the deep shadows Phoenix sun creates, the instinct is to lift the shadows slider aggressively in post-processing. The result is a flat, hazy image that looks artificial and removes depth. Instead, use a masked adjustment brush to selectively brighten only the darkest areas, typically under furniture and in corners. Preserve some contrast between the window light and the interior; a small home looks larger with a clear light-to-dark gradient.
Mistake 3: Forgetting to Correct the "Arizona Yellow" Cast on Exterior Stucco
Phoenix's warm-toned stucco and desert landscaping often cast a yellow-orange glow onto white interior walls when sunlight bounces through windows. This is especially visible in small rooms where the walls are close to the windows. In post-processing, do not rely on auto white balance. Use the color mixer to reduce orange saturation in the midtones and add a slight blue tint to the highlights. Target the yellow channel and reduce its luminance by 10-15% to neutralize the bounce light.
Mistake 4: Shooting the Exterior at the Wrong Time of Day
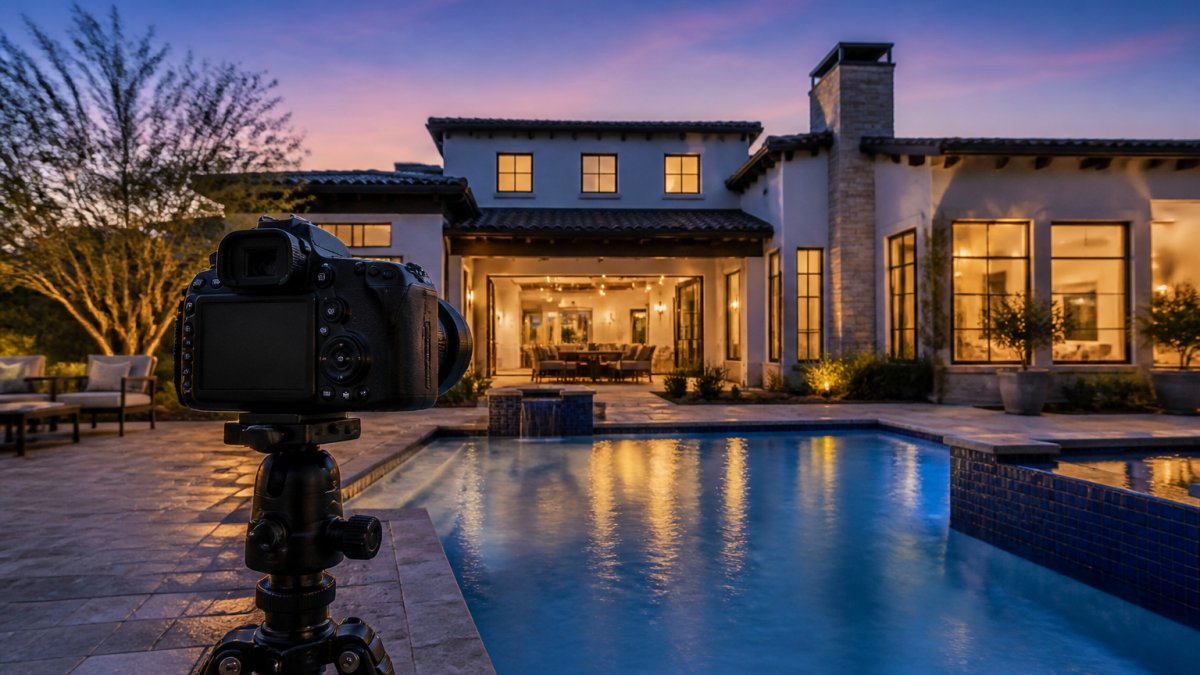
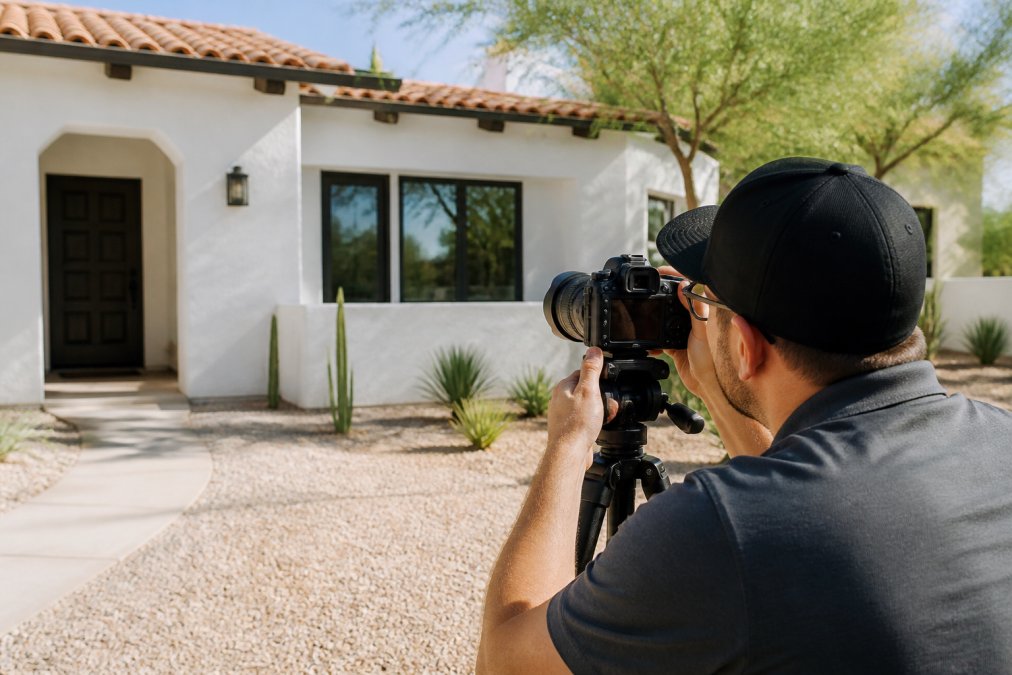
Many photographers shoot the front of the home at the same time as the interiors, often midday. In Phoenix, this produces a washed-out facade with harsh shadows under the eaves and no detail in the garage door. The front exterior should be shot separately, ideally within 30 minutes of sunset, when the low-angle light rakes across the stucco. If you must shoot midday, position yourself so the sun is behind the home and use a polarizing filter to cut glare.
Mistake 5: Skipping the Post-Processing Perspective Fix
A slightly tilted camera is the most common reason a small room looks like it is leaning. Even a 2-degree tilt becomes obvious when there are vertical door frames or tiled walls in the frame. In post-processing, use the guided upright tool to draw a line along a known vertical edge and let the software auto-correct the perspective. This takes less than 30 seconds per image and is the single highest-impact edit for architectural credibility.
By avoiding these Phoenix-specific pitfalls and applying targeted corrections in software, you can produce a cohesive, accurate set of images that makes a small home feel both spacious and true to its character.
Conclusion: Make Your Listing Stand Out
Photographing small Phoenix homes requires a deliberate strategy that combines technical skill with an understanding of desert architecture. By following the tips for photographing small phoenix homes outlined above, you can create a listing that feels open, bright, and inviting, helping buyers see the true potential of the property.
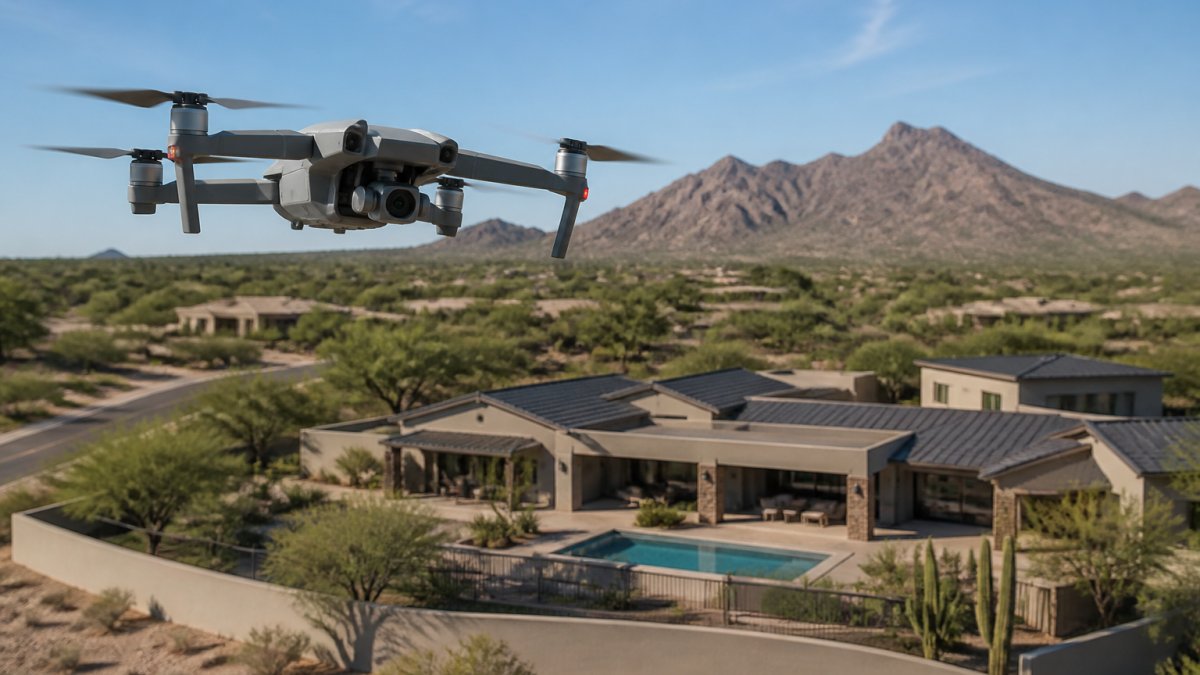
Handling the lighting and spatial challenges of the Valley on your own can be overwhelming, which is where our team comes in. Desert Home Photography provides professional real estate and architectural photography with hand-blended imaging to capture the unique beauty of every home. Our FAA-licensed drone operators and immersive virtual walk-through tours help entice potential buyers and maximize your listing's marketability.
Call or Text us to get started with Desert Home Photography and make your next listing stand out.
Frequently Asked Questions
How do you make a small room look bigger in real estate photos?
Shoot from a low corner angle with a wide-angle lens to capture two walls and open up the space. Declutter surfaces and remove oversized furniture before the shoot. Use natural light from windows to brighten dark corners. Keep vertical lines straight to avoid perspective distortion. These techniques add visual depth without making the room look artificially stretched.
What is the best time of day to photograph homes in the desert?
Golden hour, roughly one hour after sunrise or before sunset, offers soft, warm light that flatters both interiors and exteriors. Midday sun in the desert creates harsh shadows and strong contrast that is hard to manage. For interiors, overcast mornings provide even, diffused natural light. Plan exterior shots around golden hour and supplement interior lighting as needed.
What camera settings are best for small interior spaces?
Use a wide-angle lens (16-24mm on full frame) to capture the full room. Set aperture to f/8 for maximum sharpness across the frame. Keep ISO low (100-400) to minimize noise. Use exposure bracketing to capture multiple stops of light for high dynamic range blending, which preserves detail in both bright windows and shadowed corners.
Why is professional photography important for small property listings?
Small homes face more buyer scrutiny because every square foot counts. Professional photos use strategic angles, lighting, and staging to highlight spatial flow and potential. Amateur photos often make compact rooms feel cramped and dark. High-quality images attract more listing views and show buyers that the property is well-maintained, increasing the chance of a faster sale.