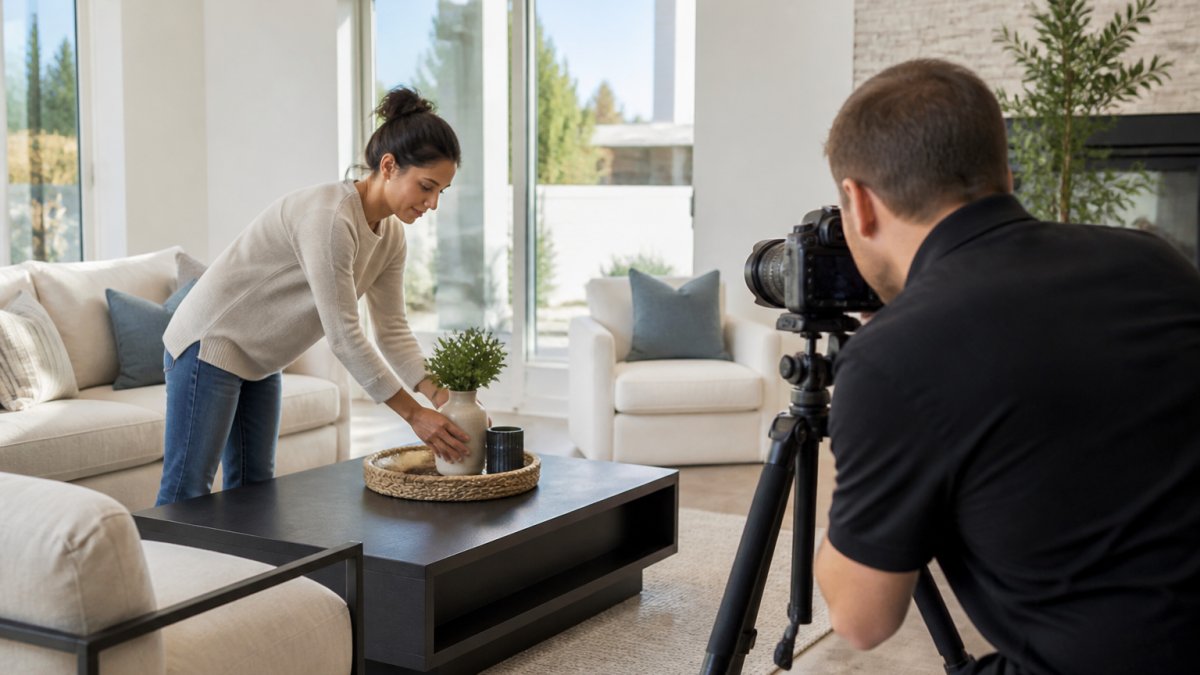
 how-to
Tips for Staging Homes for Professional Photography
Table of Contents
- Why Staging Matters Before the Photographer Arrives
- How to Prepare a House for Real Estate Photography
- Room-by-Room Home Staging Checklist
- Lighting and Color Strategy for Camera-Ready Rooms
- Real Estate Photography Checklist: The 48 Hours Before Your Shoot
- Common Home Staging Mistakes That Hurt Your Listing Photos
- Coordinating with Your Real Estate Photographer
- Frequently Asked Questions
Last Updated: October 5, 2026
Why Staging Matters Before the Photographer Arrives
Listing photos are the first impression potential buyers get. What happens before the camera arrives determines what it can capture: a cluttered, poorly lit room stays cluttered and poorly lit, no matter how skilled the photographer. Staging homes for professional photography removes distractions so buyers can envision themselves living there, increases buyer interest, and shortens time on market.
How to Prepare a House for Real Estate Photography
Start preparing at least one week before your shoot.
Declutter and Depersonalize Each Room
Remove personal items so buyers can imagine their own lives in the space: family photos, artwork, children's toys, pet items, excess furniture, and collections. Create a neutral canvas, a few well-chosen pieces photograph better than many. Close closet doors or stage them neatly, and remove items from under beds and nightstands.
Deep Clean All Surfaces and Floors
Dust, fingerprints, and smudges become visible in professional images. Schedule deep cleaning 2-3 days before your shoot, focusing on windows, kitchen counters, appliances, bathroom fixtures, mirrors, baseboards, floors, and light fixtures. Vacuum and mop floors the day before or morning of shoot.
Room-by-Room Home Staging Checklist
A systematic approach prevents you from missing details. Work through your home one room at a time, using the same staging process for each space.
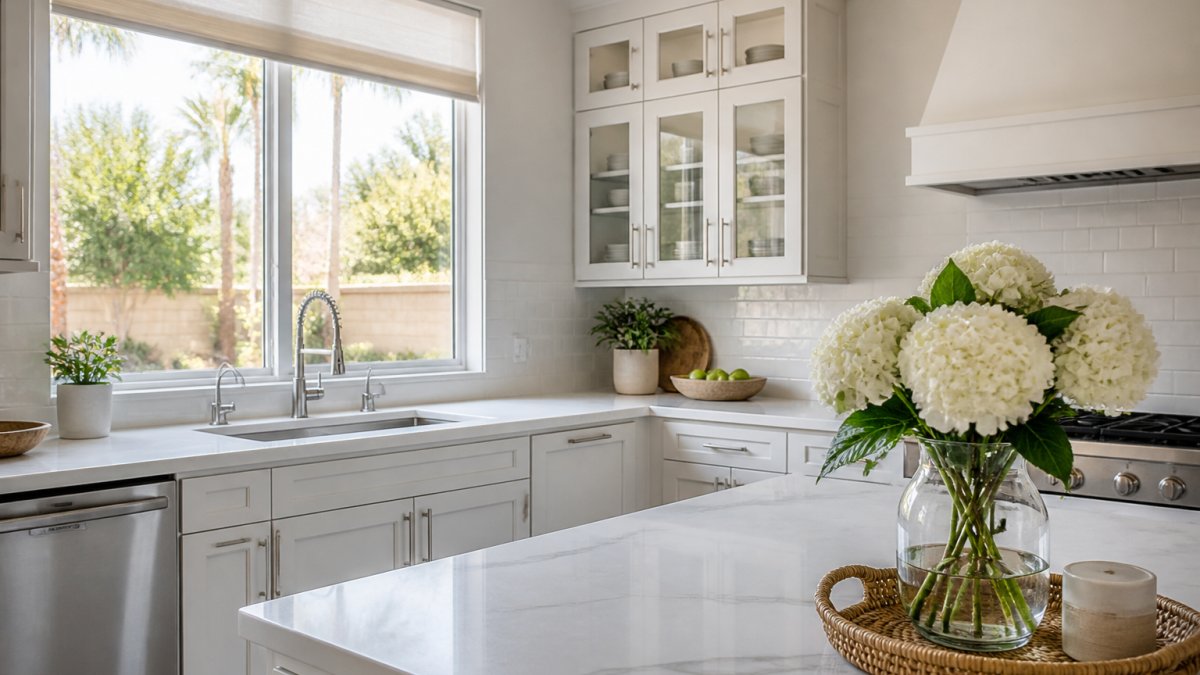
Kitchen and Dining Areas
Clear kitchen countertops completely, leaving only fresh flowers. Clean the sink, wipe down cabinet fronts and appliances, and open window coverings for natural light. Clear the dining table entirely and push chairs in neatly.
Bedrooms and Bathrooms
Make beds with fresh, wrinkle-free linens in neutral colors. Remove all items from nightstands except a simple lamp. Clear bathroom countertops of all personal items, leaving only fresh flowers, and fold towels neatly.
Living Spaces and Entryways
Arrange furniture to show flow and size, removing excess pieces. Fluff cushions and clear tables and shelves. Clear the entryway of shoes, coats, and personal items.
Lighting and Color Strategy for Camera-Ready Rooms
Open all window coverings to let natural light fill rooms. Add lamps with warm-toned bulbs to fill dark corners. Neutral walls photograph better than bold colors; whites, soft grays, and warm beiges make rooms feel larger. Fresh flowers in neutral vases add color without overwhelming.
Real Estate Photography Checklist: The 48 Hours Before Your Shoot
The checklist below prioritizes tasks by impact and timing. If short on time or budget, focus on High Impact items first, these are visible in almost every photo and deliver the most dramatic improvement.
48 Hours Before: Deep Prep and Decluttering
High Impact (do these first):
- Remove all personal photos, family artwork, and memorabilia from walls and shelves
- Clear kitchen countertops completely; remove small appliances, utensil holders, and decorative items
- Remove all items from bathroom counters except one simple decorative element (fresh flowers work well)
- Make all beds with fresh, wrinkle-free linens in neutral colors
- Deep clean all windows, inside and outside (windows appear in nearly every room shot)
- Declutter every visible surface: nightstands, coffee tables, shelves, and entryway tables
- Remove excess furniture that makes rooms feel cramped (consider temporarily storing pieces in a garage or storage unit)
Medium Impact (do next):
- Vacuum and mop all floors thoroughly, including corners and baseboards
- Clean mirrors, light fixtures, and ceiling fans
- Wipe down cabinet fronts, appliance exteriors, and door frames
- Remove pet toys, food bowls, and bedding
- Close closet doors or organize visible contents neatly
- Wash bedding and towels; fold and display only 2-3 towels per bathroom
24 Hours Before: Final Cleaning and Lighting Setup
Must-do tasks:
- Vacuum all carpeted areas and mop hard floors again
- Clean mirrors and windows a second time
- Test all interior lights and replace burnt-out bulbs
- Open all window coverings fully to maximize natural light
- Position lamps with warm-toned bulbs (2700K) to fill dark corners
- Do a final walk-through and remove any accumulated items
Coordination tasks:
- Confirm shoot time and discuss optimal light windows (morning light is typically stronger and more flattering)
- Arrange for pets or children to be away during the shoot
- Plan where household members will stay during photography
- Identify temporary storage space for removed items
Morning of Shoot: Final Touches
1 hour before photographer arrives:
- Do a final walk-through for any clutter that has reappeared
- Ensure all beds are made with pillows fluffed and throws arranged neatly
- Fluff sofa cushions and position fresh flowers in key rooms
- Turn on all interior lights, even in daytime shots
- Open all window coverings fully
- Check that the front door and entryway are clean and well-lit
If short on time or budget: Focus on "High Impact" items: decluttering, removing personal items, and cleaning windows deliver the most visible improvement. A cluttered but clean room photographs worse than a sparse, empty room.
For occupied homes: Arrange for family members and pets to stay away during the shoot. Remove daily-use items (toothbrushes, medications, children's toys, pet bowls) from visible areas the night before and store in a closet or garage.
Seasonal and weather considerations: If your shoot is scheduled during rain or snow, ensure the exterior is clean and dry before the photographer arrives. For shoots in strong afternoon sun, close blinds on west-facing windows to reduce harsh glare and shadows.
Common Home Staging Mistakes That Hurt Your Listing Photos
Many homeowners make predictable mistakes when staging homes for professional photography.
Leaving personal photos on display. Family photos distract buyers. They should focus on the home, not your family.
Keeping too much furniture. A room full of furniture looks cramped in photos.
Using bold wall colors. Bright blues, reds, and greens photograph strongly but limit buyer appeal.
Ignoring lighting. Dark rooms photograph poorly. Open all window coverings and add lamps if needed.
Staging with your lifestyle in mind. Your staged home shouldn't look lived-in. It should look move-in ready.
Forgetting about reflections. Windows and mirrors can reflect unwanted items or create glare.
Neglecting outdoor spaces. First impressions start outside.
Coordinating with Your Real Estate Photographer
Successful staging depends on clear alignment between you, your real estate agent, any professional stager you hire, and your photographer. Misaligned expectations lead to duplicated effort, missed preparations, and photos that don't showcase your home's best features.
Pre-Shoot Communication Checklist
Before booking or immediately after, discuss these points with your photographer:
Home layout and access:
- Provide a floor plan or walkthrough video so the photographer understands the home's flow
- Identify any difficult-to-access areas (narrow hallways, low ceilings, small closets) and discuss whether they're worth photographing
- Clarify which rooms are priorities and which can be skipped if time is limited
- Discuss any outdoor features (pool, patio, landscaping) that should be included
Your home's best features:
- Point out architectural details, views, natural light sources, and special finishes worth highlighting
- Share any recent upgrades or renovations so the photographer knows what to emphasize
- Discuss any problem areas (dark rooms, awkward layouts) and ask for the photographer's advice on how to present them favorably
- Ask whether the photographer recommends removing or repositioning specific furniture to improve sightlines
Staging and styling preferences:
- Share examples of listing photos you like so the photographer understands your aesthetic preference
- Clarify whether you want lifestyle-focused images or clean, bright product-style photography
- Ask the photographer's recommendation on neutral paint colors if considering a refresh
Timing and weather:
- Schedule the shoot during optimal daylight hours (typically 9 a.m. to 3 p.m., depending on season and your home's orientation)
- Avoid scheduling during harsh afternoon sun if your home has large west-facing windows
- Discuss weather contingencies; rain or snow may require rescheduling exterior shots
- Confirm whether the shoot will happen on a weekday or weekend and whether you need to arrange for family or pets to be away
Deliverables and timeline:
- Ask how many photos and rooms are included
- Clarify whether drone shots, video tours, or 3D virtual tours are included
- Understand the editing process and timeline for final images
- Discuss whether you can request additional edits or reshoot specific rooms
Coordinating Multiple Parties
If you're working with a real estate agent and a professional stager, establish clear roles to avoid duplicated work and conflicting advice.
Define responsibilities:
- Your agent typically handles marketing strategy, pricing, and buyer communication. They may recommend staging priorities based on what sells homes in your market.
- A professional stager (if hired) handles hands-on preparation: decluttering, furniture arrangement, styling, and sometimes sourcing rental furniture or décor.
- The photographer captures the staged home and handles technical execution: lighting, composition, and editing.
- You coordinate between all parties and handle day-to-day maintenance between staging and the shoot.
Schedule a pre-shoot walkthrough: Arrange a pre-shoot walkthrough 1-2 days before with your agent and photographer to confirm priorities, furniture arrangement, lighting setup, and curb appeal details.
This walkthrough prevents the photographer from arriving to find staging that doesn't match expectations, or the stager from making changes after the photographer has already scouted the home.
Communicate staging changes: If you or your stager make changes after the photographer's initial walkthrough, notify the photographer immediately. A moved sofa, added flowers, or repositioned furniture can affect composition and lighting.
Managing Occupied-Home Logistics
Before the stager or photographer arrives:
- Designate a staging zone for household members and pets
- Remove daily-use items the night before and store in a closet or garage
- Arrange for children and pets to be away during photography if possible
Communicate timing clearly:
- Confirm arrival time and shoot duration (typically 2-4 hours)
- Plan to be away or confined to one area during the shoot
Post-shoot maintenance:
- Avoid major changes or new clutter before the listing goes live
- Maintain the staged condition if the photographer will return for additional shots
Questions to Ask Before You Book
Use these questions to evaluate whether a photographer understands staging and can guide you effectively:
- "What staging mistakes do you see most often in homes you photograph?" A photographer with staging experience will have specific, practical answers.
- "Can you recommend a professional stager if I need one?" Photographers who work regularly with stagers have trusted referrals.
- "What's the biggest difference between homes that photograph well and homes that don't?" Listen for answers about decluttering, lighting, and neutral colors, signs they understand staging.
- "If I'm on a tight budget, what should I prioritize?" A good photographer will tell you which improvements deliver the most visible impact in photos.
- "Can you do a pre-shoot walkthrough or video call to discuss the home's layout?" This shows the photographer takes preparation seriously.
Photographers who invest time in pre-shoot communication and coordination typically deliver better results because they understand not just how to photograph a home, but how to work with you to prepare it for the camera.
Frequently Asked Questions
What should you remove before taking real estate photos?
Remove personal items like family photos, memorabilia, and clutter from all surfaces. Clear kitchen counters of appliances, mail, and dishes. Declutter closets, shelves, and bathrooms. Strip beds and remove excess pillows and throws. Take down personal artwork and replace with neutral decor. Remove pet toys, food bowls, and litter boxes from view. The goal is to help buyers envision themselves in the space rather than see your personal life.
How do you make a home look bigger in listing photos?
Open all curtains and blinds to maximize natural light and create a sense of spaciousness. Remove unnecessary furniture to open up floor plans. Arrange remaining pieces to create clear sightlines through rooms. Use wide-angle lens perspectives to capture more of each space. Keep color palettes light and neutral to make rooms feel airier. Declutter shelves and countertops so spaces don't feel cramped. Clear pathways and avoid blocking doorways or windows with furniture.
How long does it take to prepare a home for listing photos?
Most homes need 24-48 hours of preparation before a professional shoot. Deep cleaning typically takes one to two days depending on home size. Decluttering and depersonalizing takes another day. Final touch-ups, fluffing pillows, arranging flowers, adjusting lighting, happen the morning of the shoot. Larger or more cluttered homes may need additional time. Coordinating with your real estate photographer in advance ensures you prioritize staging efforts effectively.
Which rooms should you stage for real estate photography?
Prioritize the kitchen, primary bedroom, primary bathroom, and main living areas, these rooms drive buyer decisions. Stage the entryway to create strong first impressions. Include dining areas if they're distinct spaces. Secondary bedrooms and bathrooms matter less but should still be clean and decluttered. Outdoor spaces and curb appeal are equally important; invest in landscaping, clean the front entry, and ensure the exterior is camera-ready. Focus your staging budget on rooms that appear most frequently in online listings.