 how-to
Choosing the Right Lighting for Interior Home Photos
Table of Contents
- Why Lighting Determines Your Interior Home Photos
- Natural Light Interior Photography: Window Light as Your Foundation
- Flash Photography for Real Estate Interiors: Control and Consistency
- Interior Photography Camera Settings: Exposure, Aperture, and ISO
- Real Estate Photography Lighting Tips: Solving Common Interior Challenges
- A Room-by-Room Lighting Decision Workflow
- Exposure Blending and Ethical Representation
- Frequently Asked Questions
Last Updated: October 16, 2026
Why Lighting Determines Your Interior Home Photos
The difference between a listing that sells and one that sits is often just one thing: light. Good lighting reveals your home's best features. Bad lighting hides them.
At Desert Home Photography, we understand that lighting strategy matters more than equipment. The homes that photograph best aren't always the most expensive. They're the ones lit correctly.
Here's what most people get wrong: they assume natural light is always better. It's not. Natural light is powerful, but it's also unpredictable. It changes hour to hour. It creates harsh shadows in some rooms and leaves others dim.
Natural Light Interior Photography: Window Light as Your Foundation
Window light is your starting point. It's free, it's natural, and buyers trust it. The challenge is controlling it.
Assessing window exposure and timing
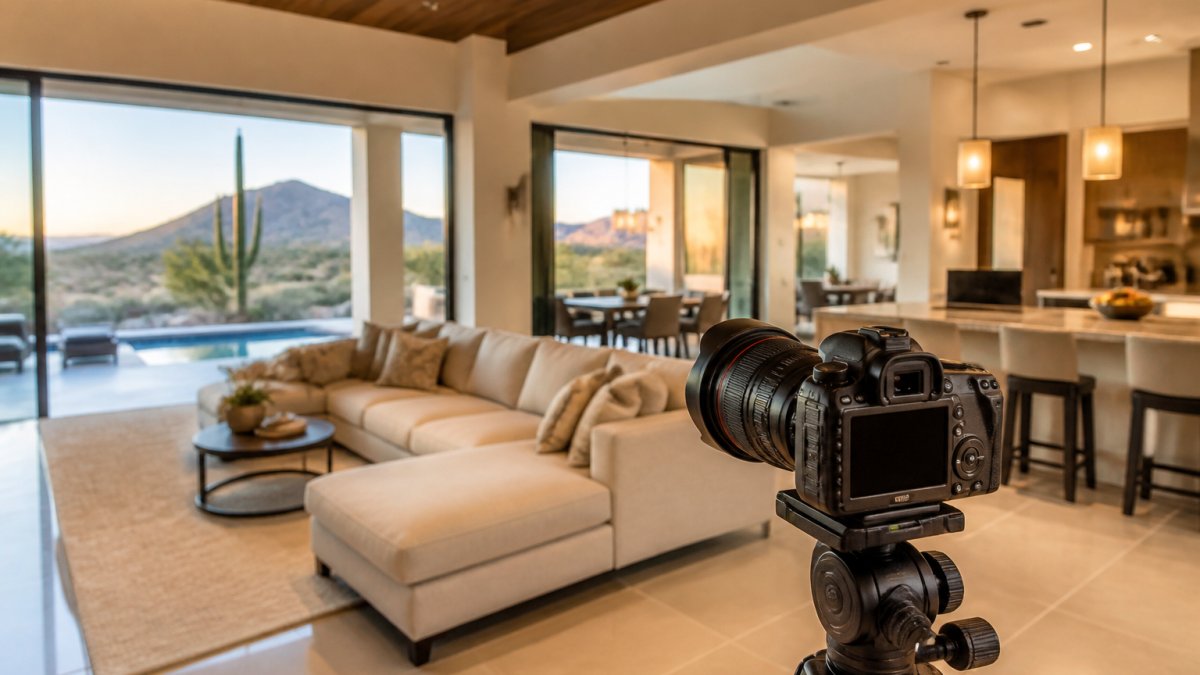
Start by visiting the property at different times of day. Morning light from east-facing windows is soft and warm. Afternoon light from west-facing windows is harsher and more dramatic. North-facing windows give consistent, cool light all day.
The best time to shoot is usually when the sun is lower, early morning or late afternoon. This creates softer shadows and more flattering angles on walls and architectural details.
Check the exposure in the brightest window. If the window is blown out (pure white with no detail), you'll need to either pull the shutter or add flash to balance the interior.
Using window light to illuminate interiors
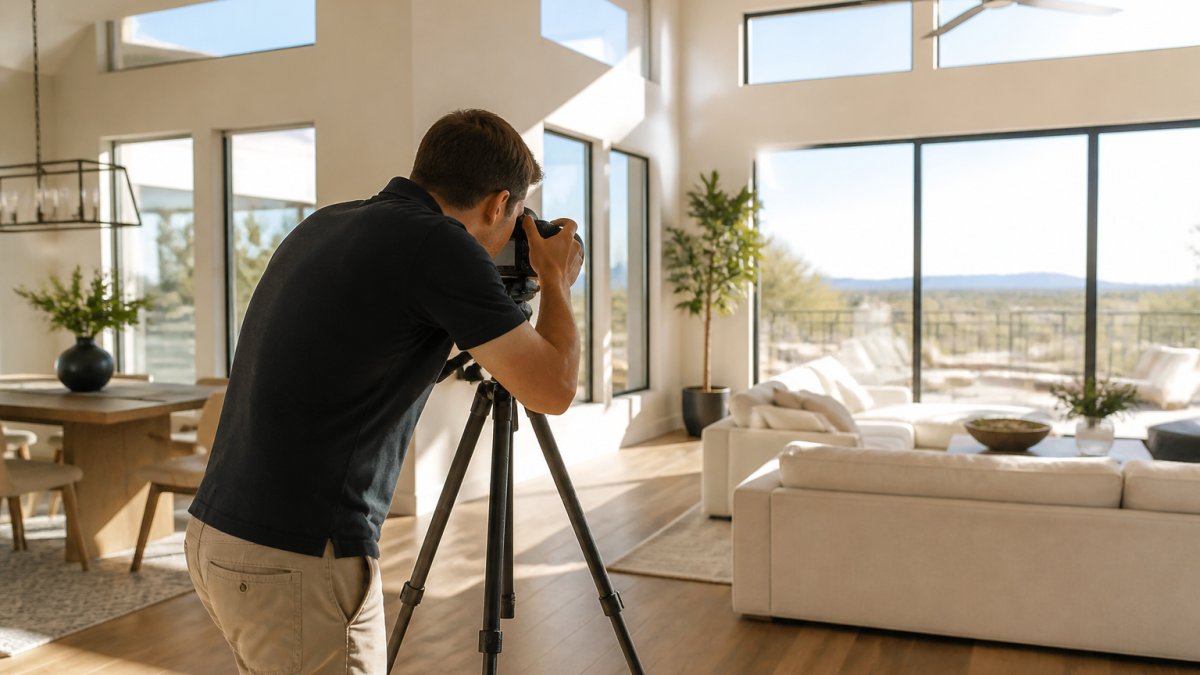
Position yourself so window light hits the room from the side or at an angle. This creates texture and depth. Direct light straight into the camera creates glare and flattens the space.
Use the window to light architectural details. Let it catch the edge of a fireplace, the texture of a wood beam, or the grain in hardwood floors. This draws the eye and makes the room feel inviting.
When a room has multiple windows, they may cast different color temperatures. One window might be warm, another cool. This mixed lighting creates color casts that look unnatural in photos.
Flash Photography for Real Estate Interiors: Control and Consistency
Flash gives you control. You can shoot at any time of day and get consistent results. The downside is that flash looks artificial if it's not blended properly with available light.
Strobes versus on-camera flash
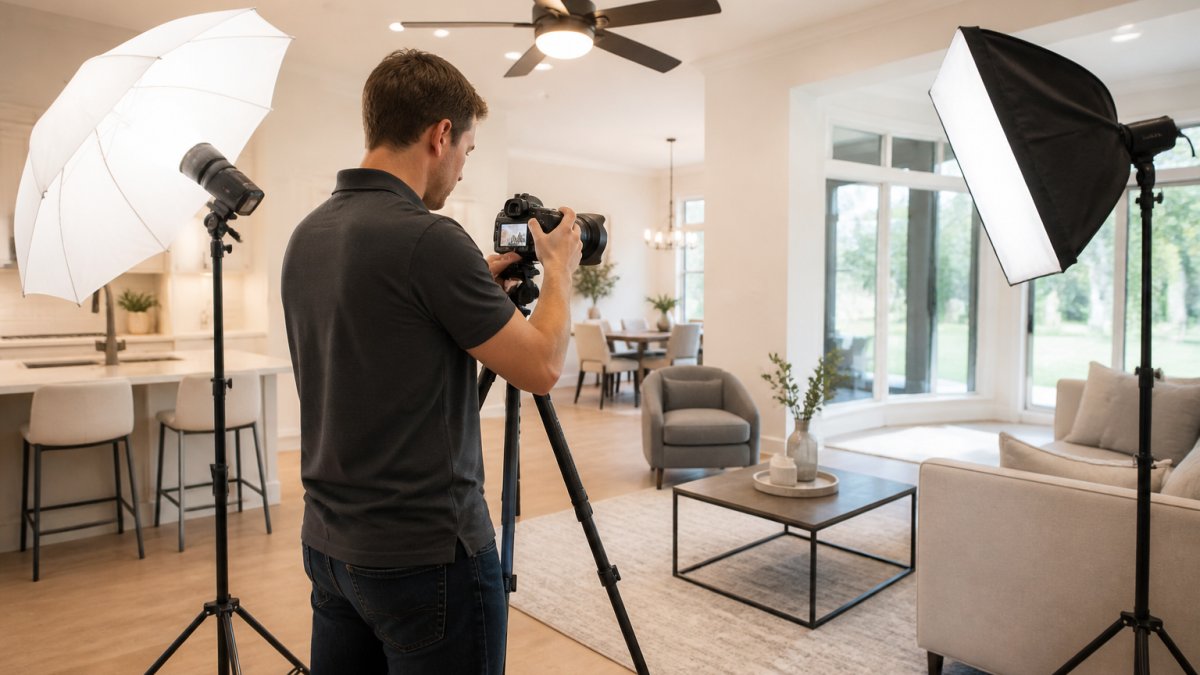
On-camera flash is direct and harsh. It creates a flat, washed-out look that screams "real estate photo." Strobes (off-camera flashes) are softer and more directional. You can position them to light specific areas, a corner of the room, a kitchen island, a bedroom wall.
Strobes cost more and require more setup time. On-camera flash is faster and simpler. For quick turnarounds, on-camera flash works. For luxury properties where every detail matters, strobes deliver better results.
Most professional real estate photographers use a mix. They use strobes for key areas and fill flash from the camera for overall illumination.
Mixing flash with available light
This is where the craft happens. You expose for the window light first, then add flash to lift the interior. The goal is balance, the room should look naturally lit, not lit by flash.
Set your camera to shutter speed around 1/60th of a second. This is fast enough to freeze motion but slow enough to capture ambient light. Your flash will expose the interior.
Underexpose the room slightly in your base exposure. Then add flash to bring up the interior. This prevents the window from blowing out while keeping the room bright and inviting.
Interior Photography Camera Settings: Exposure, Aperture, and ISO
Your camera settings control how much light you capture and how the room looks in the final image.
Base exposure and dragging the shutter
Your base exposure is the shutter speed and aperture you set before adding flash. This controls how much ambient light the camera captures.
Dragging the shutter means using a slower shutter speed (1/40th to 1/125th of a second) to let more ambient light in. This keeps the room from looking dark and artificial. Your flash will still freeze motion and add fill light, but the room's natural light is visible in the final image.
Try starting at 1/60th of a second with your flash set to fill mode. Adjust from there based on how bright the room looks in your preview.
Aperture and depth of field choices
Use an aperture between f/5.6 and f/8 for interior shots. This keeps the entire room sharp from front to back. Wider apertures (f/2.8 or f/4) create shallow depth of field, which looks great for portraits but leaves parts of the room soft and blurry in real estate photos.
Tighter apertures (f/11 or f/16) give you maximum sharpness. The trade-off is that you need more light, which means longer shutter speeds or higher ISO. This can introduce noise or motion blur.
f/5.6 to f/8 is the sweet spot. Everything is sharp, and you don't need extreme shutter speeds or high ISO.
Real Estate Photography Lighting Tips: Solving Common Interior Challenges
Every room presents different lighting problems. Here's how to solve the most common ones.
Balancing bright windows with darker rooms
This is the hardest problem in interior photography. The window is bright. The room is dark. Your camera can't expose for both at the same time.
Solution one: expose for the window and add flash to brighten the room. This is the most common approach and usually works well.
Solution two: expose for the room and accept that the window will blow out. Then bring it back in editing by blending exposures.
Solution three: close the blinds or curtains partially to reduce the window brightness. This darkens the exterior view but makes the interior easier to expose.
Most rooms need a combination of these.
Managing color temperature and white balance
Mixed lighting creates color casts. A window might be 5500K (daylight). An indoor lamp might be 2700K (warm incandescent). Your flash might be 5500K. All three in the same room creates a messy color cast.
Set your white balance to match your flash (usually daylight, around 5500K). This makes the flash look natural. The room's warm lamps will look slightly orange, but that's often acceptable because lamps are supposed to look warm.
If you have strong color casts from mixed sources, shoot in RAW and adjust white balance in post-processing. This gives you the most control.
Lighting equipment for different room sizes
Small rooms (bathrooms, closets, bedrooms) need less light. On-camera flash or a single small strobe often works. Larger rooms (living rooms, open kitchens) need more power or multiple light sources.
For a small bedroom, try on-camera flash with your shutter speed set to 1/60th. For a large living room, you might need two strobes or a strobe plus fill flash from the camera.
The rule is simple: bigger rooms need more light. But more light doesn't always mean more equipment. Dragging the shutter and using reflectors can often do the job without adding strobes.
A Room-by-Room Lighting Decision Workflow
Different rooms need different approaches. Here's how to light each one.
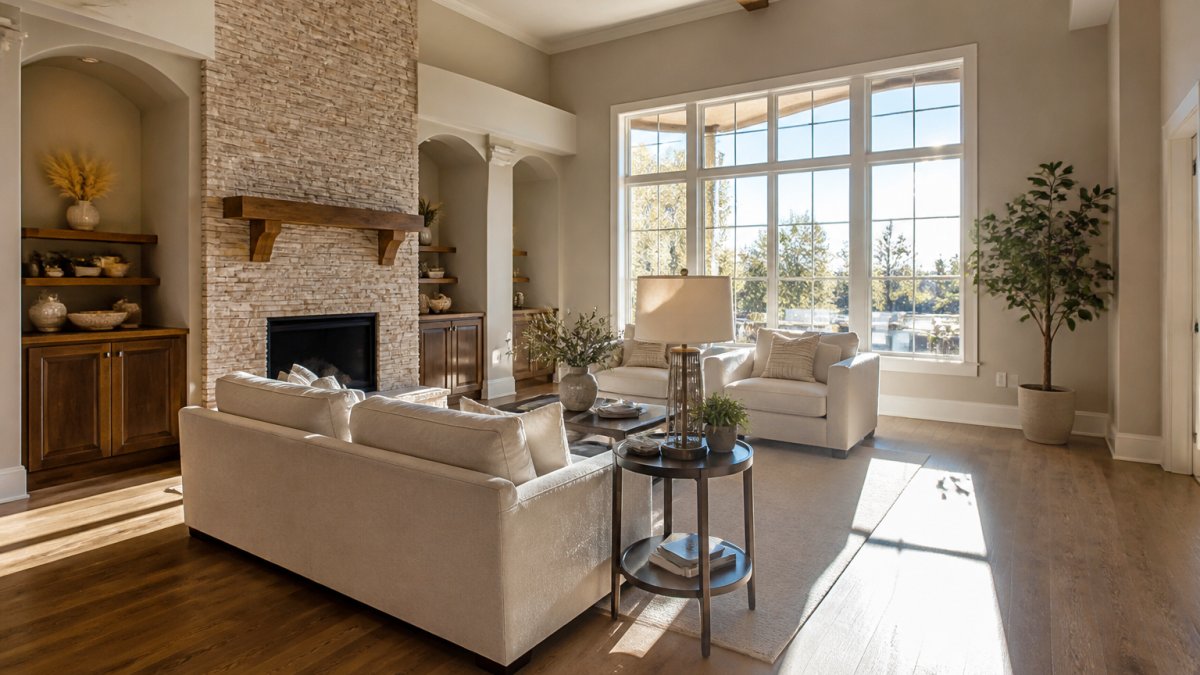
Master bedrooms and living spaces
These rooms are usually the most important in a listing. They need to look inviting and spacious.
Start with window light. Position your camera so light enters from the side, not straight into the lens. This creates depth and makes the room feel larger.
Add flash if the interior is too dark. Use fill flash from the camera, not full-power flash. The goal is to brighten the room without making it look artificially lit.
For living rooms with multiple windows, you might have competing light sources. Expose for the brightest window and use flash to balance the rest of the room.
Kitchens and bathrooms
Kitchens are detail-heavy. You want to show counters, appliances, and finishes clearly. Bathrooms are often small and dark.
For kitchens, use a mix of window light and flash. Light the counters and island with a strobe if you have one. Fill the rest of the room with on-camera flash.
Bathrooms are tricky because they're often small with limited windows. Use on-camera flash set to fill mode.
If the bathroom has a window, position yourself so the window is visible but not blown out. Let it add brightness and a sense of connection to the outside.
Exposure Blending and Ethical Representation
Exposure blending means taking multiple exposures of the same scene and combining them in post-processing. One exposure captures the window.
This technique is powerful, but it requires honesty. The final image should look like the room could actually look to a human eye.
The best blended images look natural.
When you're choosing the right lighting for interior home photos, remember that your job is to show the home in its best light, literally.
Choosing the right lighting for interior home photos determines whether a listing stands out or blends in.
At Desert Home Photography, we use hand-blended techniques to combine the best of natural and artificial light. If you're listing properties that deserve professional-quality photography, contact Desert Home Photography today for a consultation and see how proper lighting transforms your listings.
Frequently Asked Questions
Should you use natural light or flash for interior home photos?
Both serve different purposes in interior home lighting. Natural light creates authentic, inviting images that showcase how the home looks in real conditions, but requires careful timing and supplemental fill light in darker areas. Flash provides consistent, controllable illumination and works well when windows are blown out or rooms lack adequate ambient light. Many professionals blend both techniques, using natural light as the base exposure and flash to fill shadows or balance bright windows. The best choice depends on the room's existing light sources, time of day, and desired mood.
What camera settings work best for interior photography?
Start with an appropriate aperture to maintain sharpness across the room while allowing sufficient light. Adjust ISO depending on available light; higher ISO values help in darker interiors but can introduce noise. Shutter speed depends on your technique: if dragging the shutter to retain ambient light, a slower speed on a tripod is often used; if relying on flash, a faster sync speed is typical. Shooting in RAW format helps preserve detail in highlights and shadows, giving you flexibility during editing. Bracketing exposures can be useful when mixing window light with artificial sources to blend them later.
How do you balance bright windows with a darker room in interior photos?
Bright windows often blow out in photos while the rest of the room falls into shadow. Address this by closing blinds or sheer curtains to diffuse harsh light, or position your camera angle to minimize direct window glare. Use fill flash or strobes to lift shadows in the room's interior, bringing the overall luminosity closer to window exposure. Exposure bracketing, taking multiple shots at different exposures, lets you blend the window detail with the interior in post-processing. Alternatively, dragging the shutter while firing flash preserves both ambient and artificial light, creating balanced, authentic results.
What lighting modifiers are most useful for interior home photography?
Softboxes and scrims diffuse harsh light and create softer shadows, essential for flattering interior shots. A honeycomb grid on strobes focuses light direction and reduces spill onto unwanted areas. White reflectors or foam boards bounce light back into shadows without adding new light sources. Diffusion panels soften window light and reduce color cast from mixed sources. Dragging the shutter technique often requires less equipment than traditional studio setups, making it practical for fast-paced real estate work.