 blog
Essential Gear for Professional Architectural Photographers
Table of Contents
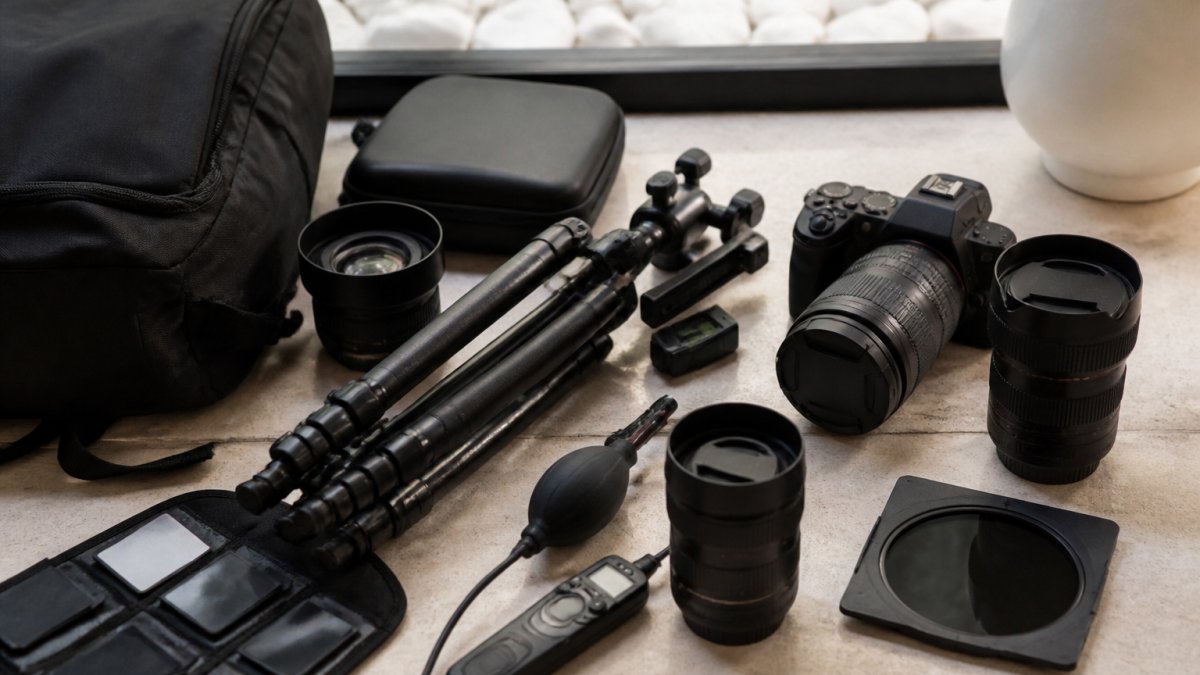
- What Professional Architectural Photographers Actually Carry
- The Best Lens for Architectural Photography: Wide-Angle and Beyond
- Why a Tilt-Shift Lens for Architecture Photography Changes Everything
- Choosing a Tripod for Architectural Photography
- Architectural Photography Lighting Equipment That Solves Dark Interiors
- Camera Bodies, Sensors, and the Accessories That Support Them
- Building a Complete Kit by Shoot Type, Budget, and Workflow
- Conclusion
- Frequently Asked Questions
Last Updated: October 18, 2026
What Professional Architectural Photographers Actually Carry
The gear list for architectural work looks short until you price it out.
This guide breaks down the essential gear for professional architectural photographers the way we'd actually pack a bag: by assignment, by budget, and by what breaks first on location.
Most guides list every lens and body on the market. That's not useful. What matters is which items you can't shoot without, and which ones you add once the work pays for them.
The Best Lens for Architectural Photography: Wide-Angle and Beyond
The best lens for architectural photography is a wide-angle prime or zoom in the 14-24mm range on a full-frame camera.
Focal length is the first decision. Wider than about 14mm and you fight heavy distortion at the edges. Tighter than 24mm and you can't fit a master bedroom in one frame.
Sharpness matters more here than in almost any other genre. Architecture is static, so viewers zoom in on window frames and cabinet lines. A lens that's soft in the corners will show it.
Wide-Angle Lenses: Focal Length and Distortion Control
Lens distortion is the enemy of a clean interior shot. Barrel distortion bows straight lines outward, and it's most obvious on door frames and ceiling edges near the corners of the frame.
A few ways to control it:
- Shoot at the lens's sharpest aperture, usually two stops down from wide open
- Keep the camera level to reduce keystoning
- Correct residual distortion in editing, not by cropping
Focal length and camera position work together. Move back a step and you can use a slightly longer lens, which flattens distortion and looks more natural.
Why a Tilt-Shift Lens for Architecture Photography Changes Everything
A tilt-shift lens for architecture photography lets you keep vertical lines perfectly straight while framing tall buildings and rooms.
This is the single biggest upgrade a serious architectural photographer can make. A standard wide-angle forces you to point the camera up to fit a tall space, and that's what bends the verticals.
The catch is cost and skill. Tilt-shift lenses are pricey and manual focus only.
Choosing a Tripod for Architectural Photography
A tripod for architectural photography needs three things: rock-solid stability, a geared head for fine framing, and a quick-release plate you trust. Camera stability is non-negotiable because most interior work happens at long exposure times.
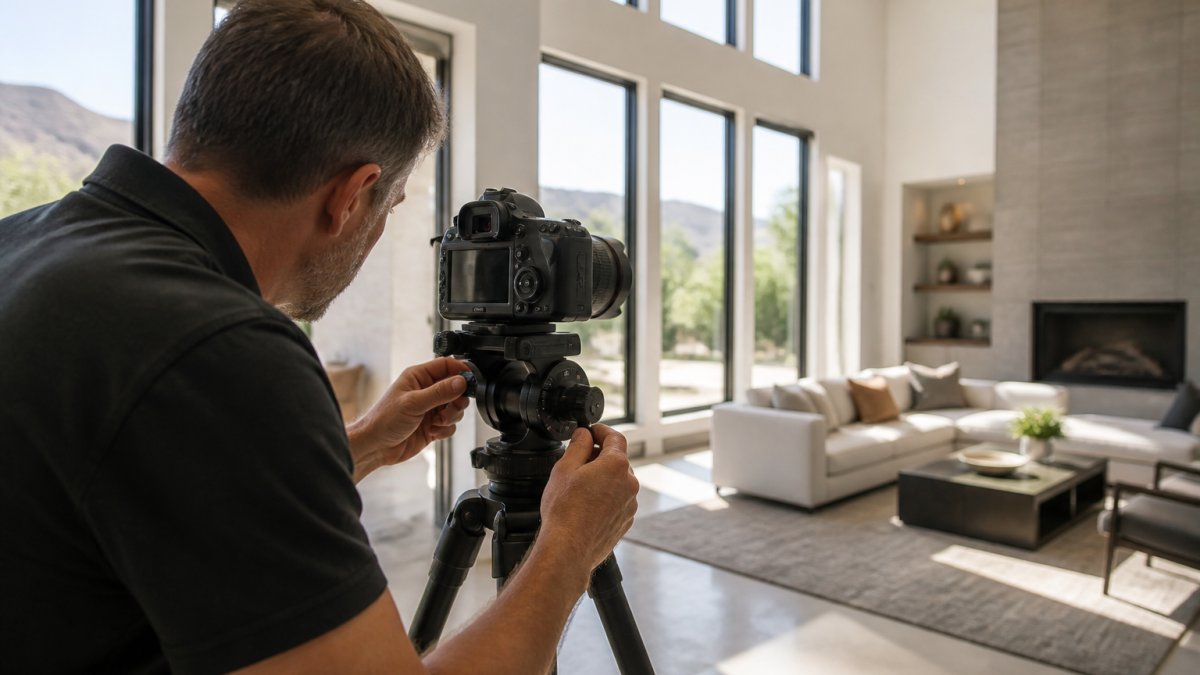
Here's what to look for:
- Load capacity well above your camera and lens weight
- Geared head for precise tilt and shift adjustments
- Spiked or rubber feet for both carpet and hard floors
- A solid tripod plate that won't twist under a heavy lens
A cheap tripod drifts between frames, and that ruins bracketed exposures. Buy once, buy stable.
Architectural Photography Lighting Equipment That Solves Dark Interiors
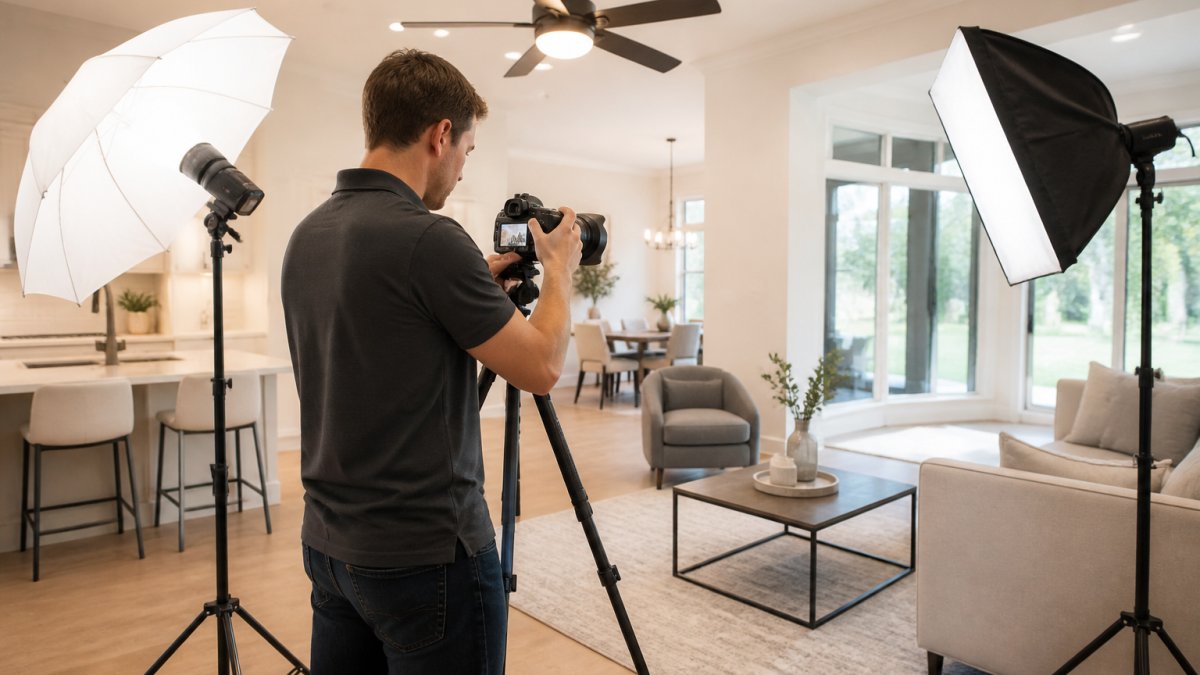
Architectural photography lighting equipment exists to solve one problem: rooms that look dark even when they get good daylight. Ambient light alone often leaves the far corner of a room muddy, especially in deep floor plans. The gear is simple; the workflow is what separates a clean interior from a flat, uneven one.
The practical kit includes:
- Two to four speedlights or small strobes with radio triggers, so you can place light where the camera can't see it
- Light stands, clamps, and suction-cup mounts for hiding lights behind furniture, above cabinets, or on window frames
- A polarizing filter to cut reflections on glass, glossy countertops, and polished floors
- A neutral density filter for long exposures in bright exteriors or when you want motion blur in clouds
- A color checker to keep white balance and color calibration honest across mixed lighting
- A handheld light meter (optional but useful) for reading ambient-to-flash ratios without chimping
The Ambient-Flash Blend Workflow
The most reliable approach is a three-frame blend rather than a single exposure:
- Expose for the windows. Meter the brightest window and shoot a frame where the exterior view holds detail. The room will look dark, that's expected.
- Expose for the room with flash. Add strobes to bring the interior up to a natural brightness, keeping the flash color matched to the ambient (typically around 5000-5500K in daylight-balanced rooms).
- Shoot an ambient-only frame at the room exposure, with no flash, to capture the true color and falloff of the existing light.
Blend the three in editing. The window frame keeps its view, the room reads bright and even, and the ambient frame keeps the light looking natural instead of pasted-on.
Light Placement Mechanics
Where you put the light matters more than how many lights you own. A few patterns that work:
- Hide lights behind furniture or in adjacent rooms and bounce them off walls or ceilings to widen the source.
- Flag the flash so it doesn't spill onto a window or mirror and create a hot spot.
- Keep the flash out of the frame by clamping it above door frames or behind curtains.
- Match the flash color to the ambient with gels when shooting under tungsten or mixed lighting; a color checker frame at the start of the set saves time in post.
Reflection control is where lighting gets tricky. Windows, mirrors, and polished floors bounce light in ways that flatten a shot. A polarizing filter and careful light placement fix most of it. Walk the room before you set up and look for the camera's reflection in every glossy surface.
For hard interiors, the workflow is simple: expose for the windows, then add light to the room. Blend the frames in editing. That's the hand-blended approach to keep rooms looking bright and true to life.
Camera Bodies, Sensors, and the Accessories That Support Them
A full-frame camera with a high-resolution sensor is the standard for professional architectural work.
Beyond the body, the supporting accessories matter just as much:
- Rechargeable batteries and a charger, plus spares for long shoot days
- Fast memory cards sized for bracketed and high-resolution files
- A remote release to trigger the shutter without shaking the camera
- A color checker for accurate white balance across mixed lighting
Battery life runs out faster than you expect on all-day shoots. Carry at least three charged batteries and a way to top them up on location.
Memory cards deserve real attention. High-resolution bracketed sets fill cards fast, and a slow card can stall your workflow. Back up files on location to a laptop or drive before you leave.
Building a Complete Kit by Shoot Type, Budget, and Workflow
The right kit depends on the assignment. A real estate listing shoot needs speed and coverage. A luxury exterior or drone job needs different tools. Here's how to organize it, with realistic price ranges and the compatibility traps that waste shoot days.
| Shoot Type | Core Gear | Key Add-On | Priority |
|---|---|---|---|
| Standard interior listing | Full-frame body, 16-24mm lens, tripod | Speedlights, polarizing filter | Speed and clean verticals |
| Luxury interior | Body, tilt-shift lens, geared tripod | Color checker, ND filter | Precision and color accuracy |
| Exterior and aerial | Body, wide-angle, drone, gimbal | ND filter, extra batteries | Stability and clean sky |
| Video walkthrough | Body with good video recording, gimbal | Remote release, spare cards | Smooth motion |
Buying Priorities and Realistic Price Ranges
Buying priorities follow the same logic across every shoot type. Start with the body and one wide-angle lens. Add the tripod and geared head next. Then build out lighting and filters as assignments demand.
Total cost of ownership matters too. Lenses and tripods hold value for years. Bodies and batteries cycle faster. Spend on glass and support first.
Compatibility: The Quiet Trap
Compatibility is where kits fail on location. Check these before you buy:
- Lens mount: A tilt-shift lens for one system won't mount to another without an adapter, and adapters can limit shift range or autofocus (though most tilt-shift lenses are manual focus anyway).
- Crop factor: A 16-35mm lens on a crop-sensor body behaves like a 24-52mm lens, which is too tight for most interiors. Full-frame is the practical standard for this work.
- Tripod plate: A plate that fits one body may not fit another, and a twisting plate ruins bracketed sets. Use an Arca-Swiss-style plate and check the clamp.
- Triggers and strobes: Radio triggers are brand-specific. Confirm your trigger works with your strobe model before the shoot, not during it.
- Filters: Polarizers and ND filters are sized by lens thread. Step-up rings let one filter fit several lenses, but they can vignette on very wide glass.
Field Workflow and Troubleshooting
A repeatable checklist saves more shoots than any single piece of gear:
- Level the tripod base first, then level the camera. Use the bubble level on the head, not just the in-camera level.
- Set the camera dead level and use shift for verticals rather than tilting up.
- Shoot a test frame and check the corners for distortion and reflections before committing to the set.
- Bracket exposures for windows and interiors, and label the frames.
- Back up cards on location to a laptop or drive before you leave; card failure on a paid shoot is a data-loss problem, not a gear problem.
Conclusion
Architectural photography rewards the photographer who buys gear in the right order and knows why each piece earns its place. Start with a full-frame body and one sharp wide-angle.
If gear shopping isn't how you want to spend your week, that's where we come in.
Call or text Desert Home Photography to book your next shoot and see the difference hand-blended imaging makes.
Frequently Asked Questions
What camera gear do professional architectural photographers use?
Most professional architectural photographers build around a full-frame camera body with high dynamic range and low distortion at wide focal lengths. The core kit includes a wide-angle lens (often a tilt-shift lens for perspective control), a sturdy tripod with a geared head and quick-release plate, a remote release for long exposures, a polarizing filter and neutral density filter, spare rechargeable batteries, fast memory cards, and a color checker for accurate white balance. Lighting equipment for difficult interiors rounds out the kit. Brand choice matters less than consistency and sharpness across the frame.
Do architectural photographers need a tilt-shift lens?
A tilt-shift lens for architecture photography is not strictly required, but it is the most reliable way to keep vertical lines straight without fixing them later in editing. Shift lets you move the lens to include more of a building's height while the camera stays level, so vertical lines stay parallel. Tilt controls the plane of focus for sharpness front to back. A standard wide-angle lens can work if you keep the camera level and correct distortion in post, but tilt-shift saves time and preserves image quality on tight interiors and tall exteriors.
Why do architectural photographers use a tripod?
A tripod for architectural photography keeps the camera perfectly stable for long exposures, which are common when using a polarizing filter, a neutral density filter, or shooting interiors in low ambient light. Stability also lets you shoot at low ISO for cleaner image quality and bracket exposures for hand-blended results. A geared tripod head makes small, precise leveling adjustments easy, which matters when straight vertical lines depend on the camera being level. A quick-release plate speeds up switching between setups on location.
What accessories are essential for architecture photography?
Beyond the camera body and lenses, the essentials include a remote release to avoid vibration, a polarizing filter to control reflections on glass and polished surfaces, a neutral density filter for long exposures, a color checker for accurate white balance and color calibration, spare rechargeable batteries, and fast memory cards with a backup drive for file security on location. A geared tripod head and quick-release plate improve precision. A small lighting kit for architectural photography lighting equipment helps with difficult interiors where ambient light alone leaves rooms uneven.