 how-to
How to Prepare a Luxury Home for Architectural Photography
Last Updated: October 22, 2026
Quick Summary
How to prepare a luxury home for architectural photography requires creating a shot list of must-have images, decluttering and removing personal items from all spaces, arranging furniture to highlight flow and architectural features, and maximizing natural light by opening blinds and cleaning windows. Starting preparation at least two weeks before the shoot ensures professional results that showcase your home's best features.
- Start preparation at least two weeks before the shoot to avoid rushed results that show in photos
- Create a shot list identifying priority spaces like kitchens, master suites, and outdoor areas before the photographer arrives
- Remove all personal items including family photos, pet items, and visible electronics from every room
- Clear countertops and surfaces except for one or two high-end styling pieces to showcase design
- Open all blinds and clean windows thoroughly to maximize natural light throughout the home
Table of Contents
- How to Prepare a Luxury Home for Architectural Photography: A Pre-Shoot Checklist
- Plan Your Architectural Photography Shot List and Must-Have Images
- Create a Luxury Real Estate Photography Checklist for Interior Spaces
- How to Stage a Home for Photography to Showcase Design and Flow
- Prepare Lighting and Natural Light Conditions
- Real Estate Photography Shoot Duration and Timeline
- Prepare Exterior Areas, Landscaping, and Weather Contingencies
- Final Walkthrough and Quality Control Before the Shoot
- Frequently Asked Questions
How to Prepare a Luxury Home for Architectural Photography: A Pre-Shoot Checklist
Learning how to prepare a luxury home for architectural photography requires more than just tidying up.
Architectural photography captures the bones of a home, its proportions, materials, light, and flow. But none of that matters if the space is cluttered, poorly lit, or arranged in a way that makes rooms feel small.
This checklist walks you through everything you need to do before your photographer arrives. We'll cover shot planning, interior and exterior preparation, lighting considerations, and a final walkthrough to catch any details you might have missed.
Plan Your Architectural Photography Shot List and Must-Have Images
Before the photographer arrives, sit down and create a shot list of must-have images. This isn't just about getting photos, it's about getting the RIGHT photos.
Start by identifying your home's best features. Is it the kitchen with high-end appliances? The master suite with a spa-like bathroom? The great room with soaring ceilings? The pool and outdoor entertaining area?
Next, think about the story you want to tell. For luxury homes, this often means showing how spaces flow together, how natural light moves through the home, and how the design supports a lifestyle.
Your shot list should include:
- Front elevation and approach
- Foyer or entry statement
- Main living areas (living room, family room, great room)
- Kitchen and dining areas
- Primary suite and secondary bedrooms
- Bathrooms (especially luxury finishes)
- Outdoor spaces (pool, patio, landscaping)
- Architectural details (fireplace, built-ins, ceiling details)
- Wide-angle establishing shots of key rooms
Share this list with your photographer at least a few days before the shoot.
Create a Luxury Real Estate Photography Checklist for Interior Spaces
Interior spaces need careful attention. The goal is to make rooms feel spacious, inviting, and aligned with the home's luxury positioning. This section breaks down room-by-room preparation.
Master Bedrooms and Primary Suites
Master bedrooms in luxury homes should feel like a retreat. Start by making the bed with high-quality linens, neutral colors work best.
Lighting matters here. If the room has windows, open the blinds fully to let natural light in. If it's dark, the photographer will need to bring in additional lighting.
Check for distracting elements: clothes on the floor, unmade areas, visible wires, or clunky furniture. If pieces are oversized or block sightlines, consider moving them temporarily. The goal is to showcase the room's proportions and the quality of the finishes.
Kitchens and Dining Areas
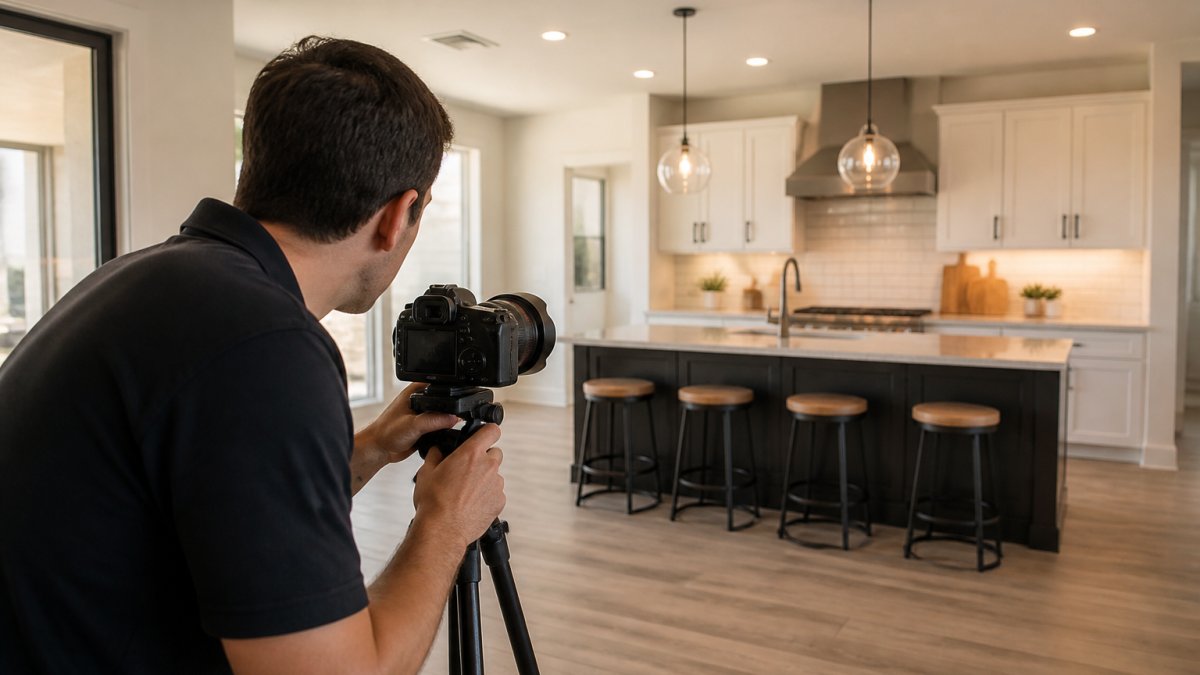
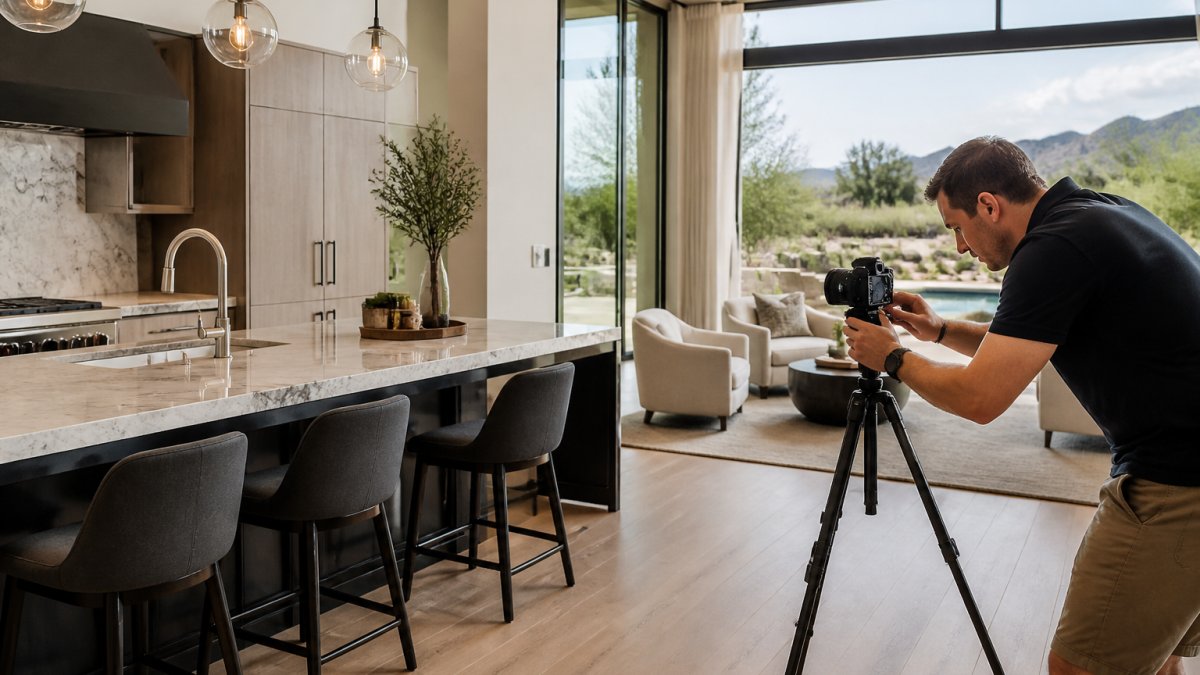
Kitchens are often the hero of luxury listings. Clear all countertops except for one or two high-end items, a designer bowl, fresh flowers, or a cookbook. Remove appliance clutter: coffee makers, utensil holders, paper towels, and magnets.
Make sure appliances are spotless. Stainless steel should be polished. Sink should be empty and clean. If you have a kitchen island, style it minimally, one decorative element at most.
For dining areas, set the table simply if it adds to the story. A place setting with quality dinnerware and stemware can work, but avoid too much styling.
Living Spaces and Focal Points
Living rooms and family rooms should feel open and inviting. Arrange furniture to show the room's flow and highlight architectural features. If a fireplace is the focal point, make sure the hearth is clean and the mantel is styled minimally.
Remove throw pillows, blankets, and decorative items that clutter seating areas. A few high-end accessories can stay, but less is more. The photographer needs clear sightlines to show how spaces connect.
Bathrooms and Luxury Finishes
Bathrooms in luxury homes often feature high-end fixtures, marble, tile, or custom details. Make sure everything is immaculate. Remove all personal care items: toothbrushes, soap dispensers, towel racks with multiple towels, and bath mats.
Hang one or two luxury towels as styling elements. Make sure mirrors are clean and free of water spots. If the bathroom has a soaking tub or steam shower, these should be the focal points, keep the space around them clear.
How to Stage a Home for Photography to Showcase Design and Flow
Staging for photography is different from staging for showings. You're not trying to make a space feel lived-in, you're trying to highlight the design and the home's best features.
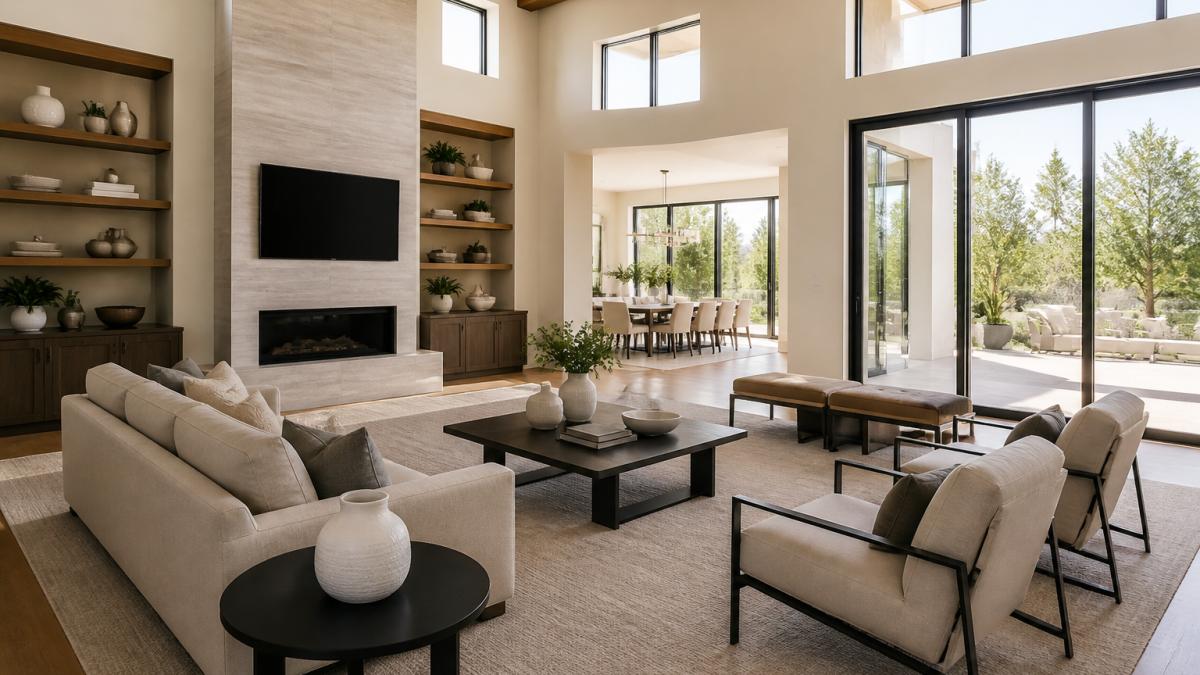
Decluttering and Removing Personal Items
This is the most important step. Personal items distract viewers from the home itself. Remove all family photos, children's toys, pet items, and anything with text or branding.
Go through each room and ask: Does this belong in a luxury home showcase? If the answer is no, it goes. This includes:
- Family photos and personal mementos
- Visible electronics and chargers
- Books and magazines on tables
- Throw pillows and blankets
- Decorative items on shelves and counters
- Pet bowls and beds
- Visible wires and cables
- Magnets and papers on refrigerators
- Visible cleaning supplies
The goal is a clean, neutral canvas that lets the architecture and design speak.
Furniture Arrangement and Spatial Flow
Arrange furniture to highlight the room's best features and show how spaces flow together. Remove oversized pieces that block sightlines or make rooms feel cramped.
Position seating to face focal points like fireplaces or views. If a room has multiple seating areas, arrange them to show the space's functionality. Avoid pushing all furniture against walls, this makes rooms feel smaller.
Consider traffic flow. Can someone move easily through the space? Are there clear paths between rooms? The photographer will capture these sightlines, and they should feel natural and open.
Styling Decor and Architectural Details
Keep decor minimal and high-end. A few carefully chosen pieces work better than many decorative items. Think about what tells the story of a luxury home: quality over quantity.
Highlight architectural details. If the home has coffered ceilings, crown molding, built-in shelving, or custom woodwork, make sure these are visible and unobstructed. Remove anything that blocks or competes with these features.
For surfaces like mantels, shelves, or console tables, use the rule of three: one or two high-end accessories, then empty space. This creates visual interest without clutter.
Prepare Lighting and Natural Light Conditions
Lighting makes or breaks architectural photography.
Walk through your home at the time of day the photographer will be shooting.
Open all blinds, curtains, and shades to maximize natural light. Clean windows thoroughly, dirty windows block light and show up in photos.
The photographer will likely bring supplemental lighting: flash, strobes, or continuous lights. These fill in shadows and balance exposure.
If the shoot is scheduled for early morning or late afternoon, be aware that the light quality changes.
Real Estate Photography Shoot Duration and Timeline
Understanding the timeline helps you prepare. A typical luxury home shoot takes 2-4 hours, depending on size and complexity. Larger homes or those with extensive outdoor areas may take longer.
The photographer will typically start with exterior shots, then move inside. They'll work room by room, taking multiple angles of each space. This gives you time to make any final adjustments if needed.
Plan for the shoot to take longer than you expect. Professional photographers are thorough. They'll check angles, adjust lighting, and take multiple shots of each space. Rushing through leads to missed opportunities and lower-quality images.
On the day of the shoot:
- Make sure all lights are on (even during daytime)
- Ensure the home is at a comfortable temperature
- Have water available for the photographer
- Stay out of the way but available for questions
- Don't make changes once shooting has started
- Plan to be home for the entire duration
Prepare Exterior Areas, Landscaping, and Weather Contingencies
Exterior photography is just as important as interior shots. The approach to your home sets the first impression.
Mow the lawn and edge the borders. Trim hedges and remove dead branches.
Check the front door and entry area. Paint should be fresh, hardware should be polished, and the entry should feel inviting.
For pool and outdoor living areas, the same rules apply: clean, minimal, and well-maintained.
Weather can impact exterior photography. If rain is forecast, discuss contingencies with your photographer. Some shoots can be rescheduled, others can be adjusted.
Final Walkthrough and Quality Control Before the Shoot
A day or two before the shoot, do a final walkthrough. Bring a checklist and go through each room systematically.
Check for clutter you might have missed. Look at surfaces from the photographer's angle, what will the camera see?
Make sure all lights work. Walk through at different times of day to see how light moves through the space.
Look for details that might distract: visible wires, mismatched outlet covers, or items on walls that don't add to the story.
Take a few test photos with your phone to see how rooms photograph.
Your final walkthrough checklist:
- All surfaces cleared and clean
- All lights working and turned on
- Windows clean and blinds open
- Doors closed or open as planned
- Floors vacuumed and swept
- No visible clutter or personal items
- Architectural features highlighted and unobstructed
- Outdoor areas clean and landscaping trimmed
- Temperature comfortable
- Water available for photographer
Preparing your luxury home for architectural photography takes time and attention to detail, but it's worth the effort. Ready to showcase your luxury home? Contact Desert Home Photography for a consultation and let's create images that sell.
Frequently Asked Questions
How long does it take to photograph a luxury home?
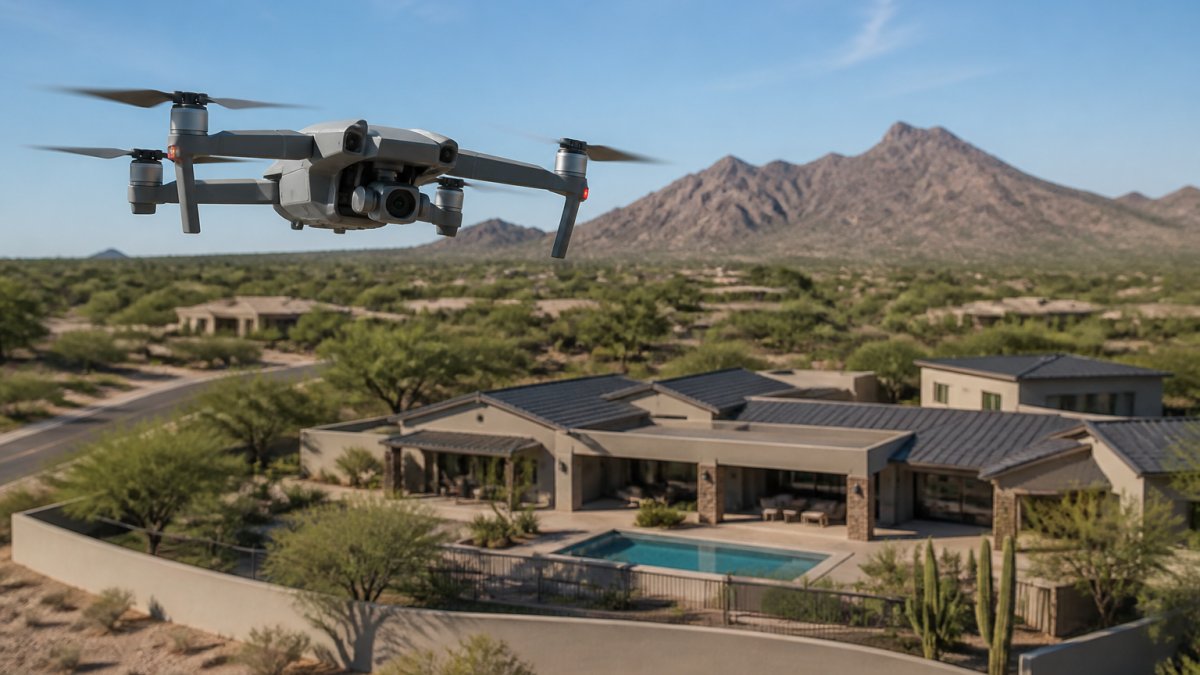
The duration of a luxury home architectural photography session depends on the property size, number of priority spaces, and complexity of lighting conditions. Larger estates with multiple exterior angles, drone shots, and intricate interior details will naturally take more time.
What should I remove before a real estate photography shoot?
Remove family photos, personal memorabilia, clutter on counters and shelves, excess furniture, children's toys, and items that reveal your lifestyle or taste. Close bedroom closets, hide cords and chargers, remove magnets and papers from refrigerators, and clear bathroom counters. The goal is to let the architecture and design speak without distraction. Keep only high-end decor and accessories that enhance the home's luxury appeal.
Should lights be on or off during architectural photography?
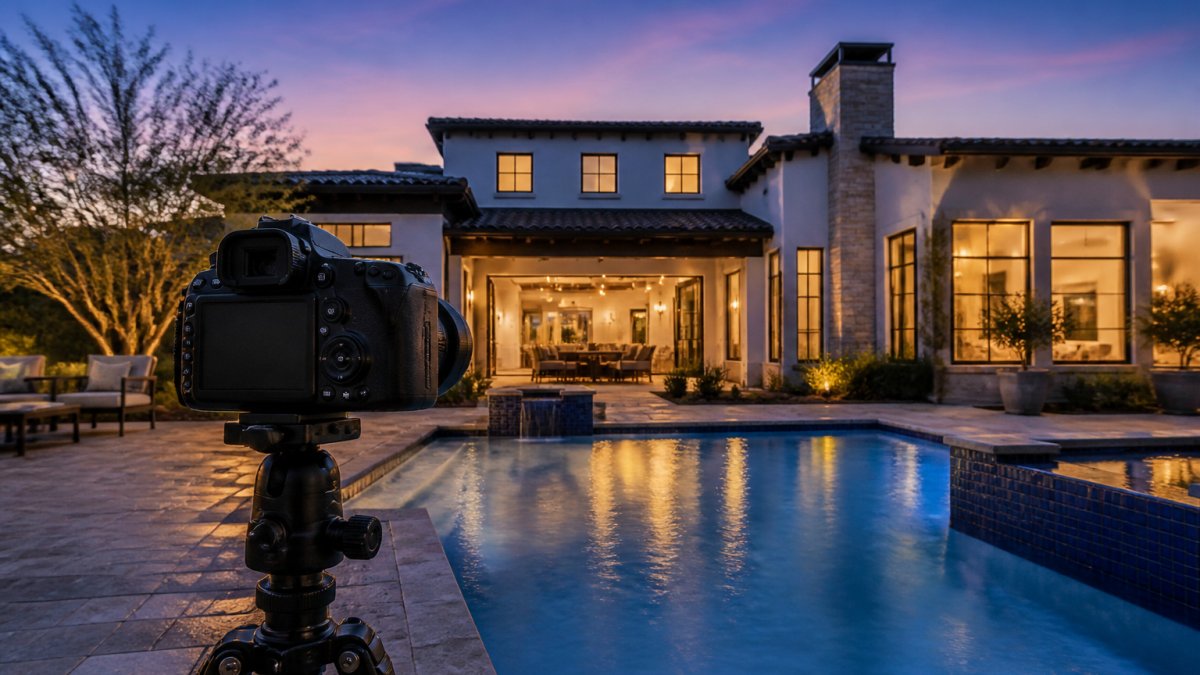
Interior lights should generally be on during the day to balance natural light and reduce harsh shadows, especially in kitchens, bathrooms, and hallways. However, avoid creating glare on windows or mirrors. At dusk or in darker rooms, interior lighting becomes essential. Exterior lights are typically off during daytime shoots but may be used for twilight or evening exterior photography to enhance curb appeal.
How should I prepare windows and glass for interior photography?
Clean all windows, mirrors, glass doors, and shower enclosures thoroughly inside and out. Avoid streaks and fingerprints. Open curtains and blinds to maximize natural light and show the view outside, unless the view is unattractive. Use sheer curtains if privacy is needed. Remove window decals, stickers, and condensation. For reflective surfaces, adjustments can be made to minimize unwanted reflections while capturing the brightness and openness the glass provides.